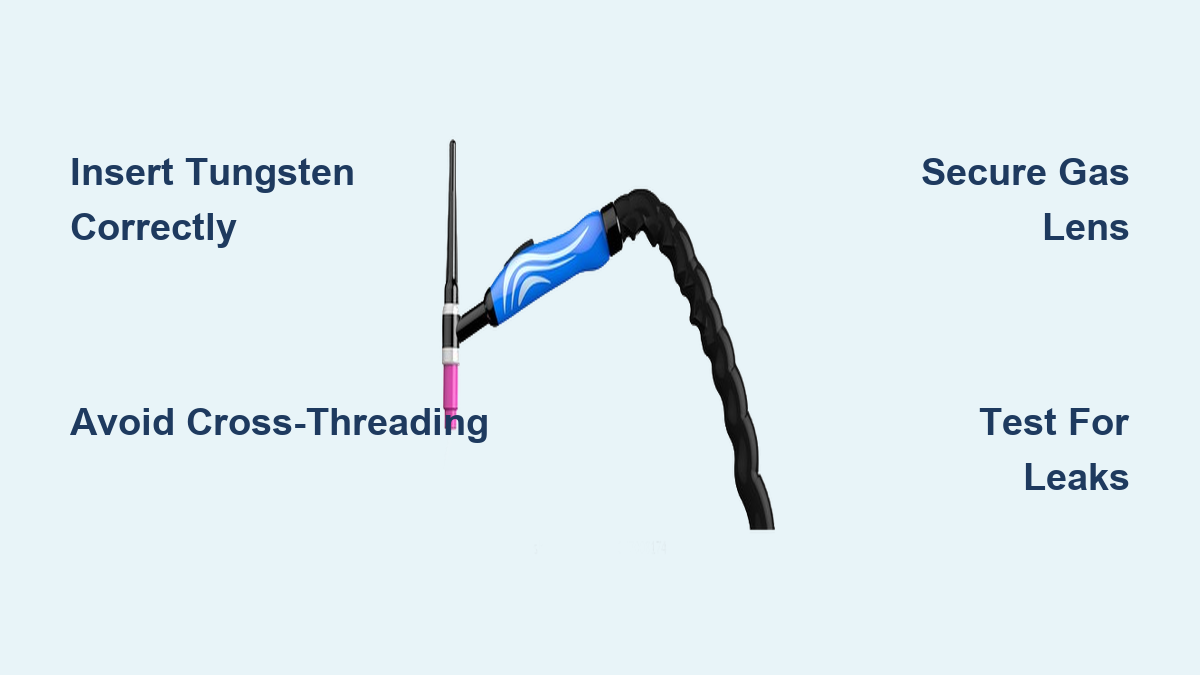
Your new TIG torch kit sits unassembled on the workbench, components scattered like a metal puzzle. One wrong move during assembly could cause gas leaks, tungsten contamination, or inconsistent arcs that ruin your welds. Over 60% of TIG welding defects stem from improper torch setup before the first spark flies. This guide cuts through the confusion with precise, manufacturer-backed steps to assemble your torch correctly—saving you hours of troubleshooting and preventing expensive consumable waste. You’ll learn exactly how to position tungsten, secure nozzles without cross-threading, and verify leak-free operation before striking an arc.
Gather Your Essential TIG Torch Assembly Tools

Skip this step and risk damaging precision threads or contaminating critical components. You need three specific tools that most beginners overlook: a 10mm open-end wrench for collet bodies, a 13mm wrench for back caps, and ceramic-tipped tungsten grinders. Never substitute adjustable wrenches—they slip and mar soft brass components. Keep clean lint-free gloves nearby; skin oils on nozzles cause porosity in stainless steel welds. Organize parts on an anti-static mat to prevent static discharge that attracts debris to gas channels. Check your collet size stamp (1/16″, 3/32″, etc.) matches your tungsten diameter before proceeding—mismatched collets cause erratic arcs.
Why Standard Wrenches Fail on TIG Components
Standard wrenches damage soft brass collet bodies through slippage. The 10mm wrench must fit perfectly with zero play. Test it on a scrap collet first—if it rocks even slightly, find a better-fitting tool. Aluminum back caps require even more precision; overtightening by 1/8 turn cracks housings. Keep torque specs visible: 12-15 in-lbs for collet bodies, 8-10 in-lbs for back caps. Use a mini torque wrench for critical applications like aerospace work.
Critical Component Inspection Checklist
Before assembly, examine every part under bright light:
– Collet: Check for burrs in the tungsten channel (run fingernail along interior)
– Nozzle: Verify smooth interior walls (scratches disrupt gas flow)
– Gas lens: Inspect O-rings for nicks (replace if compressed >30%)
– Back cap threads: Run a thread gauge to confirm no damage
Discard any component with visible imperfections—weld quality depends on microscopic tolerances.
Insert Tungsten Electrode Without Contamination

Hold the tungsten only with clean ceramic-tipped pliers. Skin oils transfer instantly to the electrode surface, causing weld discoloration on aluminum. Grind the tungsten to a 2.5x diameter point (e.g., 1/16″ tungsten = 1/8″ point) with a dedicated grinder—never file by hand. Insert until it contacts the collet seat, then back off 1/16″. Too deep causes shorting; too shallow creates arc instability. For DC welding, leave 1/8″ exposed beyond the nozzle; for AC aluminum work, extend 3/16″ for optimal arc cone control.
Common Tungsten Insertion Errors to Avoid
Over 70% of “unstable arc” complaints come from incorrect tungsten positioning. If tungsten protrudes more than 1/4″ beyond the nozzle, you’ll see excessive spatter and rapid oxidation. If recessed too far, the arc ball becomes erratic. Test positioning by assembling just the collet body and nozzle: strike a test arc at 10A on scrap metal. Ideal exposure shows a tight, pencil-like arc cone without sputtering. Adjust in 1/32″ increments until stable.
Secure the Collet Body to Nozzle Without Cross-Threading
This is where most DIY assemblers destroy components. Hold the nozzle in your non-dominant hand, collet body in the other. Align threads visually before turning—force causes immediate damage. Rotate collet body clockwise with light finger pressure only until it “snaps” into initial engagement (about 1/4 turn). Now apply wrench: tighten to 12 in-lbs while counter-holding the nozzle with a second wrench. Never rotate the nozzle—it stresses internal gas channels. Finish by hand-tightening the back cap just until resistance increases.
How to Spot Cross-Threaded Damage Early
If resistance feels gritty or uneven during tightening, stop immediately. Unscrew and inspect: cross-threading leaves diagonal scratches on brass threads. Salvage possible only if damage is superficial—use a thread file to smooth burrs. Severely damaged threads require full replacement; attempting to “force it” guarantees gas leaks. Prevention tip: Apply a microscopic dab of anti-seize compound to nozzle threads—thicker than a hair’s width causes seal failure.
Install Gas Lens Components for Optimal Shielding
Gas lenses aren’t optional for critical welds—they reduce turbulence by 40% compared to standard nozzles. Stack components in this exact order from torch body outward: diffuser (flat side toward body), gas lens screen, retaining ring. The lens screen must sit flush in the diffuser pocket—tilted screens cause swirling gas flow. Tighten the retaining ring to 8 in-lbs; over-torquing compresses the screen and restricts gas. Verify alignment by shining a flashlight through the assembly—light should pass straight through all holes without shadows.
When Gas Lenses Cause More Problems Than They Solve
Don’t install gas lenses on torches rated below 200A—they create excessive backpressure. If you hear a hissing sound during welding, the lens is restricting flow. Immediate fix: loosen the retaining ring 1/8 turn. Also avoid gas lenses on water-cooled torches unless specified; coolant channels may not accommodate the added depth. Stick with standard nozzles for <150A applications.
Final Back Cap Installation and Leak Testing
This step makes or breaks your setup. Hand-tighten the back cap until snug (about 3/4 turn past finger-tight), then give a final 1/8 turn with the wrench. Never exceed 10 in-lbs—aluminum caps crack silently. Now conduct a mandatory leak test: submerge assembled torch head in soapy water, pressurize to 15 PSI, and watch for bubbles. No bubbles after 30 seconds? Proceed. Any bubble means disassemble and replace the O-ring. Dry thoroughly with compressed air before welding.
Emergency Fix for Gas Leaks During Production
If leaks occur mid-welding job, don’t guess at the source. Apply soapy water directly to joints while pressurized: bubbles pinpoint the leak. Common culprits are worn collet body O-rings (replace immediately) or loose nozzle-retaining threads (re-torque to spec). Never use thread sealant—it contaminates gas channels and erodes seals. Keep spare O-rings in your kit; they degrade after 50 hours of use.
Troubleshoot Assembly Failures Before Welding
Test your assembly before striking an arc with these quick checks:
1. Tungsten stability test: Gently shake torch—no rattling (indicates loose collet)
2. Gas flow verification: Hold palm 6″ from nozzle; feel steady, centered flow (not turbulent)
3. Electrical continuity check: Multimeter between tungsten tip and work clamp should show <0.5 ohms
If any test fails, disassemble immediately. Forcing a weld with faulty assembly damages power sources. Common red flags include purple arcs (gas contamination), inconsistent amperage (poor electrical contact), or hissing sounds (leaks).
Why Your Arc Flickers After Perfect Assembly
Even correct assembly can fail due to overlooked factors:
– Dirty tungsten: Re-grind if exposed to air >24 hours
– Moisture in gas line: Replace regulator desiccant
– Cable kinks: Maintain 6″ minimum bend radius
Fix flickering by re-seating the collet body—thermal expansion sometimes loosens joints after initial heat cycles.
Maintain Peak Performance with Daily Checks
Extend torch life 300% with this 2-minute routine after each use: Unscrew nozzle, blow out debris with oil-free air, inspect tungsten for erosion (replace if tip diameter >1.5x original). Monthly, disassemble completely: clean diffuser ports with 0.010″ wire, replace all O-rings, and check for copper wire fatigue at cable connections. Store torch coiled in 12″ diameter loops—sharp bends fracture internal wires. For water-cooled models, flush coolant lines quarterly to prevent mineral buildup.
Don’t gamble with torch assembly—precision here determines your weld quality. Master these steps to eliminate porosity, reduce tungsten consumption by half, and achieve mirror-finish welds on stainless and aluminum. When your torch is assembled correctly, you’ll notice immediate improvements: stable blue arcs, no spatter, and consistent penetration. Keep this guide taped to your workstation for quick reference during reassembly. For persistent issues, consult your torch manufacturer’s torque specifications—some models require unique settings. Now that your torch is perfectly assembled, focus on perfecting your travel speed and arc length for flawless results.
Leave a Reply