Your welding projects depend on precise machine performance, but what happens when your welds become inconsistent or weak? An improperly calibrated welding machine can cause poor penetration, excessive spatter, and weak joints that compromise structural integrity. Without proper calibration, even experienced welders struggle to achieve quality results. This guide explains why calibration matters for MIG, TIG, and stick welding equipment and provides critical safety-focused procedures you must follow—directly from manufacturer specifications—to ensure your machine delivers reliable, professional-grade welds every time.
Why Proper Welding Machine Calibration Prevents Costly Mistakes
Incorrect calibration leads to immediate quality issues that affect your final product. When voltage or wire feed settings drift out of specification, you’ll notice inconsistent arc stability, excessive spatter, and poor bead appearance. These aren’t just cosmetic issues—they indicate fundamental problems that compromise weld strength. A machine operating with incorrect parameters can produce welds with inadequate penetration, creating joints that fail under stress. Professional welders know that recalibrating after equipment maintenance or when switching between different material thicknesses prevents these problems before they occur.
How Often Should You Calibrate Your Welding Equipment?
Manufacturers typically recommend calibration schedules based on usage intensity. For professional workshops running multiple shifts, weekly calibration checks prevent costly rework. Occasional hobbyists using their machines less frequently should perform calibration checks before each major project and after any storage period exceeding two months. Critical applications involving structural steel or pressure vessels require calibration verification before each work session. Always consult your specific machine’s operator manual for manufacturer-recommended intervals, as these vary significantly between models and applications.
What Happens When You Skip Calibration?
Neglecting calibration creates immediate quality issues that compromise your work. Uncalibrated machines often deliver inconsistent heat input, causing porosity, lack of fusion, and undercutting in your welds. These defects might not be visible immediately but can lead to catastrophic failures in load-bearing applications. Many welders mistakenly attribute these issues to poor technique rather than machine calibration, leading to unnecessary frustration and wasted materials. Recognizing when your machine needs recalibration saves time, materials, and prevents potentially dangerous weld failures.
Essential Safety Steps Before Calibration

Required Personal Protective Equipment Checklist
Before touching any calibration controls, ensure you’re wearing:
– Auto-darkening welding helmet set to appropriate shade level
– Fire-resistant gloves rated for your machine’s maximum output
– Leather welding jacket without synthetic materials
– Safety glasses worn underneath your helmet
– Steel-toed boots with rubber soles for electrical insulation
Never attempt calibration procedures with wet hands or while standing on damp surfaces. Verify your work area is clear of flammable materials within a 35-foot radius of your operation.
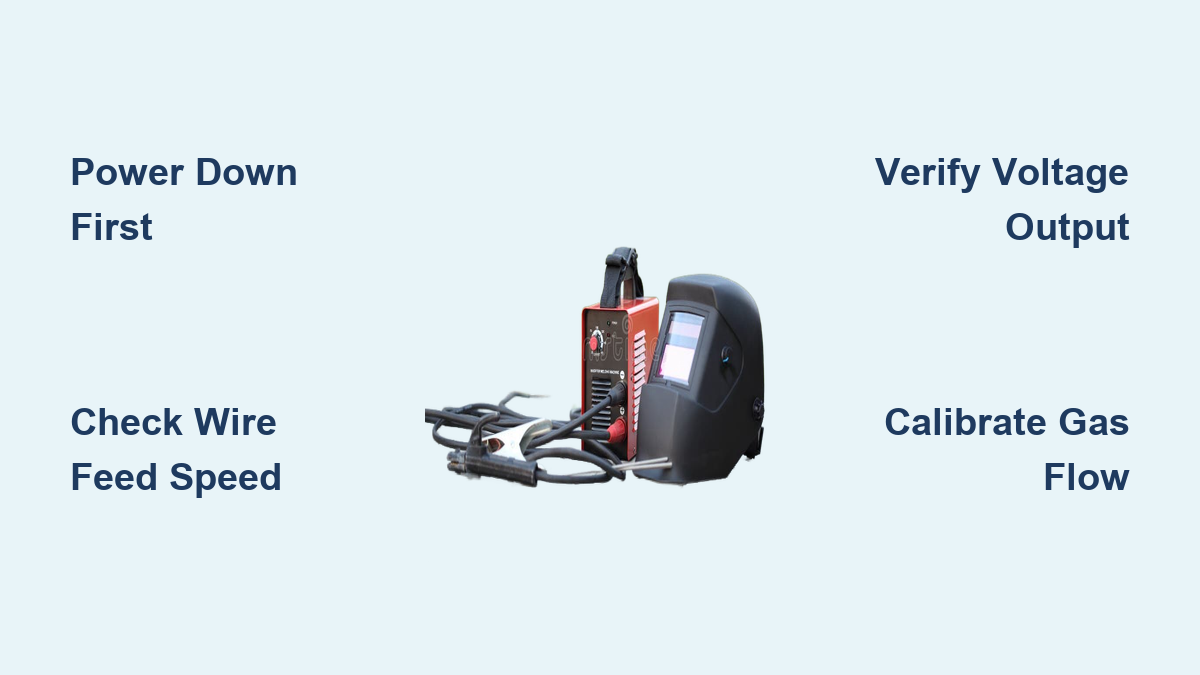
Power Down and Lockout/Tagout Procedures
- Turn off the main power switch at the welding machine
- Disconnect the machine from its power source completely
- Implement lockout/tagout procedures if working in industrial settings
- Wait at least five minutes for capacitors to discharge
- Verify no residual voltage using a multimeter rated for welding equipment
Skipping these critical safety steps risks severe electrical shock or arc flash incidents during calibration. Professional welders never bypass lockout/tagout procedures—even for “quick” adjustments.
Required Tools for Accurate Welding Machine Calibration

Precision Measurement Equipment
- Digital multimeter with at least 0.5% accuracy rating
- Clamp meter capable of measuring DC amperage up to 300A
- Voltage drop tester specifically designed for welding circuits
- Wire feed speed gauge with tachometer function
- Gas flowmeter calibrated for your specific shielding gas
- Temperature gun for monitoring duty cycle effects
Using consumer-grade tools instead of professional welding calibration equipment leads to inaccurate readings that defeat the purpose of calibration. Always verify your measurement tools against known standards before beginning.
Step-by-Step MIG Welder Calibration Process
Verifying Wire Feed Speed Accuracy
- Mark a 12-inch section on your welding wire before the drive rolls
- Set your machine to 200 inches per minute feed speed
- Activate the wire feed mechanism for exactly 60 seconds
- Measure the actual wire length fed during this period
- Calculate percentage variance: (Actual ÷ Target) × 100
- Adjust the wire feed calibration potentiometer until variance falls below 3%
Professional welders know that even a 5% variance in wire feed speed creates noticeable quality differences in production welding. Always verify feed speed at multiple settings across your machine’s operating range.
Calibrating Voltage Output Settings
- Connect your digital multimeter across the welding circuit
- Set your machine to 25 volts using the front panel controls
- Initiate an open-circuit voltage reading (no arc)
- Record the actual voltage reading from your meter
- Adjust the internal voltage calibration potentiometer
- Repeat verification at 10-volt intervals across the machine’s range
Your machine’s voltage reading must match actual output within ±2 volts at all settings. Significant discrepancies indicate potential component failure requiring professional service.
TIG Welder High-Frequency Calibration Procedures
Adjusting Amperage Control Accuracy
- Connect your clamp meter in series with the welding circuit
- Set your foot pedal to 50% position (midpoint)
- Initiate a test arc on a scrap metal piece
- Compare meter reading to machine’s amperage display
- Locate the internal amperage calibration trim pot
- Make incremental adjustments while monitoring real-time readings
TIG welding requires more precise calibration than other processes due to lower amperage ranges. Professional fabricators verify TIG calibration at multiple pedal positions to ensure linear response throughout the control range.
Verifying Pulse Frequency Settings
Pulsed TIG welding demands accurate frequency calibration:
– Set machine to 100 Hz pulse frequency
– Use an oscilloscope to measure actual output
– Adjust internal frequency calibration until within ±5 Hz
– Repeat verification at minimum, midpoint, and maximum settings
Inconsistent pulse frequency creates uneven heat distribution that affects weld bead appearance and penetration profile.
Stick Welder Amperage Calibration Verification
Load Testing Your Machine’s Output
- Prepare a copper shunt capable of handling your machine’s maximum output
- Connect shunt in series with welding circuit
- Use calibrated voltmeter to measure voltage drop across shunt
- Calculate actual amperage using Ohm’s Law (I = V/R)
- Compare calculated amperage to machine display
- Adjust internal calibration potentiometer as needed
Stick welding machines require verification under actual load conditions since no-load voltage differs significantly from operating voltage. Always perform this test with appropriate safety precautions due to high current levels involved.
Gas Flow Rate Calibration for MIG and TIG
Accurate Shielding Gas Measurement
- Remove welding gun from machine
- Attach gas flowmeter directly to gas regulator outlet
- Set regulator to 25 CFH flow rate
- Verify actual flow reading on calibrated flowmeter
- Adjust regulator until readings match within 10%
- Repeat verification at multiple flow settings
Many welders overlook gas flow calibration, yet inconsistent shielding gas flow causes porosity and oxidation issues that compromise weld integrity. Always calibrate gas flow with the actual hoses and guns you’ll be using, as restrictions affect delivery rates.
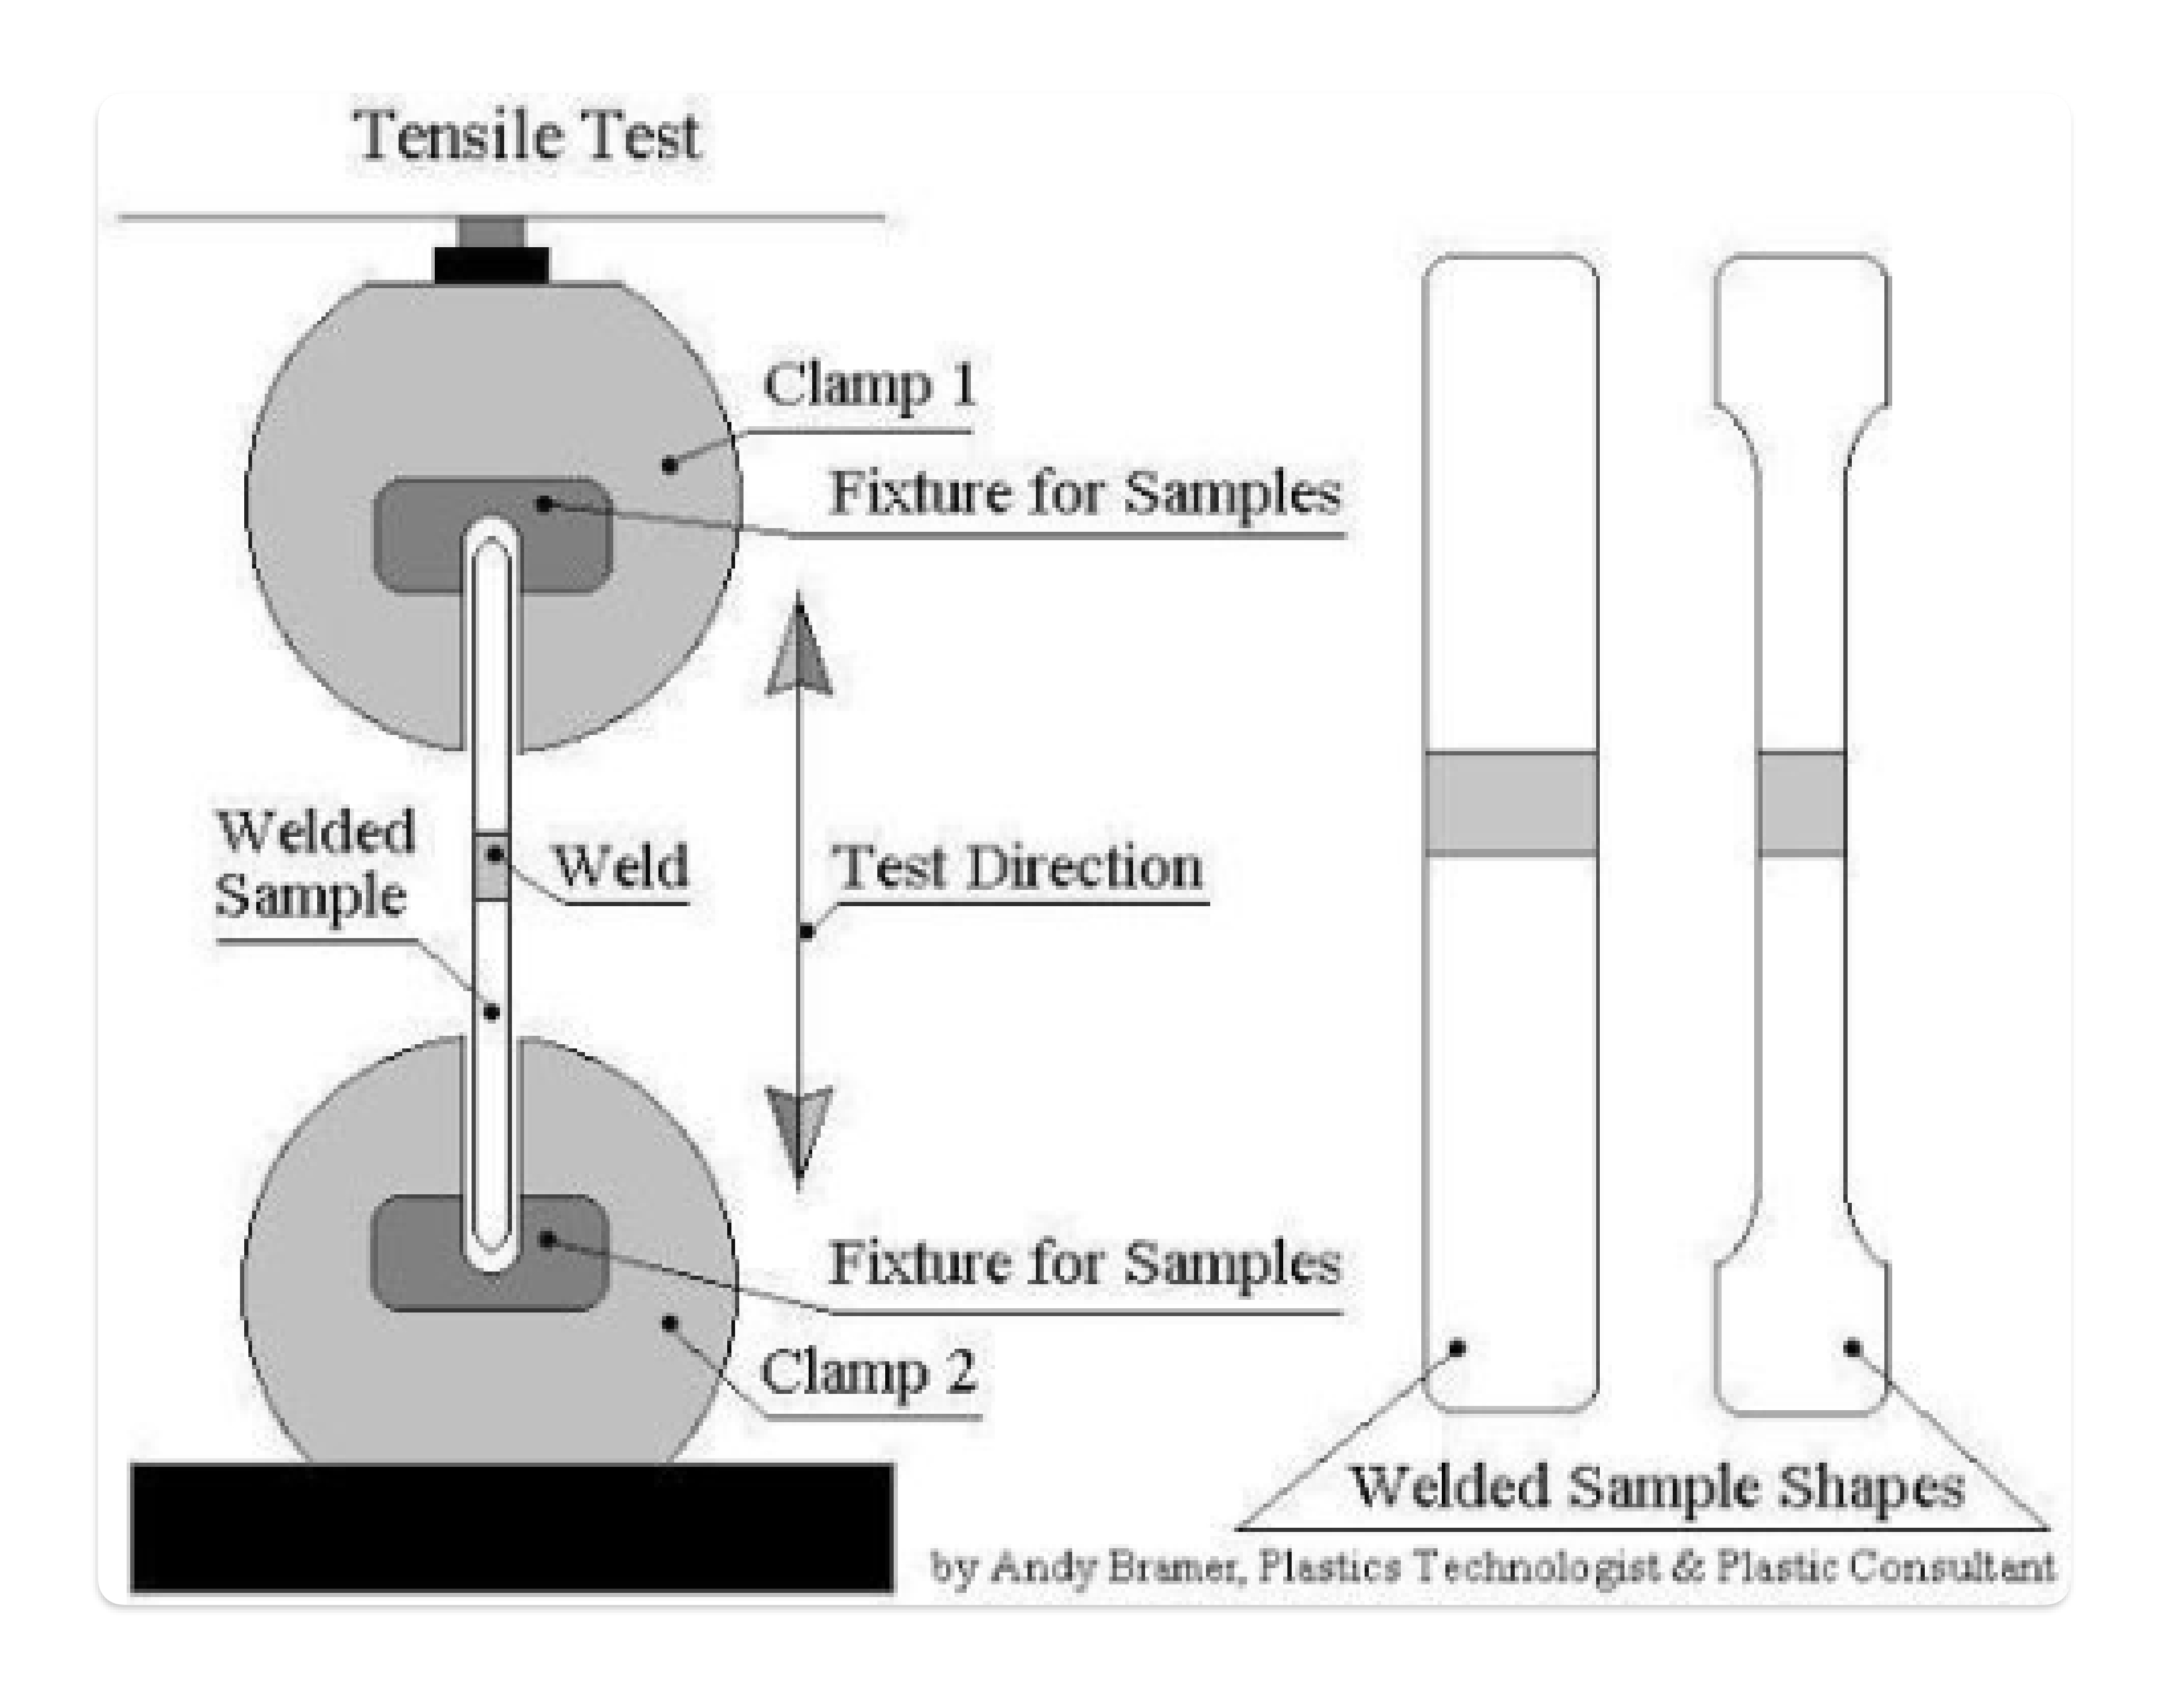
Final Verification Testing Procedures
Test Weld Analysis Protocol
- Prepare standardized test coupons of known material
- Perform test welds at multiple calibrated settings
- Examine bead profile for proper width-to-depth ratio
- Check for consistent penetration without burn-through
- Evaluate spatter levels and arc stability
- Document results for future reference
Professional welding operations maintain calibration logs showing test results, dates, and technician signatures. This documentation proves compliance with quality standards and helps track equipment performance over time.
When to Seek Professional Calibration Services
Certain calibration issues require manufacturer-authorized technicians:
– Internal circuit board replacements
– Transformer or inverter repairs
– Firmware updates affecting calibration parameters
– Persistent calibration drift after multiple attempts
– Machines operating outside warranty period
Attempting advanced calibration without proper training risks permanent equipment damage. Reputable welding supply companies offer certified calibration services with traceable documentation.
Preventing Calibration Drift in Daily Operations
Environmental Factors That Affect Calibration
Extreme temperatures, humidity, and electrical fluctuations impact welding machine performance. Store your equipment in climate-controlled environments when possible. Industrial facilities should install voltage regulators to protect against power surges that affect calibration stability. Always allow machines to reach thermal equilibrium before performing critical welds—cold-start welds often differ from those made after the machine has warmed up.
Proper Shutdown and Storage Procedures
Follow manufacturer-recommended shutdown sequences to preserve calibration:
1. Reduce output to minimum settings
2. Turn off gas supply at the cylinder
3. Purge gas lines according to specifications
4. Power down machine using proper sequence
5. Store welding guns with triggers secured
Consistent shutdown procedures prevent electrical surges that gradually affect calibration accuracy over time. Professional welders treat their equipment shutdown process with the same care as their welding technique.
Final Note: Proper welding machine calibration isn’t optional—it’s essential for producing quality, code-compliant welds. Following these manufacturer-based procedures ensures your equipment delivers consistent performance while meeting safety standards. Remember that calibration requirements vary significantly between machine models and manufacturers, so always consult your specific equipment manual before proceeding. For critical applications, maintain a regular calibration schedule documented with test results to verify ongoing performance. When in doubt about any calibration procedure, contact your equipment manufacturer or an authorized service center rather than risking improper adjustments that could compromise your work or safety.
Leave a Reply