Welding gloves take a serious beating on the job—they’re constantly exposed to intense heat, molten metal spatter, abrasive materials, and repeated flexing during every welding session. When these critical pieces of protective gear become caked with grime, sweat, and residue, their protective qualities start to deteriorate. Learning how to clean welding gloves properly isn’t just about maintaining appearance; it’s about preserving their flame resistance, flexibility, and overall safety performance. For welders working in industrial settings or tackling weekend DIY projects, proper glove maintenance represents a smart investment that extends equipment life and keeps hands protected when it matters most.
Neglecting glove care leads to stiff, uncomfortable protection that compromises dexterity and puts you at risk. This guide delivers practical, hands-on techniques for cleaning all types of welding gloves, whether they’re leather or synthetic. You’ll discover specific methods for removing stubborn burn marks, proper drying techniques that prevent cracking, and clear indicators showing when it’s time to replace rather than clean. By implementing these maintenance practices, you’ll maximize your gloves’ service life while ensuring they continue providing reliable protection against burns and sparks.
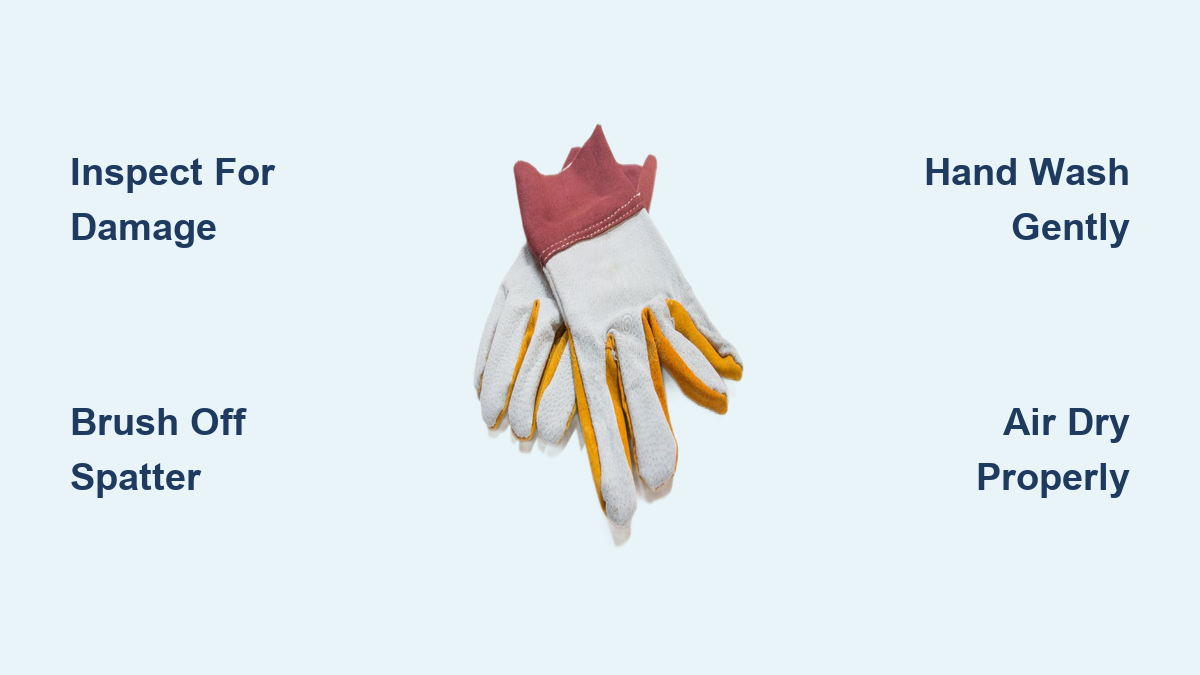
Spot Burn Holes Before Cleaning Your Welding Gloves
Before attempting any cleaning process, conduct a thorough inspection to identify damage that cleaning might worsen or that indicates replacement is necessary. Start by examining the exterior for welding slag accumulation, metal spatter, and burnt residue—particularly around the thumb and forefinger areas where torch handles create concentrated heat exposure. Carefully check all seams and stitching for loose threads or separation, as these weak points can unravel further during washing.
Turn gloves inside out to inspect the lining for holes, thin spots, or excessive wear in high-flex zones like the knuckles and palm. Pay special attention to areas that feel stiff or hardened, as these indicate heat damage or deeply embedded contaminants requiring pre-treatment. Document any compromised flame resistance, such as thinning material or burn-throughs, which will affect your decision to continue using the gloves after cleaning. If you notice holes in critical protection zones or significant thinning that reduces heat resistance, replacement is safer than cleaning.
Blast Away Metal Spatter Without Damaging Leather

Remove loose contaminants first to prevent driving debris deeper into the leather during washing. Use a stiff-bristled brush specifically for glove maintenance to sweep away metal filings and slag particles—work outdoors in a well-ventilated area to avoid inhaling airborne contaminants. Brush in one direction rather than scrubbing back and forth, which forces particles deeper into the leather pores. Focus extra attention on gauntlet cuffs where metal debris naturally accumulates during welding operations.
For stubborn particles embedded in leather grain, gently tap the brush rather than applying excessive force that could damage the material surface. Follow brushing with a shop vacuum using a brush attachment to reach between fingers and in seam crevices. Finish by shaking the gloves vigorously outdoors to dislodge any remaining loose material. This initial debris removal makes subsequent washing significantly more effective while preventing unnecessary abrasion of the leather surface.
Hand Wash Leather Welding Gloves With pH-Balanced Cleaner
Hand washing preserves leather integrity better than machine cleaning for most welding gloves. Prepare a cleaning solution using lukewarm water and a mild, pH-balanced leather cleaner or saddle soap—never use harsh detergents, bleach, or ammonia-based cleaners that strip natural oils and compromise flame resistance. Submerge gloves in the solution and gently agitate for several minutes to loosen embedded grime without oversaturating the material.
For particularly dirty areas, use a soft-bristled brush to work cleaner into the leather using circular motions, concentrating on high-contact zones like the palm and fingers. Rinse thoroughly with clean water until all soap residue disappears, then gently squeeze out excess water without wringing or twisting, which distorts glove shape. Press between clean towels to remove moisture, reshape gloves to their natural form, and proceed immediately to proper drying—never let leather gloves air dry while retaining significant moisture.
Avoid Machine Washing Unless Manufacturer Approves
Machine washing welding gloves risks damaging leather and compromising protective qualities unless explicitly approved by the manufacturer. If your gloves permit machine washing, use a front-loading washer without an agitator and select a gentle cycle with cold water. Place gloves inside a mesh laundry bag to protect them during the wash cycle and use minimal amounts of mild detergent formulated for technical fabrics.
Never use fabric softeners, bleach, or harsh chemicals that degrade flame-resistant properties. Run an extra rinse cycle to ensure complete detergent removal, then remove gloves immediately after washing. Never machine dry welding gloves—high heat damages leather and can shrink synthetic materials. For premium leather gloves, professional leather cleaning often delivers better results while preserving protective qualities.
Remove Stubborn Burn Marks With Baking Soda Paste

Heavy burn residue requires targeted treatment before regular washing. Create a paste using equal parts water and baking soda, then apply directly to burned areas and let sit for 5-10 minutes. For extreme buildup, carefully scrape surface residue with a plastic scraper—never use metal tools that could cut the leather. Work the paste into affected areas using a soft brush, focusing on the grain surface without excessive pressure.
Wipe away the paste with a clean, damp cloth and repeat as necessary for heavily soiled areas. For metallic residue that baking soda can’t remove, a small amount of white vinegar helps dissolve mineral deposits—but requires immediate thorough rinsing afterward. For oil or lubricant contamination, pre-treat greasy spots with a dedicated leather degreaser before general cleaning.
Air Dry Welding Gloves Away From Direct Heat
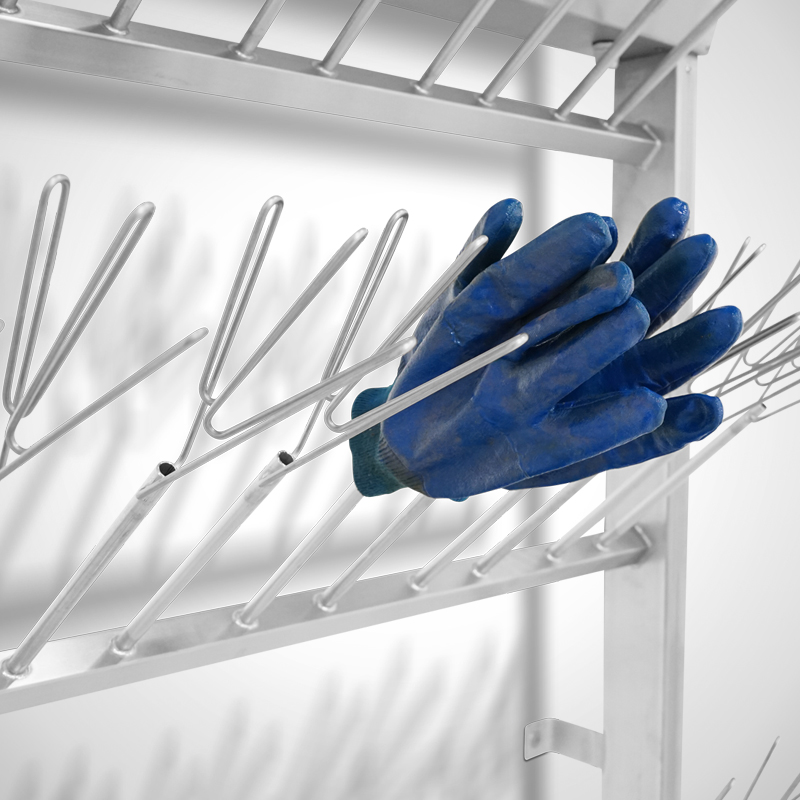
Improper drying causes more glove damage than any other maintenance step. Never expose welding gloves to radiators, heating vents, or direct sunlight—these heat sources dry out leather, causing cracking and loss of flexibility. Instead, dry gloves in a well-ventilated room-temperature area away from all heat sources.
Stuff fingers and palm with crumpled paper towels to maintain shape and absorb interior moisture, changing the stuffing every few hours until completely dry. Hanging gloves by the cuffs promotes air circulation inside and out. Ensure gloves are fully dry before storage—test by pinching the leather in multiple locations for any cool or damp sensation. Complete drying typically takes 24-48 hours depending on humidity levels.
Restore Natural Oils With Leather Conditioner
Conditioning after cleaning replaces oils removed during washing, maintaining flexibility and water resistance. Apply a quality leather conditioner formulated for work leather using clean fingers or a soft cloth, focusing on high-flex areas. Allow absorption for 10-15 minutes as specified on the product label, then wipe away excess to prevent slippery residue.
Multiple light applications work better than a single heavy application, which can oversaturate and soften leather excessively. Condition leather gloves every few weeks with regular use, or monthly for occasional use. Well-conditioned leather maintains better flame resistance and provides superior dexterity compared to dried-out material.
Store Clean Gloves in Breathable Containers
Proper storage prevents unnecessary wear between uses. Keep clean, dry gloves in a cool, dry location away from direct sunlight and heat sources. Store them flat or hang by the cuffs—never crushed or folded. Stuff fingers with paper to preserve shape, but avoid sealed plastic bags that trap moisture and promote mold growth.
Keep gloves away from chemicals, fuels, and solvents that degrade materials or compromise flame resistance. Store welding gloves separately from other work gloves to prevent cross-contamination of oils and residues. For specialized gloves like TIG welding models, use dedicated storage that prevents damage from heavier gauntlet styles.
Replace Gloves Showing Critical Damage Immediately
Knowing when to replace rather than clean is essential for safety. Replace welding gloves immediately when you notice burn-throughs or holes in the palm, fingers, or critical protection zones; significant thinning that reduces heat resistance; compromised stitching in high-stress areas; or damaged wrist closures affecting fit.
As a general guideline, replace heavily used gloves every three to six months, or light-use gloves every six to twelve months. Track replacement dates in a maintenance log and err on the side of replacement when in doubt about glove integrity. Continuing to use compromised gloves puts you at serious risk of burns and injuries during welding operations.
Verify Protection After Cleaning With Flex Test
After cleaning and conditioning, test your gloves before returning them to service. Conduct a visual inspection under good lighting for any damage cleaning might have revealed. Test flexibility by making a fist—gloves should bend easily without stiffness or cracking sounds.
Check that all closures, straps, and cuffs function properly and show no signs of wear. For critical applications, consider a brief flame test on an inconspicuous area—material should char but not sustain combustion. If flame resistance seems compromised, replace the gloves rather than risking inadequate protection during welding.
Rotate Multiple Pairs to Extend Overall Lifespan
Implement preventive maintenance habits that reduce cleaning frequency while extending glove life. Rotate between multiple pairs if possible, allowing each pair at least 24 hours to rest and air out between uses. Clean gloves immediately after heavy use rather than waiting for contaminants to set and harden.
Apply leather conditioner regularly rather than waiting until gloves appear dry or stiff. Keep gloves away from unnecessary hazards like sharp objects and chemicals during use. Develop the habit of inspecting gloves before and after each use to address minor issues before they become major problems requiring replacement.
Leave a Reply