A compromised weld threatens structural integrity across everything from industrial machinery to household metal projects. When you discover a cracked weld, knowing how to fix a cracked weld properly means the difference between a temporary patch and a permanent solution that restores strength and safety. Many DIYers and even professionals make critical mistakes by rushing into repairs without understanding crack types or proper techniques. This guide delivers the exact steps you need to identify, remove, and repair cracked welds correctly—saving you time, materials, and potential safety hazards down the line.
Structural failures from improper weld repairs cost industries millions annually and create dangerous situations in everyday applications. Whether you’re working on farm equipment, automotive frames, or structural steel, addressing cracked welds requires methodical precision. You’ll learn to diagnose crack types, prepare surfaces properly, execute flawless repairs, and verify your work—transforming what seems like a complex problem into a manageable process you can confidently complete.
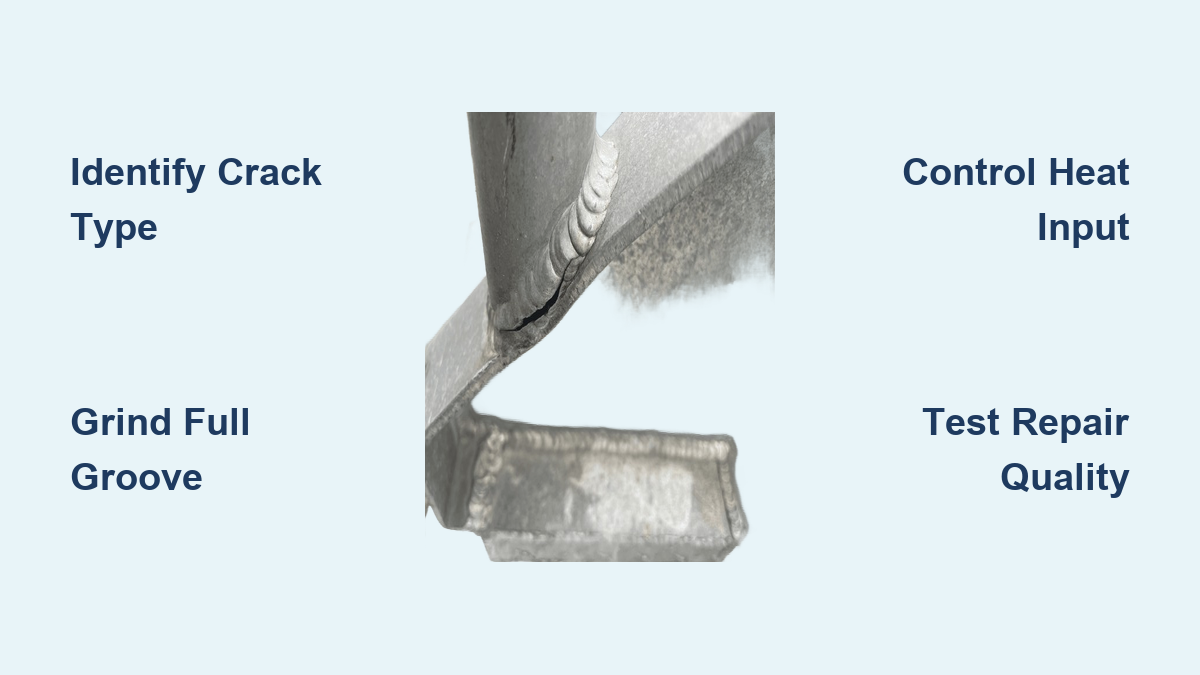
Identify Your Specific Crack Type Before Repairing
Trying to fix a cracked weld without knowing what caused it guarantees repeated failures. Each crack type demands different treatment approaches based on formation temperature, appearance, and underlying causes.
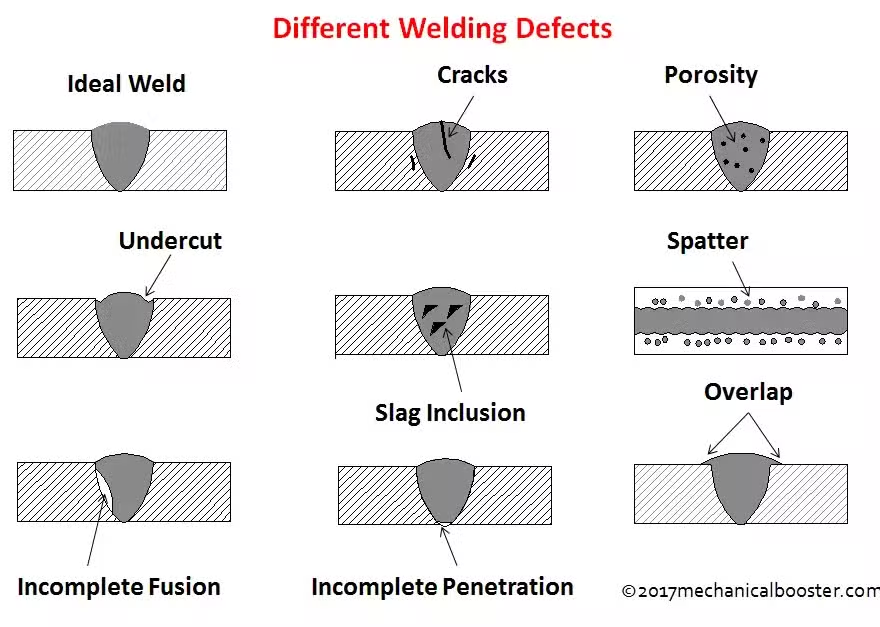
Hot cracks form during weld solidification when the metal is still molten or semi-solid. These appear as jagged, irregular lines along the weld centerline or between grain boundaries. You’ll notice hot cracks while the weld is still warm or glowing, often caused by incompatible filler materials or excessive joint restraint. If your cracked weld shows these characteristics, you must address material composition issues before attempting repair.
Cold cracks develop hours or days after welding due to hydrogen embrittlement, insufficient preheating, or high hardenability in the base metal. These dangerous cracks run perpendicular to the weld direction at the toe or root and can appear unexpectedly in completed structures. When you find these delayed cracks, your repair must include hydrogen management techniques like proper preheating and low-hydrogen filler materials.
Shrinkage cracks emerge as the weld cools from excessive contraction forces. These follow stress patterns at weld toes or in the heat-affected zone when restraint prevents natural metal movement. If you see these radiating from high-stress areas, your repair strategy must address joint design or welding sequence issues to prevent recurrence.
Fatigue cracks progress gradually from repeated stress cycles rather than single overloads. These display distinctive beach mark patterns and typically start small before propagating with each stress application. When repairing fatigue cracks on vibrating equipment, you must modify the design to reduce cyclic stresses or the crack will return.
Remove Cracks Completely Using Proper Grinding Techniques
Incomplete crack removal causes immediate re-cracking because remaining crack tips act as stress concentrators. This critical phase determines whether your repair succeeds or fails.
Start by grinding a U-shaped groove along the entire crack path using a 36-60 grit wheel. Extend the groove 10-15mm into sound metal on both sides to ensure complete crack removal. Unlike standard welding grooves, this repair groove needs rounded contours rather than sharp V-angles—aim for at least a 6mm root radius to minimize stress concentrations in your final repair.
Check your progress every 30 seconds by cleaning the area with a wire brush and examining under bright light. When you can no longer see crack patterns in the groove walls, switch to a finer grit wheel and blend all edges smoothly. The transition between groove and base metal must be gradual enough that your finger detects no edge when running across it.
Never skip final cleaning after grinding. Metal surfaces oxidize within minutes, and these oxides will cause porosity in your repair weld. Use a stainless steel wire brush dedicated to this purpose (never used on other metals) followed by acetone wiping to remove all contaminants from the groove.
Execute Precision Repair Welding with Critical Parameters
Your welding technique directly determines whether the repair holds or fails. Proper execution requires attention to heat management, pass sequencing, and stress control.
Set welding parameters slightly lower than original specifications—typically 10-20% less heat input—to minimize the heat-affected zone and reduce distortion. For example, if the original weld used 180 amps, reduce to 150-160 amps for the repair. This adjustment proves especially crucial when repairing cracks caused by excessive heat input during initial welding.
Preheat carbon and low-alloy steel repairs to 100-200°C using temperature-indicating crayons to verify. Thicker sections or high-alloy materials may require higher temperatures. Proper preheating slows cooling rates, reduces hydrogen cracking risks, and improves fusion with surrounding metal—critical factors for successful cracked weld repairs.
Build the repair in multiple thin passes rather than one large bead. Each layer should be no thicker than 4-5mm to ensure complete penetration and allow proper cooling between passes. After each pass reaches a dull red heat (approximately 400°C), lightly peen the weld with a ball-peen hammer to introduce beneficial compressive stresses that counteract cracking forces.
Monitor interpass temperatures carefully, especially for hydrogen-sensitive materials. Let the weld cool until you can barely touch the base metal (around 150°C) before adding the next pass. Excessive interpass temperatures accelerate crack formation in susceptible materials, undermining your entire repair effort.
Verify Repair Quality with Appropriate Testing Methods
Never return a repaired component to service without proper verification. Different applications demand specific testing protocols to confirm structural integrity.
Begin with thorough visual inspection using 10x magnification under bright LED lighting. Examine the entire repair area for surface cracks, porosity, or undercut that might compromise strength. The weld surface should display uniform ripples with smooth transitions into the base metal—any irregularities require further attention before service.
For critical structural repairs, perform dye penetrant testing to reveal hidden surface defects. Apply penetrant, wait the required dwell time (typically 10-20 minutes), remove excess, apply developer, and examine for indications under proper lighting. Any linear indications matching the original crack pattern require additional grinding and rewelding.
Magnetic particle testing works effectively for ferrous materials, detecting both surface and near-surface flaws. This method provides immediate results but requires proper magnetization direction and demagnetization after testing. The distinct particle accumulation patterns clearly show crack locations and orientations that might escape visual detection.
Ultrasonic testing delivers the most comprehensive verification for thick-section repairs, revealing internal discontinuities invisible to surface methods. While requiring trained operators, this technique confirms soundness throughout the weld cross-section—essential for pressure vessels or structural beams where internal flaws could cause catastrophic failure.
Prevent Future Cracks with Proactive Measures
Understanding why the original crack formed prevents recurring failures and saves significant rework. Implement these strategies after completing your repair.
Address joint design issues that create stress concentrations. Modify connections to reduce restraint through slotted holes, spherical washers, or redesigned geometry. Many recurring cracks stem from poor joint design rather than welding technique—fix the root cause, not just the symptom.
Document successful repair parameters as your new welding procedure specification. Include verified preheat temperatures, interpass limits, filler material types, and technique requirements. This documentation ensures consistency across future repairs and provides reference when similar failures occur.
Implement quality control checkpoints including visual inspection of in-progress welds and periodic non-destructive testing of completed repairs. Tracking both successful and failed repairs creates a knowledge base that continuously improves your welding outcomes and reduces future problems.
Manage heat input meticulously by recording amperage, travel speed, and interpass temperatures for each repair. Analyze this data to identify optimal parameters for different materials and joint configurations. Consistent heat management prevents the thermal stresses that cause most weld cracks.
Final Note: Successfully fixing a cracked weld demands systematic attention to every phase—from accurate diagnosis through verification testing. By identifying your specific crack type, removing defects completely, executing precise repairs with proper parameters, and verifying results through appropriate testing, you’ll restore structural integrity reliably. Remember that effective weld repair isn’t just about filling a gap—it’s creating a solution that performs throughout its intended service life while addressing the root cause to prevent recurrence.
Leave a Reply