Discovering pinholes in your welds can feel like a major setback, especially when working with thin sheetmetal or critical joints. These tiny voids—often no larger than a pinhead—create pathways for air, moisture, and rust to penetrate your welds, compromising both appearance and structural integrity. Whether you’re fabricating automotive body panels, working on HVAC ductwork, or repairing thin-gauge metal structures, pinholes threaten your project’s longevity. The key insight you need right away: filling pinholes without addressing their root cause almost always creates more pinholes. This happens because the heat from repair welding draws contaminants into the molten pool and creates thermal stresses that open new pathways in compromised metal. Fortunately, with the right approach, you can permanently fix these frustrating defects and prevent them from recurring.
Why Your Welds Develop Pinholes (And How to Stop Them)
Pinholes form when gas becomes trapped in the weld pool during solidification. Understanding the specific causes helps you address both current defects and prevent future problems.
Contamination-Induced Gas Porosity
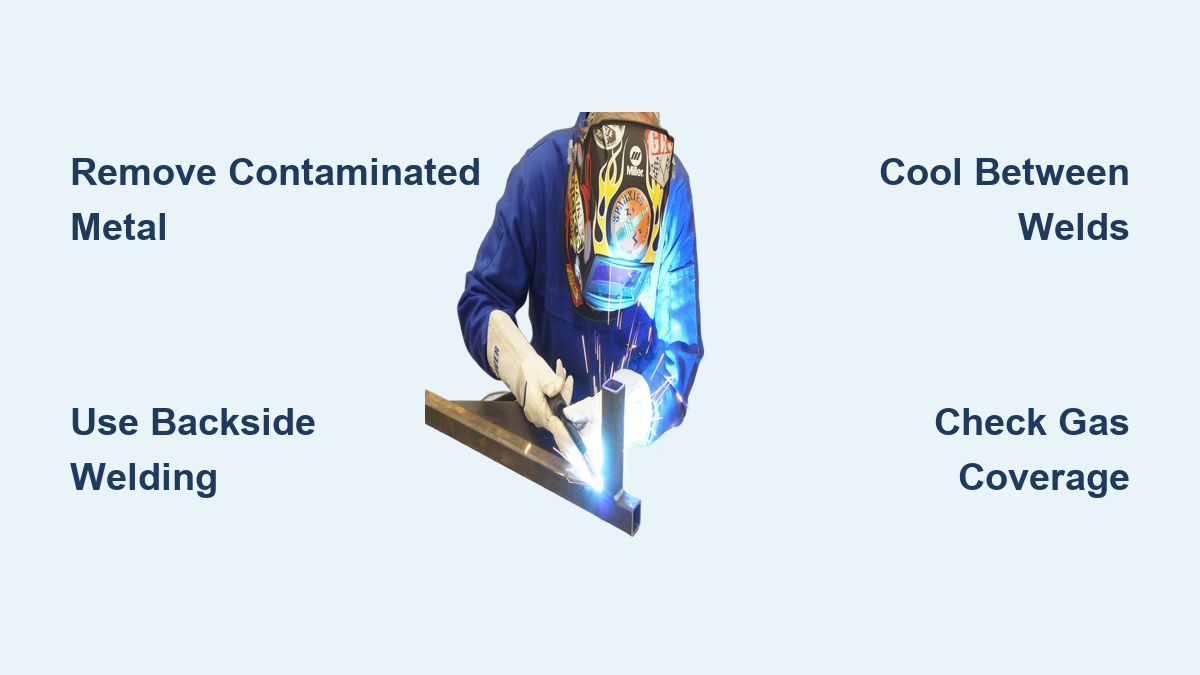
Oil residue from manufacturing, cutting coolant, mill scale, paint, and even fingerprints release gases when heated during welding. These gases become trapped as the weld solidifies, creating characteristic pinholes. Critical insight: When repairing pinholes, you must re-clean the entire area—not just the immediate pinhole site. Previous welding attempts leave oxidation and soot that will contaminate your repair weld if not removed. Wire brush or lightly sand the entire repair zone before attempting fixes, paying special attention to the immediate area around each pinhole.
Shielding Gas Coverage Failures
Worn nozzles, cracked o-rings, and gas line leaks all compromise your shield gas coverage. For MIG welding, switch to a 75% argon/25% CO2 mix when pinholes persist with standard 90/10 gas. This blend reduces pinhole tendency while maintaining good weld penetration. Pro tip: Replace welding nozzles at regular intervals—not just when visibly damaged—to ensure consistent gas coverage. Keep spare nozzles and o-rings in your toolkit for immediate replacement when problems arise.
Material Fit-Up and Heat Management Issues
Gaps exceeding half your material thickness dramatically increase pinhole risk by creating larger, slower-solidifying weld pools. When welding sheetmetal, aim for the tightest possible fit-up—any gap of half the material thickness makes welding significantly more challenging. Warning: Excessive amperage for your wire size keeps the weld pool molten too long, increasing gas entrapment risk. Use the smallest practical wire diameter (0.023-inch works well for thin materials) to reduce heat input and create more manageable weld pools.
Essential Tools for Pinhole Repair Success
Gathering these tools before starting ensures you can address pinholes effectively without interruptions:
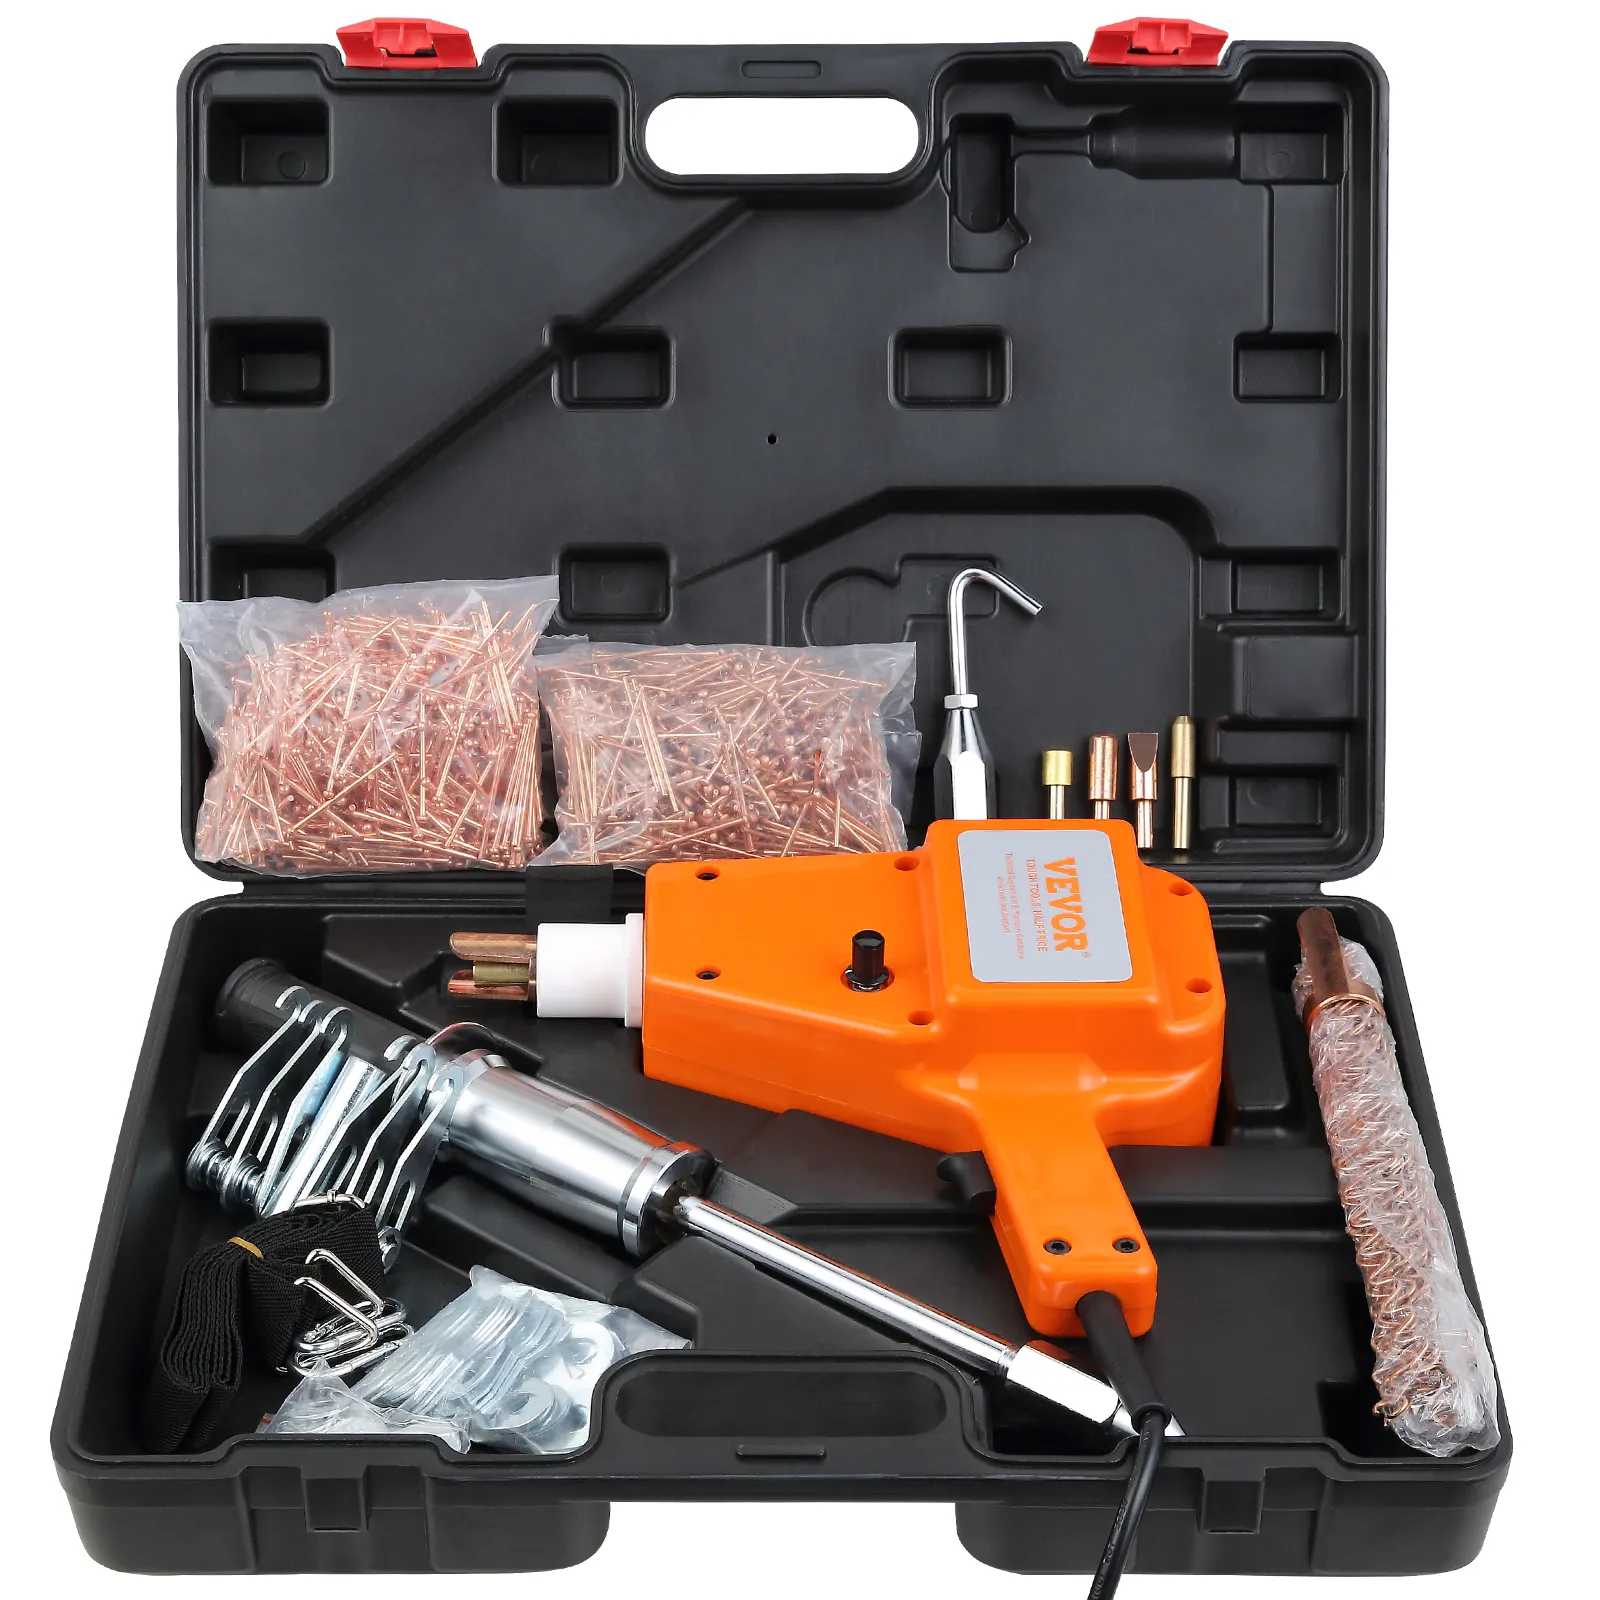
- MIG welder with appropriate settings for your material thickness
- Assortment of welding nozzles (including smaller diameters for precision work)
- Abrasive cut-off wheels and die grinder with cutting attachments
- Step drills for plug welding medium-sized porous areas
- Copper backing bar (flattened copper pipe works well)
- Wire brushes for thorough cleaning between repair attempts
- Compressed air source for rapid cooling between welds
Safety note: Always wear appropriate welding gloves, eye protection for both welding and grinding, and ensure adequate ventilation. Keep a Class C fire extinguisher nearby when welding near flammable materials.
Mechanical Removal: The Most Reliable Pinhole Fix
Complete removal of porous material followed by sound metal installation provides the most durable solution. This approach eliminates compromised metal rather than attempting to fill voids that will likely reopen.
Cutting Out Small Pinhole Areas
For isolated pinholes, use an abrasive cut-off wheel to make a tiny slice through the affected area. This technique minimizes heat input to surrounding metal while completely removing the porous section. After removal, you’ll have a clean void ready for proper welding repair. The advantage? You’re starting fresh with sound metal rather than building on compromised material.
Step Drill Method for Medium-Sized Porous Areas
For porous areas larger than 3/4 inch in diameter:
- Use a step drill to create a clean, round hole through all porous material
- Cut a matching plug from sheetmetal of identical thickness
- Thoroughly clean the surrounding area to remove all oxidation
- Tack-weld the plug at corners first, allowing cooling between tacks
- Complete the weld using small, controlled passes from one side to the opposite
Key technique: After placing corner tacks, wait until the metal cools substantially before adding more tacks. This prevents heat buildup that could warp thin panels or create new pinholes.
Rectangular Patch Installation for Large Damaged Areas
For extensive porosity exceeding practical plug welding limits:
- Cut a rectangular opening with a die grinder, maintaining minimum 1/2-inch width
- Prepare a matching patch from identical-thickness material
- Tack-weld corners first, then add intermediate tacks along each edge
- Weld from one side to the opposite, allowing cooling between passes
- Complete remaining sides only after substantial cooling
Critical consideration: Patches narrower than 1/2 inch present significant welding challenges as heat melts thin material before adequate fusion occurs. Always maintain adequate patch width when cutting your opening.
Effective Pinhole Welding Techniques
Specialized welding approaches make the difference between temporary fixes and permanent repairs.
Backside Welding Approach for Thin Panels
Welding pinholes from the backside offers major advantages for sheetmetal repairs:
- Eliminates need to grind the front surface flush
- Reduces risk of thinning surrounding metal during grinding
- Provides better access for some hard-to-reach areas
Pro technique: Back your weld with a flattened copper pipe to conduct heat away and prevent blow-through. The copper won’t stick to steel welds and can be easily removed after completion—ideal for automotive body panels where maintaining original thickness matters.
Small Spot Weld Method That Works
Forget trying to fill pinholes with large weld deposits. Instead:
- Set your welder to the lowest practical heat setting that still achieves fusion
- Make the smallest possible weld at each pinhole location
- Immediately blow compressed air across the weld for 5-10 seconds to cool rapidly
- Move to a different area before welding the next pinhole
- Allow each weld to cool substantially before returning to adjacent areas
This technique prevents heat accumulation that causes warping and new pinhole formation—critical when working with thin materials.
Alternative Repair Methods When Welding Isn’t Possible
Sometimes welding isn’t practical or appropriate. These alternatives provide solutions for specific situations:
Epoxy and Reinforced Filler Solutions
For small, isolated pinholes in non-structural areas:
- Clean area thoroughly to bare metal
- Apply two-part epoxy filler according to manufacturer instructions
- Use fiberglass-reinforced filler for exterior panels exposed to moisture
- Allow complete curing before sanding and painting
Limitation: This approach works best for hidden areas or temporary repairs. For visible or structural locations, plan for a more permanent welding solution.
Soldering Technique for Pinhole Repair
Soldering offers advantages when heat from welding could cause unacceptable warping:
- Clean pinhole to bare metal
- Tin surrounding area with solder
- Build up solder to fill the void
- File smooth once cooled
- Treat surrounding area with phosphoric acid rust inhibitor
Benefit: Lower temperatures reduce warping risk in thin panels, though the resulting joint lacks the strength of a welded repair.
Preventing Future Pinholes: Your Best Defense
Prevention through proper preparation, technique refinement, and equipment maintenance dramatically reduces pinhole problems:
- Establish a rigorous cleaning protocol before any welding begins
- Verify gas flow rate with a flow meter—insufficient flow allows contamination
- Allow adequate cooling time between adjacent welds to prevent heat buildup
- Store welding wire properly to prevent moisture contamination
- Use appropriately sized equipment for your material thickness
Pro tip: Even experienced professionals find bodywork repairs take longer than anticipated. Build in adequate time for multiple stages and thorough preparation—rushing leads to more pinholes requiring additional repair.
Verifying Your Pinhole Repairs
Don’t assume your repair is complete—verify using these methods:
- Light test: Place bright light behind panel and check for any light showing through
- Soap bubble test: Apply soapy water to welded area and blow air through from opposite side
- Staged inspection: Examine tack welds before building up, then recheck after cooling
Quality standard: Structural applications require completely pinhole-free welds. Non-structural panels may accept small pinholes sealed from the back and covered with filler in non-exposed areas.
Fixing pinholes in welds demands a systematic approach that addresses both the immediate defect and underlying causes. For small, isolated pinholes, welding from the backside using small, quick spot welds with adequate cooling between attempts provides the most reliable solution. Larger porous areas require complete removal of compromised metal and installation of properly prepared patches. While alternative methods like epoxy fillers or soldering work in specific situations, welding remains the most durable solution for critical applications. Most importantly, preventing pinholes through thorough cleaning, proper gas coverage, and appropriate heat management saves significant time compared to repairing defects after they occur. By following these professional techniques, you’ll transform frustrating pinhole problems into opportunities to create stronger, more durable welds.
Leave a Reply