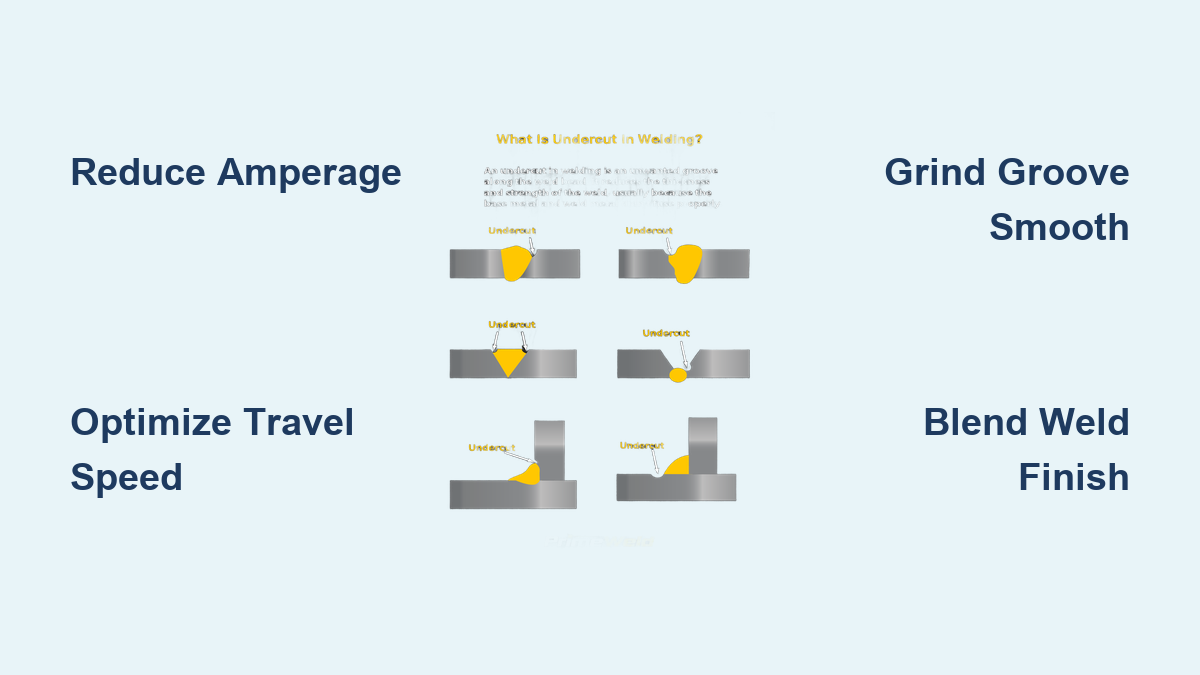
An undercut weld creates a dangerous groove along the weld toe where the base metal has been eroded, significantly weakening the joint’s structural integrity. This common defect occurs when excessive heat melts away base metal faster than the weld pool can fill it, leaving a vulnerable channel that acts as a stress concentrator. For welders working on critical applications like pressure vessels, structural steel, or automotive components, recognizing and repairing undercut isn’t just about aesthetics—it’s essential for safety and performance.
When you discover undercut in your weld, immediate action prevents catastrophic failures down the line. Left unaddressed, these grooves become initiation points for cracks that can propagate under stress, potentially causing joint separation in high-load applications. The good news is that with proper diagnosis and technique, you can effectively repair undercut welds and implement preventive measures to avoid recurrence. This guide delivers actionable steps to identify, diagnose, and fix undercut defects while strengthening your overall welding process.
Pinpoint Undercut Location and Severity
Before grabbing your welding equipment, conduct a thorough visual examination of the weld joint. Undercut appears as a continuous or intermittent groove running parallel to the weld bead at the junction between the weld metal and base material. Use a bright LED flashlight at a low angle to cast shadows that highlight surface irregularities—you’ll see undercut as a distinct depression that catches the light differently than the surrounding metal.
Measure the undercut depth using a weld inspection gauge with undercut measurement capabilities. Critical applications following AWS D1.1 standards require repair when undercut exceeds 1/32 inch for material under 1 inch thick in tension zones. For non-critical applications, consider repair if the groove depth exceeds 10% of the base metal thickness or creates a sharp notch that could initiate cracking.
How do you distinguish undercut from other weld defects?
Unlike porosity (which appears as small holes within the weld bead) or lack of fusion (where the weld metal doesn’t properly bond to the base metal), undercut specifically occurs along the weld toe. It creates a visible line separating the weld bead from the base metal, often with a darker appearance due to the shadow effect of the groove. Undercut typically runs continuously along the weld length, though it may be more pronounced in specific sections where travel speed or heat input varied.
Adjust Critical Welding Parameters to Eliminate Undercut

Excessive amperage represents the most frequent cause of undercut defects. Reduce your welding current by 15-20% from your original settings—this immediately decreases heat input at the weld edges while maintaining adequate fusion. For a 1/8-inch electrode that originally ran at 150 amps, drop to 125-130 amps and assess the results on a test piece before repairing the actual defect.
What’s the optimal travel speed to prevent undercut?
Maintain a travel speed that allows the molten pool to properly wet the base metal edges without excessive heat buildup. The ideal speed creates a uniform bead with smooth transitions at both toes—typically 6-8 inches per minute for a 1/8-inch electrode on 1/4-inch steel. If you hear a loud, crackling arc sound or see the weld pool pulling away from the edges, you’re moving too slowly. Conversely, a narrow, convex bead with poor toe fusion indicates excessive travel speed.
Execute Precision Repair Passes
Prepare the undercut area by grinding out any sharp notches or deep grooves using a 36-grit grinding wheel. Create a smooth, U-shaped depression rather than a sharp V-groove to reduce stress concentrations. Clean the area thoroughly with a stainless steel wire brush to remove all grinding residue before welding—contaminants introduced during repair cause additional defects.
How should you position the electrode for undercut repair?
Angle the electrode 10-15 degrees in the direction of travel (a “push” angle) with the contact tip positioned directly over the center of the prepared groove. This positioning directs arc force toward the leading edge of the molten pool, encouraging proper wetting at the weld toes. Maintain a short arc length—approximately 1/8 inch for MIG welding or equal to the electrode diameter for stick welding—to ensure consistent heat distribution along the joint.
Blend and Finish Repaired Areas

After depositing the repair weld, use a grinding wheel to blend the repair zone smoothly into the original weld profile. Work perpendicular to the weld direction with light, consistent pressure to avoid creating new stress concentrations. The finished repair should show a gradual transition from base metal to weld metal without abrupt changes in contour.
What’s the proper sequence for multi-pass repairs?
For deep undercut requiring multiple passes:
1. Deposit a narrow root pass focusing on proper toe wetting
2. Allow partial cooling (but stay within interpass temperature limits)
3. Apply a second pass with slight oscillation to build width
4. Complete with a final finishing pass matching the original profile
Each subsequent pass should overlap the previous by 50% while maintaining consistent heat input to prevent new defects.
Prevent Recurring Undercut Issues
Implement parameter control measures that eliminate undercut at the source. Create a welding procedure specification (WPS) for common joint configurations that documents optimal parameters including:
– Maximum amperage range for each electrode size
– Recommended travel speeds for different positions
– Acceptable arc length parameters
– Required preheat temperatures for thick materials
How can you maintain consistent travel speed during welding?
Mark reference lines on the workpiece every 2 inches using a soapstone marker. As you weld, time your movement between marks—practice until you achieve consistent speed across the entire joint. For longer welds, use a welding guide or jig that physically limits your travel speed to the optimal range. Many experienced welders develop an auditory cue: a steady “hissing” sound indicates proper travel speed, while a loud “crackling” suggests you’re moving too slowly.
Validate Repair Quality Against Standards
Conduct a thorough visual inspection using a magnifying glass to examine the repaired area under multiple lighting angles. The repair should show complete fusion at both toes with no visible grooves, cracks, or porosity. Measure the weld profile with a fillet weld gauge to verify leg lengths meet specifications—uneven legs often indicate residual undercut on the shorter side.
When is non-destructive testing necessary after repair?
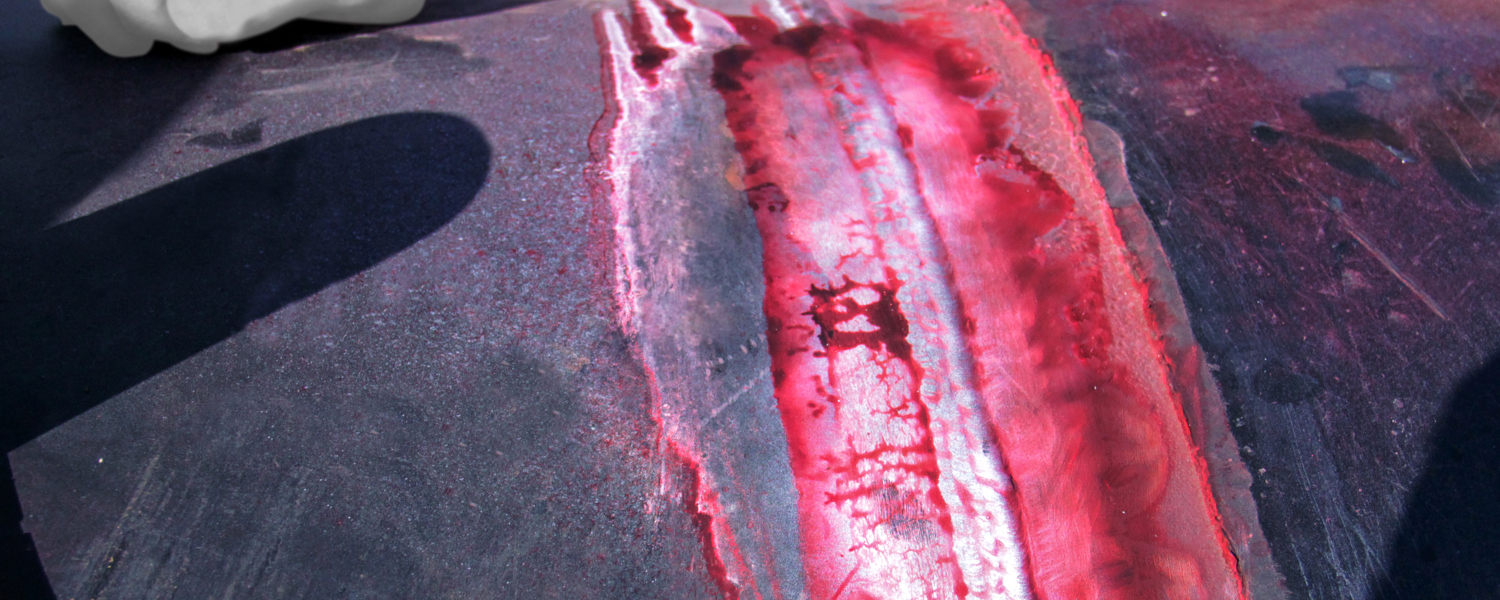
For critical structural applications or pressure-containing welds, perform liquid penetrant testing (LPT) to confirm the repair eliminated all surface defects. Apply penetrant to the repaired area, allow proper dwell time, remove excess penetrant, apply developer, and inspect under proper lighting. Any indications appearing after 10-15 minutes require additional repair. For high-integrity applications, follow up with ultrasonic testing to verify subsurface integrity.
Apply Industry-Specific Quality Benchmarks
Different applications have varying tolerance for undercut defects. Structural steel following AWS D1.1 allows maximum undercut of 1/32 inch for material under 1 inch thick in tension zones, while ASME Section VIII pressure vessel code restricts undercut to 1/64 inch for certain service conditions. Pipeline welding per API 1104 requires undercut repair if depth exceeds 12.5% of nominal wall thickness or 1/32 inch, whichever is less.
How do you document undercut repairs for quality assurance?
Maintain detailed repair records including:
– Original defect location and measurements
– Repair procedure parameters (amperage, voltage, travel speed)
– Welder identification
– Post-repair inspection results
– Acceptance documentation against applicable code requirements
This documentation proves compliance during quality audits and provides valuable data for continuous process improvement.
Fixing undercut weld defects requires precision parameter control and proper technique, but the investment pays dividends in stronger, more reliable joints. By reducing amperage, optimizing travel speed, and maintaining proper electrode angle during repair, you eliminate the root causes that created the defect in the first place. Implementing these corrective actions alongside preventive measures like parameter documentation and consistent travel speed control dramatically reduces rework while improving overall weld quality. Remember that successful undercut repair isn’t just about filling the groove—it’s about understanding and correcting the welding process that created the defect, ensuring stronger, longer-lasting welds on every project.
Leave a Reply