Hard face welding fails when you skip surface preparation or use incompatible electrodes. If your hardened surfaces are cracking, peeling, or wearing too quickly, you’re likely making one of the seven critical mistakes covered in this guide. Hard facing extends component life by 3-10x when done correctly, saving industrial operations thousands in replacement parts and downtime. This guide reveals the exact procedures professional welders use to apply wear-resistant overlays that withstand extreme abrasion, impact, and heat—no matter your skill level.
Essential Hard Facing Electrodes and Materials Selection

Choosing the wrong hard facing material destroys your work before you even strike an arc. Your base metal and operating conditions dictate which hard facing alloy will survive in service.
How to Match Electrodes to Your Application Requirements
Wear resistance comes in four primary forms, each requiring different hard facing materials:
- Abrasion resistance: Use chromium carbide alloys (like 106/107) for sand, gravel, or coal handling equipment
- Impact resistance: Nickel-based alloys (such as 114/115) absorb shock in crusher hammers and excavator buckets
- Heat resistance: Cobalt-based (Stellite) alloys withstand temperatures up to 1000°F in furnace components
- Metal-to-metal wear: Manganese steel (122/123) work-hardens under pressure for rail wheels and gears
Pro Tip: Never assume compatibility—check the electrode manufacturer’s chemical analysis sheet against your base metal composition. Mismatched carbon content causes cracking as the weld cools.
Critical Electrode Diameter Selection Mistakes to Avoid
Using oversized electrodes creates excessive heat input that dilutes the hard facing layer. Follow this sizing guide:
| Base Metal Thickness | Recommended Electrode Diameter | Pass Thickness |
|---|---|---|
| Under 1/4″ | 1/8″ | 1/8″ |
| 1/4″ – 1/2″ | 5/32″ | 3/16″ |
| Over 1/2″ | 3/16″ | 1/4″ |
Exceeding these parameters reduces hardness by 20-40 points on the Rockwell C scale. Thin materials require lower amperage and faster travel speeds to prevent burn-through.
Surface Preparation That Prevents Hard Facing Failure
70% of hard facing failures trace back to inadequate surface cleaning. Contaminants create gas pockets that become cracks under stress.
How to Properly Clean Base Metal Before Welding
Follow this cleaning sequence for maximum adhesion:
- Remove all oil and grease with acetone or specialized degreaser (never use gasoline)
- Eliminate rust and mill scale with an abrasive wheel—visible metal must shine like new
- Preheat cast iron or high-carbon steel to 500-800°F to prevent thermal shock
- Wipe surface with clean, dry cloth immediately before welding
Warning: Never use wire brushes alone—they smear contaminants rather than removing them. Always follow with solvent wiping.
Why Skipping Beveling Causes Premature Failure
Flat surfaces cause hard facing to “cap” and separate from the base metal. Create a 30-45° bevel along edges using an angle grinder:
- Depth: 1/8″ for thin materials, 1/4″ for thick sections
- Smooth transitions prevent stress concentration points
- Rounded edges reduce cracking at termination points
This simple step increases bond strength by 35% according to metallurgical studies.
Perfect Hard Facing Welding Technique in 5 Steps
Most welders ruin hard facing by treating it like regular welding. The procedures differ significantly to achieve maximum wear resistance.
How to Set Correct Amperage for Hard Facing Electrodes
Hard facing requires lower amperage than structural welding to maintain alloy integrity:
- 1/8″ electrodes: 90-110 amps (10-15 amps below standard settings)
- 5/32″ electrodes: 120-140 amps
- 3/16″ electrodes: 150-175 amps
Check your work: Proper heat input creates a smooth, fluid weld pool that doesn’t penetrate deeply into base metal. Excessive penetration dilutes the hard facing alloy.
Critical Travel Speed for Optimal Hardness
Moving too fast creates cold laps; too slow burns off alloying elements. Maintain this travel speed:
- Single-pass beads: 3-4 inches per minute
- Multi-pass patterns: 5-6 inches per minute
Use a welding mirror to watch the trailing edge—molten metal should solidify immediately behind the arc without leaving liquid puddles.
Why Stringer Beads Outperform Weave Patterns
Hard facing requires straight stringer beads rather than weaving:
- Weaving increases heat input by 25-40%
- Excessive heat destroys chromium carbide formation
- Stringer beads maintain consistent alloy composition
Apply beads parallel to expected wear direction—never perpendicular.
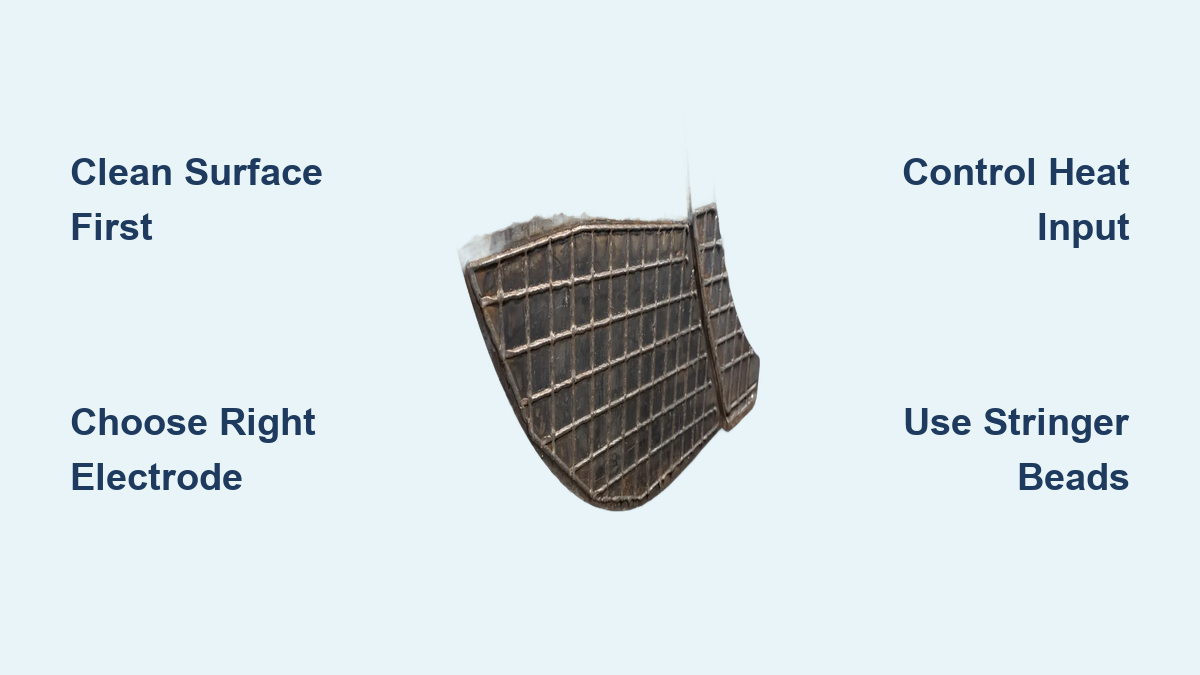
Multi-Pass Hard Facing Patterns That Last Longer
![]()
Single-pass hard facing wears through quickly under severe conditions. Strategic multi-pass patterns create deeper protection.
How to Build Up Thickness Without Cracking
Stacking multiple passes requires specific sequencing to manage stresses:
- First pass: 100% penetration into base metal for maximum bonding
- Second pass: 50% overlap, opposite direction of first pass
- Third pass: 50% overlap of second pass, same direction as first
- Final pass: Full coverage with 1/16″ minimum thickness
Pro Tip: Allow each pass to cool to 200°F before next application—touch test with gloved hand should feel warm but not hot.
Chevron vs. Herringbone Patterns for Different Wear Types
- Chevron pattern: Best for directional abrasion (conveyor rolls, chutes)
- Herringbone pattern: Superior for multidirectional wear (bucket lips, crusher jaws)
- Grid pattern: Ideal for flat surfaces with random impact (dump truck beds)
Pattern height should equal 1/3 of total hard facing thickness for maximum effectiveness.
Post-Weld Hard Facing Treatments That Double Service Life
Skipping post-weld processing wastes your hard work. Proper treatment activates the alloy’s full potential.
Why Controlled Cooling Prevents Cracking
Rapid cooling creates internal stresses that lead to microcracks. Follow this cooling protocol:
- Insulate weld area with dry lime or ceramic fiber blankets
- Allow minimum 4-hour cool-down time for thick sections
- Never quench with water or compressed air
This slow cooling allows proper metallurgical transformation without stress fractures.
How to Verify Hard Facing Quality Before Installation
Perform these field tests before putting the part into service:
- Visual inspection: No porosity, cracks, or undercutting visible
- Hardness test: Minimum 55 HRC for abrasion resistance
- Chip test: Hard facing should flake like glass, not bend
Warning: Parts with visible cracks must be ground out completely and re-welded—never install compromised hard facing.
Common Hard Facing Mistakes That Destroy Your Work
Even experienced welders make these costly errors that compromise hard facing performance.
Why Preheating Is Non-Negotiable for Cast Iron
Cast iron hard facing fails without proper preheating:
- Minimum 500°F preheat prevents immediate cracking
- Maintain interpass temperature above 400°F
- Post-weld insulation prevents cooling too quickly
Skipping preheat causes hairline cracks that spread under operational stress.
The Hidden Danger of Moisture in Electrodes
Hard facing electrodes absorb moisture rapidly, causing:
- Hydrogen-induced cracking in the weld zone
- Reduced hardness by 15-20 points
- Increased porosity that compromises wear resistance
Store electrodes in a heated cabinet at 250-300°F when not in use. Discard any that show discoloration at the core.
Hard Facing Maintenance and Repair Procedures
Hard facing wears eventually—knowing how to repair extends component life further.
How to Remove Worn Hard Facing Without Damaging Base Metal
Use these techniques to strip old hard facing safely:
- Angle grinder with depressed center wheel (never cup wheel)
- Maintain 15° angle to prevent gouging base metal
- Stop grinding when you see uniform base metal color
Pro Tip: Apply soapy water to grinding area—it reduces heat and prevents metallurgical changes to the base metal.
Step-by-Step Process for Re-Hard Facing Worn Components
- Clean base metal to bare, shiny surface
- Preheat to 400-500°F (cast iron requires higher)
- Apply first pass at 110% standard amperage for bonding
- Build up to original thickness with standard parameters
- Perform post-weld heat treatment
This repair process restores 90% of original wear life when done correctly.
Final Note: Mastering hard face welding transforms how industrial equipment withstands extreme wear conditions. The right electrode selection, proper surface preparation, and precise welding technique create surfaces that resist abrasion 5-10 times longer than untreated components. Remember to always match your hard facing method to the specific wear mechanism—what works for sand abrasion fails against impact loads. Implement the multi-pass patterns and post-weld treatments covered here to maximize service life between maintenance cycles. For severe applications, consider consulting a welding engineer to develop a custom hard facing specification based on your exact operating conditions.
Leave a Reply