When your AR-15’s flash hider starts to loosen after repeated firing or you’re building a compliant 14.5″ carbine, knowing how to pin and weld a flash hider becomes essential knowledge. This permanent attachment method creates a rock-solid connection between your barrel and muzzle device that won’t shift under heavy use or fail to meet legal requirements. Whether you’re a home gunsmith building your first rifle or a professional armor seeking consistent results, mastering this technique ensures your firearm remains both functional and legally compliant.
The pin and weld process transforms what would otherwise be a potentially problematic short-barreled rifle into a standard configuration that satisfies National Firearms Act requirements. Unlike standard timing methods that rely solely on torque and thread locker, this technique physically bonds the flash hider to the barrel, creating a permanent attachment that won’t loosen no matter how many rounds you fire. This guide walks you through every critical step to achieve professional results without damaging your expensive barrel components.
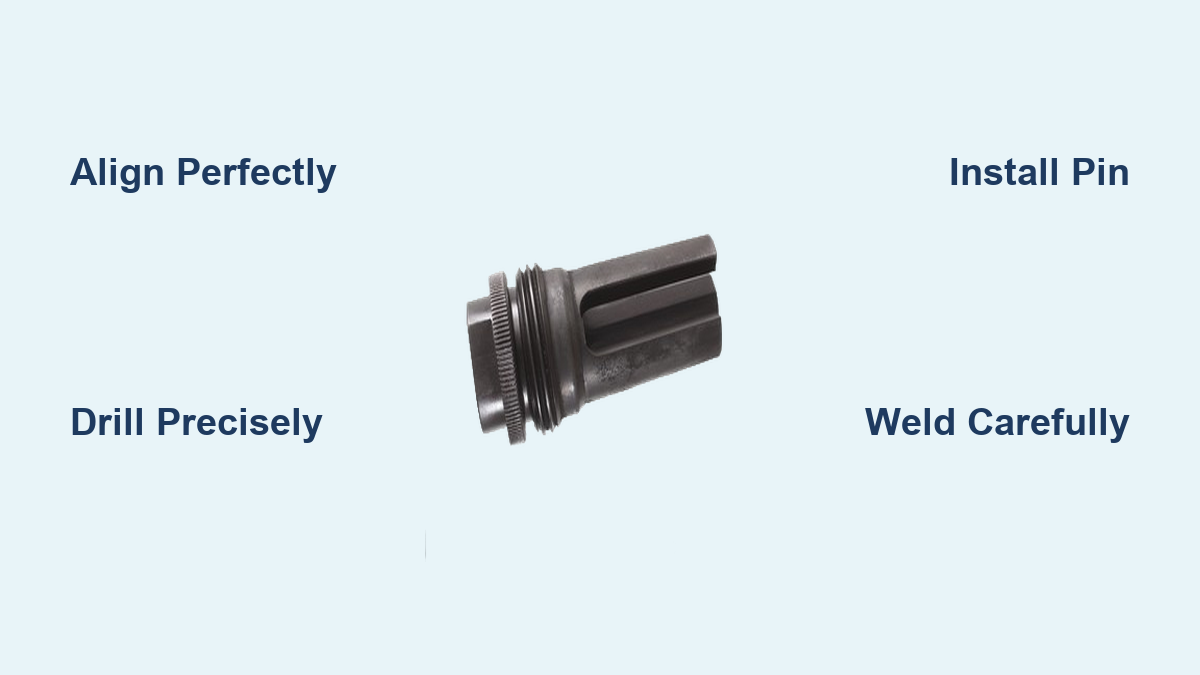
Position Your Flash Hider for Perfect Alignment
Before any drilling begins, your flash hider must be perfectly positioned on the barrel. Misalignment creates cosmetic flaws and can affect the device’s functionality. Start by cleaning both the barrel threads and flash hider interior with a quality solvent to remove manufacturing oils and debris that could affect positioning.
Hand-thread the flash hider onto your barrel until it seats against the barrel shoulder. Use a barrel wrench and flash hider wrench to achieve proper torque—typically 30-40 foot-pounds for most AR-15 applications. As you tighten, watch the flash hider’s orientation; you want the top slot or prong perfectly vertical when the rifle is in battery. Some builders use a laser bore sighter to verify alignment with the rifle’s sight picture.
Critical tip: Once properly timed, mark the flash hider’s position with a fine-tip marker before removing it. This reference point ensures you reinstall it in exactly the same orientation for drilling. Never skip this step—trying to realign a flash hider after removal often leads to imperfect positioning that shows in the finished product.
Drill the Pin Hole with Precision Accuracy
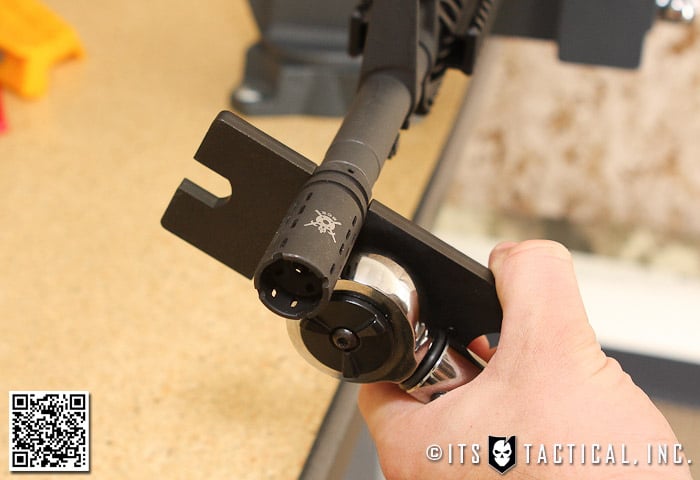
The hole you drill determines whether your pin installation looks professional or amateurish. Attempting this freehand guarantees misalignment—always use a drill press or precision drill guide. Position your barrel in a vise with the flash hider mounting area perfectly horizontal.
Select the Optimal Pin Location
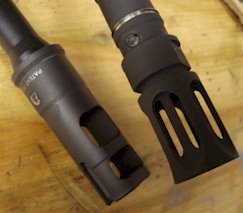
Choose a spot in the flat area between the flash hider’s prongs, approximately 0.625″ from the muzzle face. Avoid drilling through structural weak points or directly in line with vent ports. For most standard flash hiders, the ideal position centers the hole on the barrel’s axis while maintaining equal material on all sides.
Execute Flawless Drilling Technique
- Clean the drilling area thoroughly and apply a center punch to create a precise starting point
- Install a 1/8″ pilot drill bit (for standard roll pins) in your drill press
- Position the barrel so the punch mark aligns perfectly with the bit
- Apply light pressure while drilling through both the flash hider and barrel wall
- Stop drilling immediately when you feel the bit break through to the bore side
Warning: Never drill all the way through the barrel into the bore—this damages rifling and creates a dangerous obstruction. Use a depth stop or measure your drill bit to ensure you only penetrate the barrel wall, not the bore.
Install the Pin for Maximum Holding Power
With your hole drilled, proper pin installation creates the mechanical lock that makes this technique so reliable. Most professionals use 1/8″ roll pins for AR-15 applications, but verify compatibility with your specific flash hider design.
Perfect Pin Installation Process
- Test-fit the pin in your drilled hole—it should require light hammer taps but not excessive force
- Position the roll pin at the hole entrance and use a roll pin punch to start installation
- Drive the pin through until it protrudes slightly from the opposite side
- Flip the assembly and drive from the other side until the pin centers perfectly
- Finish with a brass punch to seat the pin flush with the flash hider’s exterior
Pro tip: Apply a tiny drop of light oil to the pin before installation—it reduces friction during insertion and prevents galling. Wipe away excess immediately to avoid contamination during welding.
Weld with Controlled Heat Management
Welding completes the permanent attachment but requires careful heat control to prevent barrel warping. MIG welding produces excellent results for most home gunsmiths, while TIG offers greater precision for professionals.
Critical Welding Steps
- Clean the entire welding area with acetone to remove all oils and contaminants
- Wrap wet rags around the barrel 2-3 inches behind the weld zone to act as heat sinks
- Position your welding gun at a 15-20 degree angle to the pin
- Run short stitch welds (1/4″ long) around the pin circumference rather than one continuous bead
- Allow 30 seconds between stitches for the metal to cool slightly
Warning: Overheating the barrel during welding can alter its temper and negatively impact accuracy. If the barrel becomes too hot to touch comfortably, stop welding and allow complete cooling before continuing.
Verify Your Work with Professional Inspection Methods
Skipping proper inspection risks legal non-compliance and potential safety issues. A professional-quality pin and weld installation meets three critical standards:
- Zero movement: The flash hider cannot rotate or move in any direction when substantial force is applied
- Complete weld penetration: The weld bead fully fuses the pin to the flash hider with no gaps
- Proper dimensions: The combined barrel and flash hider meets minimum legal length requirements
Use a torque wrench to attempt loosening the flash hider—it should remain completely immobile. Visually inspect the weld from multiple angles under bright light to detect any cracks or incomplete fusion. Finally, measure the overall length from the barrel shoulder to the flash hider’s furthest point to verify legal compliance.
Avoid These Costly Pin and Weld Mistakes

Even experienced gunsmiths sometimes make errors that compromise their work. Learning from these common pitfalls saves you time, money, and potential legal headaches.
Critical Errors to Prevent
- Misaligned drilling: Using improper jigs or skipping alignment checks creates crooked pins that look unprofessional
- Inadequate cleaning: Residual oils or carbon fouling causes weld porosity and weak joints
- Excessive heat input: Continuous welding without cooling breaks warps barrels and affects accuracy
- Improper pin sizing: Slightly undersized pins loosen over time, while oversized pins crack surrounding metal
Pro tip: Before working on your actual barrel, practice the entire process on a scrap barrel blank. This builds confidence and reveals technique issues without risking expensive components.
Legal Compliance Checklist for NFA Requirements
Understanding the legal implications separates responsible gun owners from those risking serious penalties. The pin and weld technique primarily serves two legal purposes:
- Converting a 14.5″ barrel to a legal 16″+ configuration by permanently attaching a muzzle device
- Creating a permanent attachment that satisfies ATF requirements for “integral” muzzle devices
Document your process thoroughly with photographs showing:
– Original barrel length measurement
– Flash hider dimensions
– Final assembled length
– Close-ups of your pin and weld installation
Warning: Some states have additional restrictions beyond federal requirements. California, New York, and New Jersey all have specific regulations regarding pinned and welded devices—research your local laws before beginning.
Long-Term Maintenance for Permanent Installations
Unlike standard muzzle devices requiring periodic retightening, a properly executed pin and weld installation needs no maintenance. The mechanical pin combined with fusion welding creates a single-piece assembly that won’t loosen regardless of firing frequency or environmental conditions.
During routine cleaning, simply inspect the weld area for any signs of cracking or deterioration—though with proper initial execution, these should never appear. If you ever need to replace the flash hider (due to damage or upgrading), be prepared to cut off the existing device and rethread the barrel, as the pin and weld process is intentionally destructive to reverse.
Mastering how to pin and weld a flash hider transforms your gunsmithing capabilities, allowing you to build legally compliant rifles with professional-quality results. By following these precise steps—perfecting your alignment, drilling with accuracy, controlling welding heat, and verifying your work—you’ll achieve installations that satisfy both legal requirements and functional demands. Remember that patience and attention to detail separate successful projects from costly mistakes—take your time with each step, verify measurements twice, and never rush the welding process. With practice, you’ll develop the confidence to tackle this essential gunsmithing technique on any AR-platform rifle, creating muzzle attachments that will last the lifetime of the barrel.
Leave a Reply