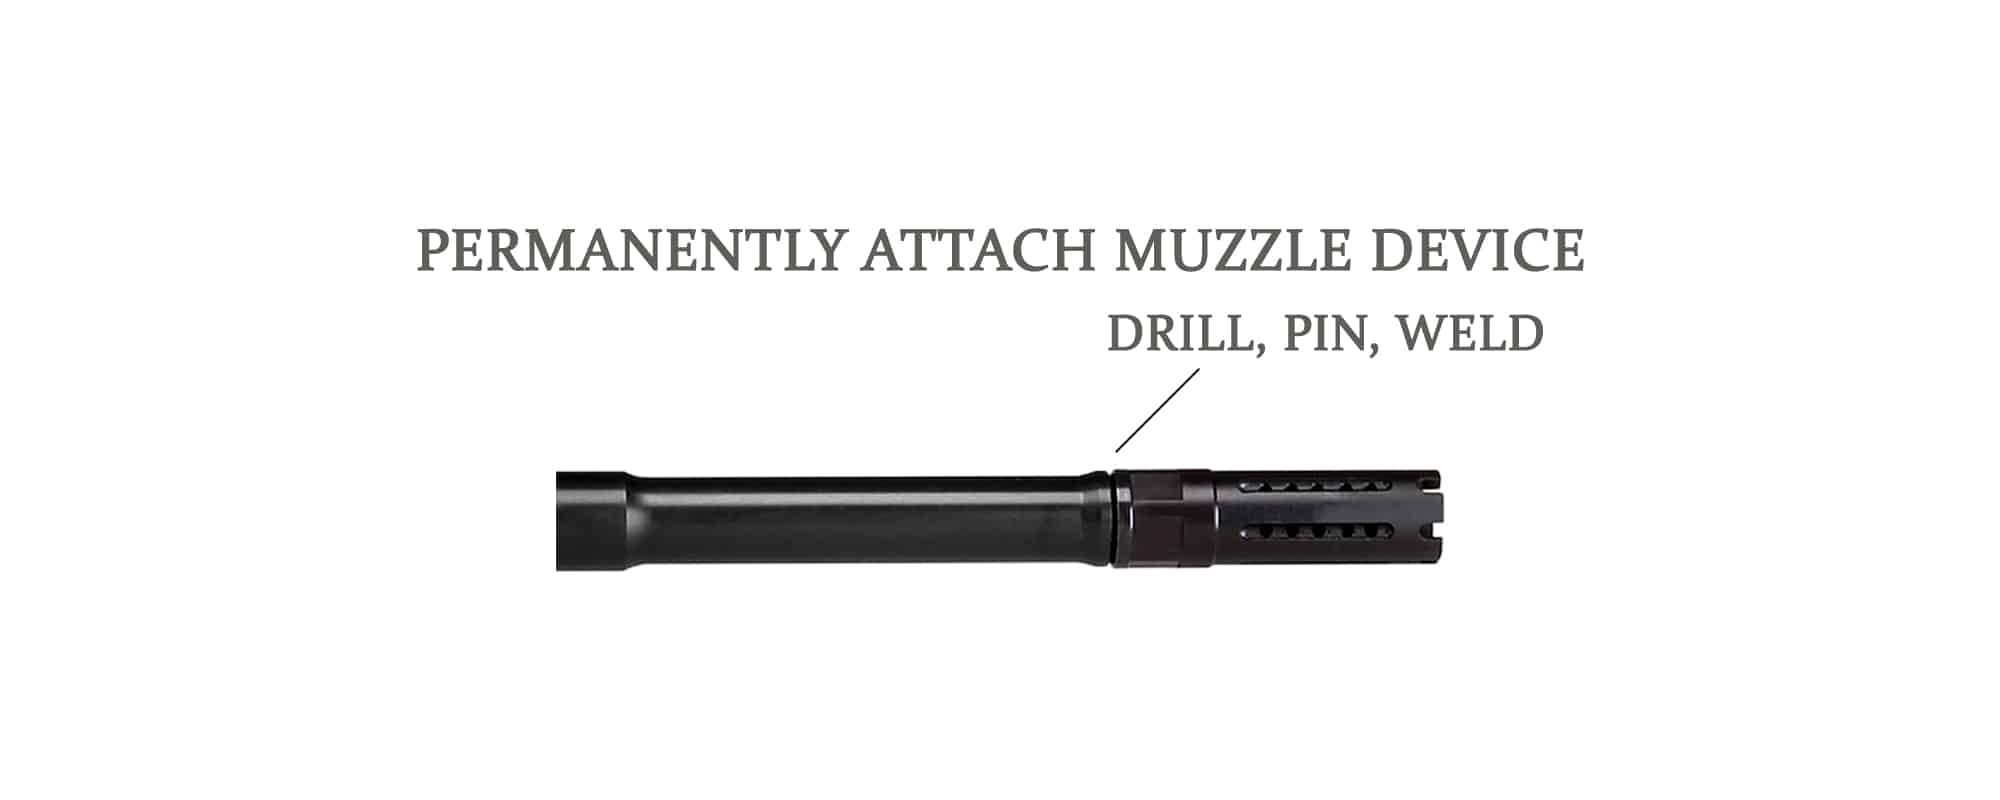
If your AR-15 or other rifle has a barrel shorter than 16 inches, you’ve likely encountered the critical need to know how to pin and weld a muzzle device properly. This specialized gunsmithing technique creates a permanent connection between your muzzle device and barrel, serving dual purposes: ensuring legal compliance with ATF regulations for short-barreled rifles and securing components against extreme firing forces. Without proper pinning and welding, your otherwise illegal short-barreled rifle could trigger serious legal consequences or, worse, create dangerous safety hazards when the muzzle device loosens during firing.
Many firearm owners mistakenly believe that simply applying thread locker creates a “permanent” attachment. The ATF explicitly requires more—your muzzle device must be attached so securely that removal would damage either the device or barrel. This guide cuts through the confusion with actionable steps, legal requirements, and professional techniques for correctly pinning and welding your muzzle device. Whether you’re building an SBR-compliant rifle or securing a high-performance brake, you’ll learn exactly what it takes to do the job right the first time.
Why Pin and Weld Your Muzzle Device for Legal SBR Compliance
Your rifle’s barrel length determines whether it falls under National Firearms Act regulations, making proper pin and weld essential for legal compliance. The ATF measures barrel length from the breech face to the end of the barrel, including any permanently attached muzzle device. A 14.5-inch barrel becomes legal when you add a permanently attached muzzle device that brings the total to 16 inches or longer—no tax stamp or paperwork required.
The key word here is “permanently.” The ATF considers a muzzle device permanent only if removing it would require destructive methods like drilling, cutting, or grinding that damage the device or barrel. Thread locker alone doesn’t qualify—you must physically pin and weld the device to meet ATF standards. When performed correctly, this process creates a connection that cannot be removed without obvious damage, satisfying the “permanent” requirement while maintaining your rifle’s overall functionality.
Essential Tools for Professional-Quality Pin and Weld Results
Skipping proper equipment guarantees subpar results and potential safety hazards when you attempt to pin and weld a muzzle device. You absolutely need these specialized tools:
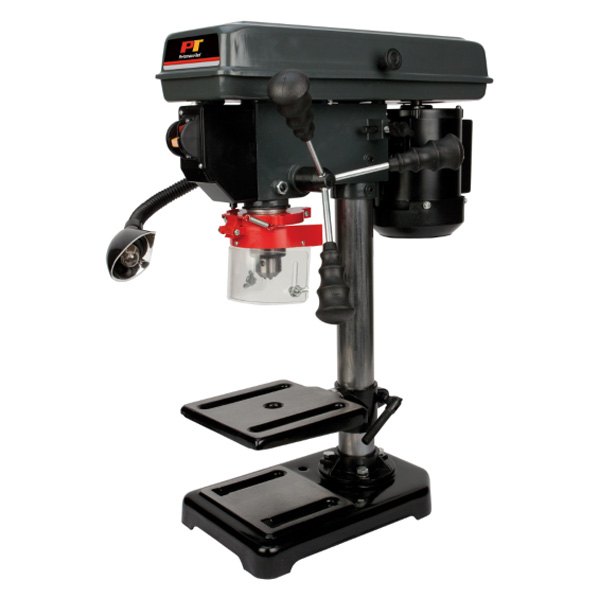
- Precision drill press (0.001-inch tolerance) with secure vise mounting – Handheld drills cannot achieve the straight hole required
- Cobalt or carbide drill bits rated for hardened steel – Standard bits will wander or dull immediately
- TIG welding setup with argon shielding gas – MIG welding creates too much heat and risks barrel warping
- Precision measuring tools (calipers accurate to 0.001 inch, dial indicator)
- Thread pitch gauges and proper tap set for creating secure pin threads
Attempting this job with inadequate tools risks catastrophic failure. A misaligned pin hole or weak weld could allow your muzzle device to separate during firing, potentially causing serious injury to you or bystanders. Professional gunsmiths invest thousands in this equipment for good reason—precision matters when lives are on the line.
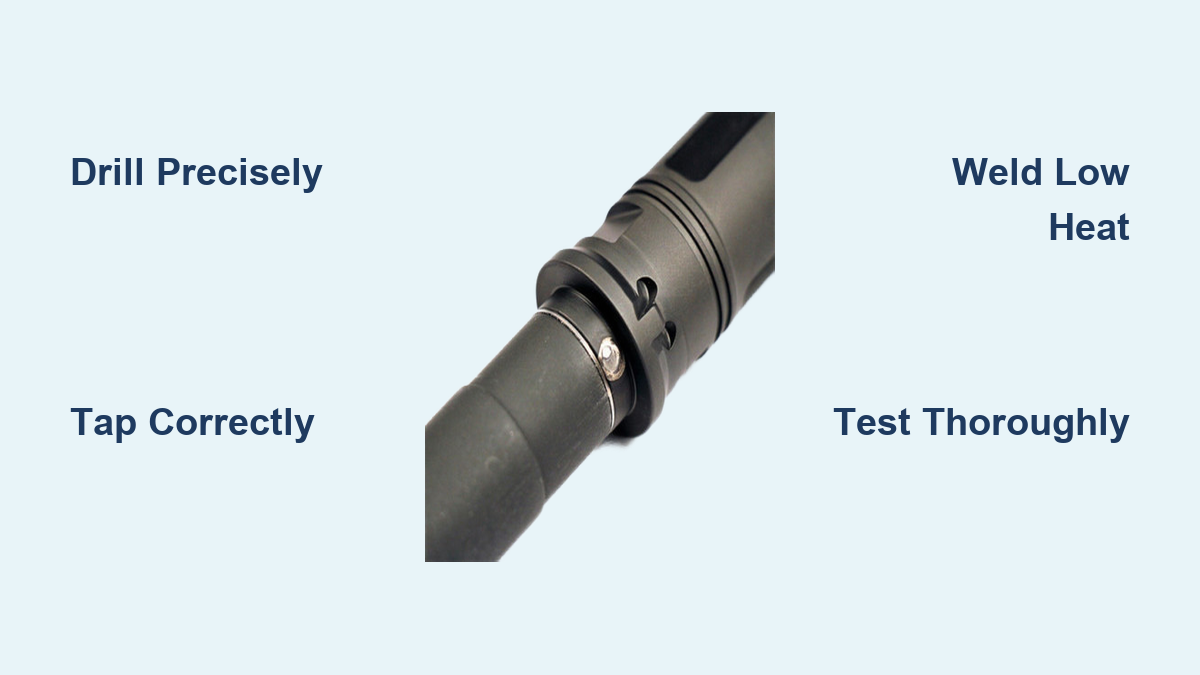
Step-by-Step Guide: How to Pin and Weld a Muzzle Device Correctly
Follow these critical steps precisely when you decide to pin and weld a muzzle device:
1. Prepare the barrel and muzzle device
– Thoroughly clean threads and mating surfaces with solvent
– Apply minimal anti-seize compound to threads only (avoid mating face)
– Hand-tighten the muzzle device, then torque to manufacturer specifications (typically 15-40 ft-lbs)
– “Kiss” the device one-quarter turn past torque specification for perfect seating
2. Drill the pin hole with absolute precision
– Mark location at 3 o’clock or 9 o’clock position (perpendicular to bore)
– Clamp barrel assembly securely in drill press vise
– Drill slowly at 500-1000 RPM with carbide bit, withdrawing periodically to clear chips
– Ensure hole penetrates both device and barrel wall straight through
3. Tap and install the pin properly
– Tap hole with appropriate size tap (typically 1/8 inch), breaking chips frequently
– Select hardened steel pin (40-45 Rockwell C scale) slightly oversized (0.001-0.002 inch)
– Lightly oil pin and drive in with brass mallet until head is slightly proud of surface
4. Weld with controlled heat application
– Clean area thoroughly with acetone before welding
– Use low amperage (10-20 amps) TIG welding in short bursts
– Create small tack welds around the junction, building up gradually
– Alternate between passes to allow cooling and prevent heat damage to barrel
Critical Warning: Never attempt to complete the weld in a single continuous pass—excessive heat warps barrels and ruins accuracy by altering critical headspace dimensions.
Avoid These Critical Pin and Weld Mistakes That Compromise Safety
Even experienced gunsmiths occasionally make these dangerous errors when pinning and welding muzzle devices:
-
Misaligned drilling – The most common failure point occurs when the drill bit angles off-center, causing weak welds and stress concentrations. Prevent this by using alignment jigs that reference both the bore axis and external barrel surface.
-
Insufficient weld penetration – Surface-level welds that don’t fully fuse with base metals provide no structural benefit. Achieve proper penetration by cleaning to bare metal, using correct filler material, and maintaining proper torch angle.
-
Incorrect pin hardness – Soft pins bend under firing stress while overly hard pins become brittle and crack. Use only pins specifically rated for firearms applications (typically 4140 alloy steel hardened to 40-45 Rockwell C).
-
Skipping validation testing – Never trust a fresh pin and weld with live ammunition without verification. Perform visual inspection under 10-20x magnification, physical rotation testing, and progressive test firing with increasingly hot loads.
Professional Services vs DIY: Which Option Saves You Money Long-Term?
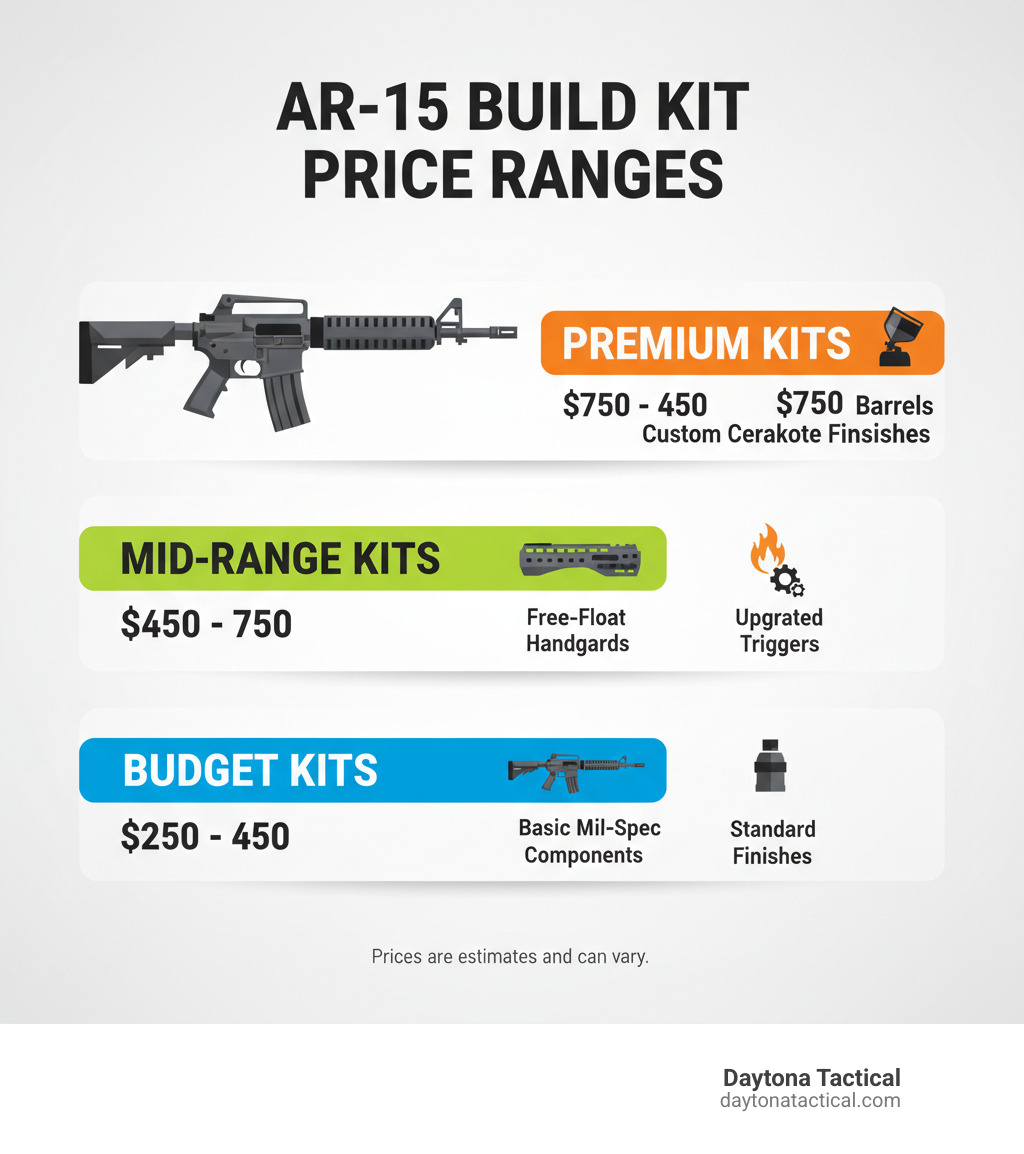
While professional pin and weld services cost $75-$200, attempting this job yourself often proves more expensive in the long run. The required equipment investment alone exceeds $1,000 for adequate precision tools—a drill press ($200-$500), quality TIG welder ($500-$2,000), specialized drill bits, taps, and measuring tools.
More importantly, poorly executed pin and weld jobs create catastrophic failure risks. A separated muzzle device can cause barrel ruptures, projectile deviations, or complete device separation—potentially causing serious injury. Even experienced gunsmiths often send precision builds to specialists rather than risk mistakes from “familiarity blindness.”
Consider this reality: your first several DIY attempts will likely produce subpar results while you learn proper techniques. Each learning attempt consumes materials and produces scrap. By the time you’ve developed reliable skills, you’ve typically spent more time and money than paying a professional from the start.
Final Verification: Testing Your Pin and Weld Before Trusting It with Live Fire
Never skip these critical validation steps before firing your rifle with a newly pinned and welded muzzle device:
- Visual inspection under magnification – Look for complete fusion at weld boundaries, smooth homogeneous surface without porosity, and fully seated pin with no gaps
- Physical rotation test – Attempt to rotate the device with appropriate tools; it should not move at all in either direction
- Progressive test firing – Start with light target loads, then gradually increase to full-power ammunition while monitoring for movement or point of impact shifts
- Accuracy verification – Fire 3-5 shot groups at known distance and compare to pre-weld performance; significant changes indicate potential barrel alignment issues
Schedule periodic re-verification as part of your regular maintenance routine. During cleaning, inspect for any signs of cracking, unusual heat discoloration patterns, or movement between components. Press against the device to confirm absolute security—any movement warrants immediate professional evaluation.
Properly executed pin and weld work should last the life of your firearm when performed correctly. By understanding the legal requirements, using proper tools, following precise procedures, and conducting thorough verification, you ensure your rifle remains both legally compliant and safe for years of reliable service. Whether you choose professional services or develop the skills to perform this critical task yourself, never compromise on the precision this safety-critical procedure demands.
Leave a Reply