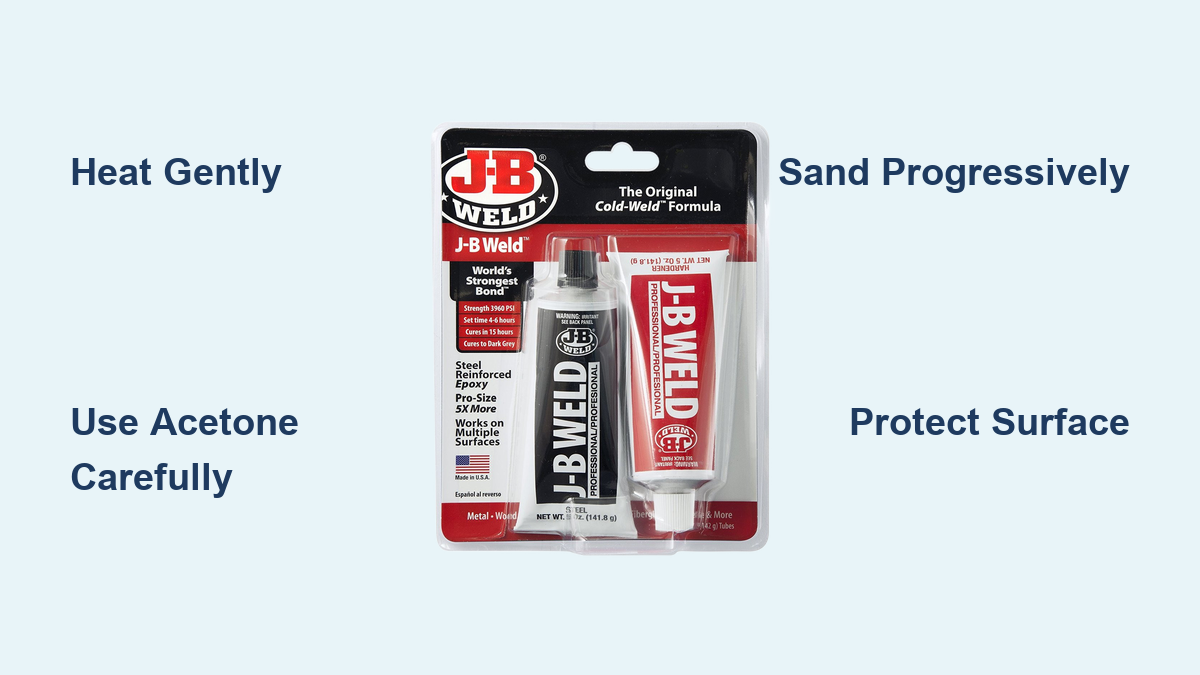
Accidentally getting JB Weld on plastic surfaces creates a frustrating dilemma that many DIYers and mechanics face. This industrial-strength epoxy forms an incredibly durable bond—reaching 3900 PSI when fully cured—that resists heat, chemicals, and most removal attempts. Whether you’ve dripped epoxy on a dashboard component, bonded parts that need disassembly, or simply made a messy application error, knowing how to remove JB weld from plastic safely is essential knowledge. The wrong technique can permanently scar or weaken your plastic piece, while the right approach preserves the substrate while eliminating the stubborn adhesive.
Unlike metal surfaces where mechanical removal often works, plastic requires special handling since many removal methods can cause warping, discoloration, or chemical damage. This guide delivers proven techniques specifically for plastic substrates, including heat application methods, chemical solutions, and mechanical approaches that won’t ruin your project. You’ll learn how to identify your plastic type, select the safest removal method, and restore the surface to near-original condition—all without costly replacements.
Identify Your Plastic Type Before Attempting JB Weld Removal
Your first critical step is determining exactly what type of plastic you’re working with, as different plastics react dramatically to heat and chemicals. ABS plastic, commonly found in automotive trim and pipes, tolerates moderate heat and brief solvent exposure. Polycarbonate, used in eyewear and electronic screens, is highly sensitive to solvents and requires gentle handling. PVC piping becomes brittle with solvent exposure, making heat the preferred removal method. Polyethylene and polypropylene, often used in containers, typically resist JB Weld bonding in the first place.
When markings aren’t visible, use these quick identification methods: ABS produces a sweet smell when heated, while PVC releases sharp fumes. Polycarbonate yellows with UV exposure over time. Polyethylene and polypropylene feel waxy and float in water. Acrylic is rigid and transparent, often used as glass replacement. Knowing these characteristics helps you choose the safest removal approach for your specific situation.
Heat Gun Method for Softening JB Weld on ABS and PVC

Heat application works effectively on thermoplastic surfaces because both the plastic and epoxy soften simultaneously. For this method, gather a heat gun (set to 200-300°F), plastic scrapers, heat-resistant gloves, and clean cloths. Hold the heat gun 3-4 inches from the JB Weld, moving in slow circles for 30-60 seconds without concentrating heat in one spot for more than 10-15 seconds.
Once heated, test the epoxy edge with a plastic scraper. Properly softened JB Weld will lift slightly and peel away in strips rather than crumbling. Work methodically around the perimeter, reapplying heat as needed. For thicker applications, alternate between heating and scraping every few minutes—patience prevents gouged plastic or fragmented epoxy.
Plastic-specific temperature guidelines are critical: ABS releases cleanly at 200-250°F, PVC requires 250-300°F, polycarbonate needs temperatures below 280°F, and polyethylene/polypropylene need 300-350°F. Never use open flames near plastic, as this causes warping or combustion.
Acetone Soaking Technique for Stubborn JB Weld Residue
Chemical dissolution breaks down cured epoxy at the molecular level, but requires careful solvent selection to avoid plastic damage. Acetone is the most accessible and effective solvent, but test it in an inconspicuous area first—acetone works well on ABS and acrylics but damages polystyrene, PVC, and polyethylene.
Saturate a clean cloth with acetone, place it directly on the JB Weld, and cover with plastic wrap to prevent evaporation. Allow it to sit for 15-30 minutes, reapplying acetone as needed to maintain saturation. The epoxy will bubble, lift, or become gummy as the bond breaks down. Once softened, use plastic scrapers to carefully remove the epoxy.
For tougher jobs, methyl ethyl ketone (MEK) or lacquer thinner work faster but pose greater risks—limit exposure to 5-15 minutes maximum. These solvents evaporate quickly and can cause discoloration with prolonged contact. Always work in well-ventilated areas and wear chemical-resistant gloves.
Precision Sanding and Scraping for Final Epoxy Removal

Mechanical removal works best after heat or chemical softening, or for thin epoxy layers on durable plastics. Start with 80-100 grit sandpaper for initial material removal, working in short strokes perpendicular to the surface. Progress through 120, 180, and finally 220-320 grit to blend surrounding areas and remove scratch marks. Keep the surface wet during sanding to reduce heat buildup and minimize dust.
For detailed work, rotary tools with fiberglass brush bits provide precision in tight areas but require steady hands. Operate at low to medium speeds to prevent melting plastic. Practice on hidden areas first, as these tools can easily gouge surfaces if pressed too firmly.
Plastic scrapers (old credit cards, ID cards, or dedicated putty knives) offer controlled removal without scratching. Work at shallow angles with consistent pressure, replacing scrapers when they become nicked. Multiple scrapers allow you to maintain consistent results throughout the removal process.
Critical Safety Measures During JB Weld Removal
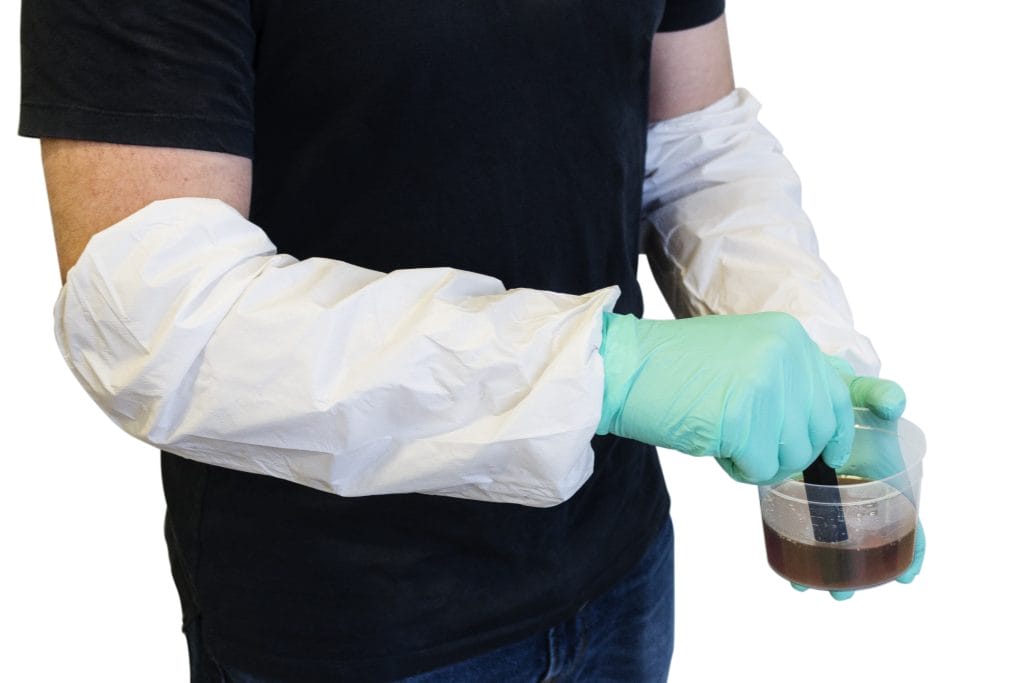
Chemical handling requires serious precautions—work in well-ventilated areas when using acetone, MEK, or lacquer thinner. These solvents release fumes that cause respiratory irritation or dizziness with prolonged exposure. Wear nitrile or neoprene gloves (latex degrades quickly), and keep solvents away from heat sources as most are highly flammable.
Heat gun safety is equally important—these tools exceed 1000°F at the nozzle and cause severe burns. Always point away from yourself and flammable materials. Use heat-resistant gloves when handling heated components, and remember plastic retains dangerous temperatures after heat application stops. Discontinue immediately if you smell acrid odors, particularly with PVC.
Protect your plastic workpiece by testing all methods in inconspicuous areas first. Keep heat application brief and temperatures moderate. When sanding, use light pressure and keep surfaces wet to absorb heat. Avoid metal tools entirely when working with plastic.
Prevent Future JB Weld Accidents on Plastic Surfaces
Surface preparation prevents unwanted bonding—clean all plastic with soap and water followed by isopropyl alcohol before applying adhesive. For intentional bonds, lightly sand glossy surfaces with 220 grit sandpaper to create mechanical bonding sites, then clean again to remove residue.
Apply release agents strategically—petroleum jelly, cooking spray, or mold release creates temporary barriers where you want to prevent adhesion. Plastic wrap or masking tape protects adjacent surfaces during application. Apply painter’s tape around repair areas, extending slightly beyond the intended bond line to catch squeeze-out.
Consider alternative adhesives for projects requiring future disassembly—marine-grade RTV silicone, removable construction adhesive, or threaded inserts with screws provide sufficient strength while allowing separation without destructive removal.
Restoring Plastic Shine After JB Weld Removal
Thorough residue removal comes first—wash the area with warm water and mild dish soap to remove chemical residue. For solvent-exposed surfaces, follow with baking soda paste to neutralize chemicals, then rinse thoroughly.
Treat scratches properly—minor scratches buff out using plastic polishes designed for automotive applications. Apply a small amount to a microfiber cloth and work in circular motions. For deeper scratches, wet sanding with 1500-2000 grit sandpaper followed by polishing produces excellent results.
Address discoloration with specialized plastic restorers like Novus for clear plastics. For painted surfaces, matching touch-up paint may be necessary if damage occurred during removal. Apply UV protectant sprays to outdoor plastics to prevent future degradation.
When JB Weld Won’t Budge: Advanced Removal Solutions
For epoxy that refuses to soften, try more aggressive solvents like MEK instead of acetone, extend exposure times significantly, or apply commercial epoxy removers designed for industrial bonds. In extreme cases, professional sandblasting may be the only effective option.
If plastic damage occurs during removal, assess the depth—surface scratches often polish out completely. Deeper damage may require plastic filler followed by sanding and repainting. Severely damaged parts with structural issues should be replaced.
Persistent residue or haze indicates incomplete removal—multiple removal cycles may be necessary. Ensure each application fully removes softened material before reapplying heat or solvent. Final cleaning with isopropyl alcohol eliminates stubborn residue that water leaves behind.
Successfully removing JB weld from plastic requires matching the right technique to your specific plastic type while maintaining patience throughout the process. When methods fail or valuable components are at risk, professional restoration services offer expertise that minimizes damage. By following these proven techniques, you can confidently tackle most JB Weld removal projects and restore your plastic surfaces to their original condition.
Leave a Reply