You’ve just discovered a faulty weld on your project, or perhaps you need to separate welded components for repair or modification. How to remove welds effectively without damaging the underlying metal is a critical skill for metalworkers, fabricators, and DIY enthusiasts alike. Choosing the wrong technique can weaken structural integrity, create safety hazards, or leave behind defects that compromise your work. Whether you’re correcting a mistake on a structural beam, separating broken parts, or modifying an existing assembly, this guide provides actionable methods to remove welds cleanly while preserving your base material.
The right approach depends on multiple factors including weld size, material composition, access constraints, and whether the base metal will be reused. A quick disassembly job requires different tools than a structural repair that must pass inspection. Understanding these variables before starting saves time, protects your materials, and delivers professional results. This guide walks you through mechanical and thermal removal techniques, safety protocols, and troubleshooting steps to ensure successful weld removal every time.
Cut-Off Discs and Angle Grinders for Most Weld Removal Tasks
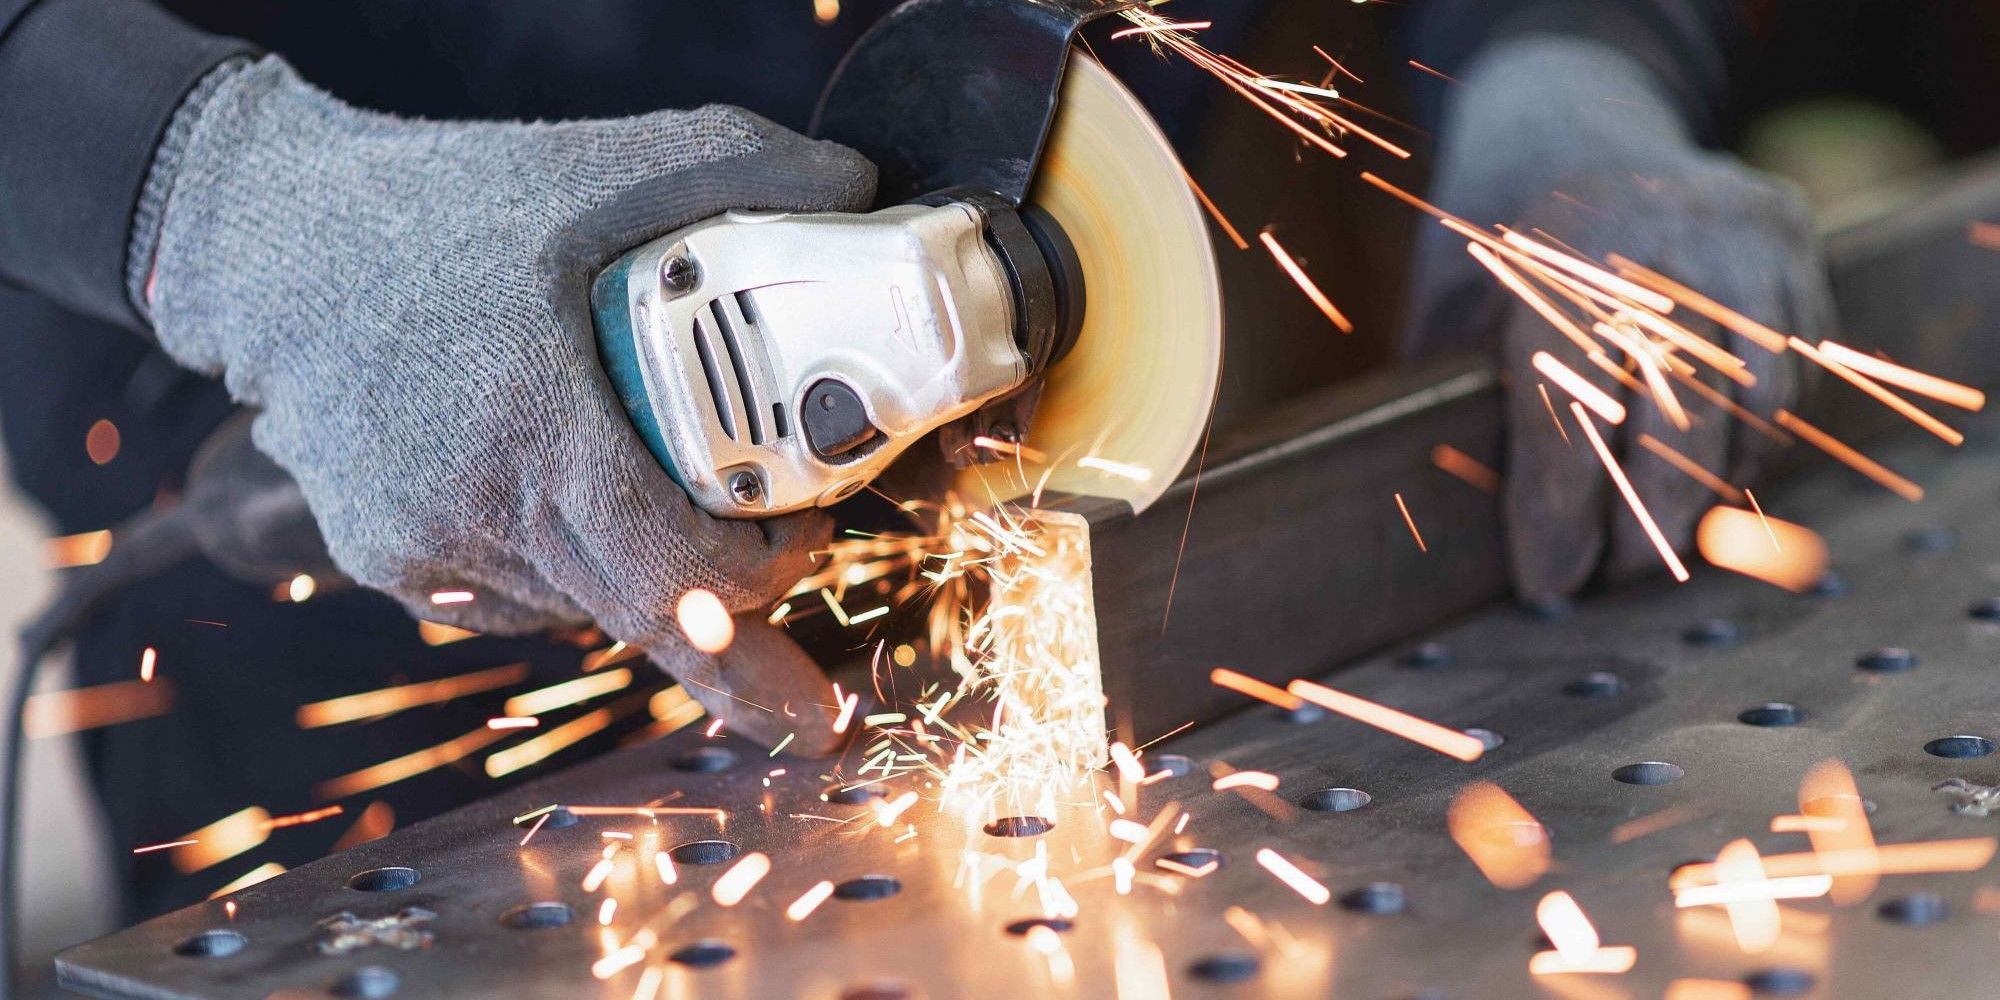
For the majority of how to remove welds scenarios, a 4½-inch angle grinder with thin cut-off discs delivers the best balance of speed, control, and accessibility. This mechanical approach works regardless of weld alloy or hardness, making it the go-to method for most applications. Use a 0.040-inch thick cut-off disc for maximum cutting speed when you have clear visibility of the weld area—these inexpensive consumables cost just a few dollars and are available at any hardware store.
When working in tight spaces or areas with limited visibility, switch to a ⅛-inch thick wheel for greater durability. While thicker wheels require more grinding time to remove the same amount of material, they resist shattering when the disc binds during cutting. Replace your cutting wheel when the corner becomes rounded, as this significantly reduces cutting efficiency. Always maintain proper technique by positioning yourself so that a potential disc failure directs debris away from your body.
Optimizing Your Grinding Technique for Clean Results
To maximize efficiency while removing welds with an angle grinder, position the disc at a 15-30 degree angle to the work surface. Move steadily along the weld bead rather than pressing down hard—let the abrasive do the work. For fillet welds, work from both sides to avoid excessive heat buildup in one area. When removing welds from thin materials, use intermittent passes with cooling periods between cuts to prevent warping.
For best results, start with a thin cut-off disc to slice through the bulk of the weld, then switch to a grinding disc to smooth the remaining material flush with the base metal. This two-step process minimizes heat transfer to the base material while producing a clean surface ready for inspection or re-welding. Keep the work area well-lit so you can clearly see the weld-to-base metal interface and avoid gouging the underlying material.
Thermal Methods for Thick Weld Removal
When dealing with substantial welds on structural steel members, thermal techniques provide rapid material removal that mechanical methods can’t match. These approaches work best on thicker materials where heat input won’t cause distortion.
Oxy-Fuel Cutting for Structural Steel Welds
For welds on materials thicker than ¼ inch, oxy-fuel cutting offers the fastest removal method when precision isn’t critical. Position the torch so the cutting flame runs parallel to the base metal surface you want to preserve, maintaining about 1/16 inch clearance from the weld interface. This technique works particularly well for thin fillet welds around 3/16-inch thickness since most fabricators already have the necessary equipment.
After torch cutting, always follow up with grinding to remove any remaining weld material near the cut line and eliminate the heat-affected zone. Thoroughly clean the area with a wire brush before any re-welding operation. Never use torch cutting on thin materials under ¼ inch, as excessive heat input can cause distortion and weaken the base metal—opt for mechanical methods instead.
Arc Gouging for Precision Weld Removal
When you need to remove welds while preserving base metal integrity for re-welding, arc gouging delivers superior control. This technique combines electrical energy with compressed air to melt and blow away weld material along precise paths. Set your gouging electrode at a 45-degree angle to the workpiece and maintain a consistent travel speed to follow the weld profile without gouging the base metal.
The key advantage of arc gouging is its ability to remove weld material while minimizing heat input compared to torch cutting. This method excels on structural applications where base metal properties must be preserved. After arc gouging, always follow with grinding to achieve a smooth surface suitable for non-destructive testing. While the equipment requires both power and compressed air, the precision it offers makes it invaluable for critical weld removal tasks.
Selecting the Right Method for Your Weld Removal Project
Choosing between mechanical and thermal methods depends on your specific requirements and constraints. Understanding these variables before starting prevents costly mistakes and wasted time.
When to Use Mechanical vs. Thermal Removal
For general workshop applications where you simply need to separate components or remove unwanted welds, mechanical methods with angle grinders provide the most practical solution. These techniques work on all metal types without regard to composition or hardness. Reserve thermal methods like torch cutting for thicker structural steel members where speed outweighs precision concerns.
On structural components that will undergo inspection and re-welding, use arc gouging followed by careful grinding for the most controlled removal. This approach minimizes base metal damage while ensuring complete weld elimination. For delicate work on thin materials or near critical surfaces, switch to smaller tools like die grinders with thin wheels or oscillating multi-tools for maximum control.
Troubleshooting Common Weld Removal Problems
Thin cut-off wheels occasionally break during use due to twisting the grinder while cutting (side loading), using damaged discs, or exceeding speed ratings. Prevent this by inspecting wheels before use, maintaining proper cutting technique, and never forcing the disc through the material. If a wheel breaks, stop immediately, inspect for fragments, and replace the damaged disc.
Excessive heat buildup during removal can distort thin materials or create large heat-affected zones. Control this by using lighter pressure, taking frequent breaks, and directing compressed air at the cut zone. If you notice discoloration or warping, pause operations and allow the material to cool completely before continuing.
Base metal damage occurs when aggressive removal techniques gouge the underlying material. Prevent this by paying close attention to the weld-to-base metal interface and switching to finer tools as you approach the surface. When damage does occur, evaluate whether grinding can smooth the area or if component replacement is necessary for structural applications.
Essential Safety Practices for Weld Removal

Weld removal operations generate numerous hazards that require proper protective measures throughout the process.
Mandatory Protective Equipment for Safe Operation
Always wear safety glasses with side shields under a face shield when grinding—this dual protection prevents sparks and metal fragments from causing eye injuries. Use hearing protection when operating high-speed grinders or pneumatic tools, as noise levels often exceed 85 decibels. For respiratory protection, select P100-rated particulate filters to guard against metal dust and grinding particles.
Wear flame-resistant clothing when using thermal methods, and choose gloves that protect against sharp edges without compromising dexterity. Remember to remove gloves before operating rotating equipment to prevent entanglement hazards. Steel-toed footwear protects against dropped tools and metal fragments, completing your essential safety gear.
Critical Equipment Safety Checks Before Starting
Before mounting any cutting disc, inspect it for cracks or damage and verify it matches your grinder’s speed rating. Never operate an angle grinder without its guard properly installed. Allow the grinder to reach full speed before contacting the workpiece, and maintain a firm two-handed grip throughout operation.
For pneumatic tools, check air pressure settings against manufacturer specifications and ensure secure connections of air lines. Drain moisture from air lines regularly to prevent corrosion and tool damage. When using thermal methods, keep a fire extinguisher nearby and clear the work area of all flammable materials before beginning.
Final Surface Preparation After Weld Removal
Proper post-removal procedures ensure your surface is ready for inspection, testing, or re-welding.
Cleaning and Inspecting the Removed Area
After complete weld removal, thoroughly clean the affected surface to expose bare base metal. Use a stainless steel wire brush to remove grinding residue, spatter, and thermal scale. For critical applications, follow up with solvent cleaning to eliminate oil and contaminants that could affect subsequent welding.
Conduct a thorough visual inspection of the cleaned area before proceeding. Look for any remaining weld material, base metal damage, or surface defects. For structural applications, perform non-destructive testing—magnetic particle testing for ferrous materials or dye penetrant testing for non-ferrous metals—to verify complete weld removal and base metal integrity.
When to Stop and Seek Professional Help
Recognize when a weld removal job exceeds your capabilities. If you encounter excessive base metal damage, deep heat-affected zones, or structural concerns, stop and consult a professional welder or engineer. Attempting to repair compromised structural components without proper expertise creates safety hazards. For critical applications like load-bearing members or pressure vessels, professional assessment ensures safety and compliance with industry standards.
Mastering how to remove welds takes practice, but understanding these fundamental techniques prepares you for most challenges. Start with less critical projects to develop your skills, invest in quality protective equipment, and always prioritize safety over speed. With the right approach, you can remove welds cleanly while preserving the base metal for its next purpose.
Leave a Reply