Vertical stick welding challenges even experienced welders as gravity fights against your molten weld pool. Unlike flat or horizontal positions where metal flows naturally, vertical welding requires specialized techniques to prevent sagging, undercutting, and poor fusion. This guide reveals the exact methods professional welders use to conquer vertical stick welding, whether you’re working on structural steel, pipelines, or fabrication projects.
When gravity pulls your molten metal downward while you’re trying to build a weld upward, you face an uphill battle literally and figuratively. The consequences of poor technique include weak joints, expensive rework, and failed inspections. Mastering vertical stick welding separates competent welders from true professionals who can tackle any position with confidence.
Choosing the Right Electrode for Vertical Work
Your electrode selection makes or breaks vertical stick welding success. E6010 electrodes should be your first choice for most vertical applications because their fast-freezing slag system prevents molten metal from sagging. The cellulose coating creates a deep-penetrating arc that cleans through light rust and mill scale while producing a puddle that solidifies quickly—critical when fighting gravity.
For cleaner base metals and smoother weld appearances, E7018 electrodes work well but require more precise technique. Their slow-freezing slag means you must maintain a shorter arc length (about 1/16 inch) and travel faster to prevent sagging. Many professionals use E6010 for root passes where penetration matters most, then switch to E7018 for fill and cover passes where appearance becomes critical.
Electrode diameter directly impacts your vertical welding control. For 1/8-inch thick material, use 5/64-inch diameter rods. For material between 3/16 and 1/4 inch, 1/8-inch electrodes provide the ideal balance of heat input and puddle control. Larger diameters like 5/32-inch work for heavy plates requiring multiple passes but prove challenging for beginners attempting vertical welds.
Why E6010 Dominates Vertical Welding
E6010 outperforms alternatives in vertical positions for three technical reasons: First, its cellulose coating creates a gaseous shield that focuses the arc force downward, helping push molten metal against gravity. Second, the fast-freezing slag forms a supporting “cradle” that holds the weld pool in place as it cools. Third, E6010’s forceful arc allows slightly longer arc lengths without losing control—crucial when your hand inevitably shakes during vertical travel.
When using E6010 vertically, maintain a 10-15 degree backward angle (pushing slightly against your travel direction) and keep your arc length consistent at about 1/8 inch. This technique directs the arc force into the joint while allowing the slag to flow behind your travel direction, supporting the cooling weld metal.
Perfect Amperage Settings for Vertical Stick Welding
Amperage mistakes cause 80% of vertical welding failures. Too much current creates an uncontrollable puddle that sags despite perfect technique, while too little current prevents proper fusion and causes frequent electrode sticking.
For 1/8-inch E6010 electrodes in vertical position, set your machine between 70-85 amps. This range provides enough heat for penetration while keeping the puddle size manageable. If using 5/64-inch rods on thinner material, reduce to 50-65 amps. The sweet spot occurs when your weld puddle stays small enough to control but large enough to ensure complete fusion at the weld toes.
Testing Your Settings on Scrap Metal
Before welding your actual project, validate your settings with this simple test: Make a vertical stringer bead on scrap metal of identical thickness. Ideal settings produce a consistent bead with:
– Smooth, uniform ripples
– No excessive spatter
– Minimal undercut on either side
– Complete fusion at both edges
If your bead sags downward, reduce amperage by 5-10 amps or increase travel speed. If you see undercut (a groove melted along the weld edge), your amperage is too high or your travel speed too slow. Adjust incrementally until you achieve the perfect balance.
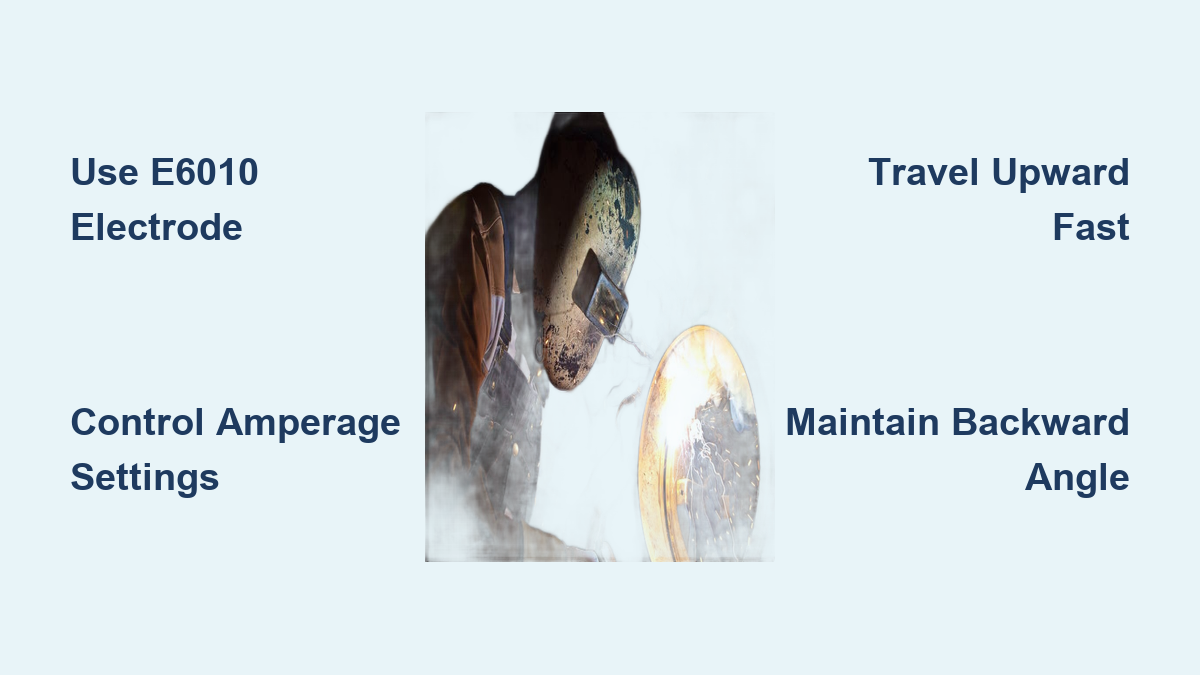
The Upward Travel Technique That Defies Gravity
Vertical stick welding requires a fundamentally different travel technique than flat position welding. Instead of pushing or pulling the electrode horizontally, you must travel upward while constantly managing the molten puddle.
Start at the bottom of your joint and establish a stable arc. Then begin moving upward with a slight backward electrode angle (10-15 degrees from vertical). Your travel speed must be fast enough to prevent sagging but slow enough to maintain fusion. Most beginners travel too slowly, allowing the puddle to grow heavy and sag.
Stringer Beads vs. Weave Patterns
For groove welds in vertical position, stringer beads (straight passes without weaving) produce stronger, more consistent results than weave patterns. The concentrated heat of a stringer bead freezes faster, reducing sagging risk. Only weave when necessary for wider fillet welds or to control excessive penetration.
When weaving vertically, use the crescent pattern: Move side-to-side in a smooth C-motion while traveling upward. Pause briefly at each edge (just long enough to establish fusion) then continue upward. Keep your pauses extremely short—no more than one second—to prevent puddle buildup.
Fixing Common Vertical Welding Defects
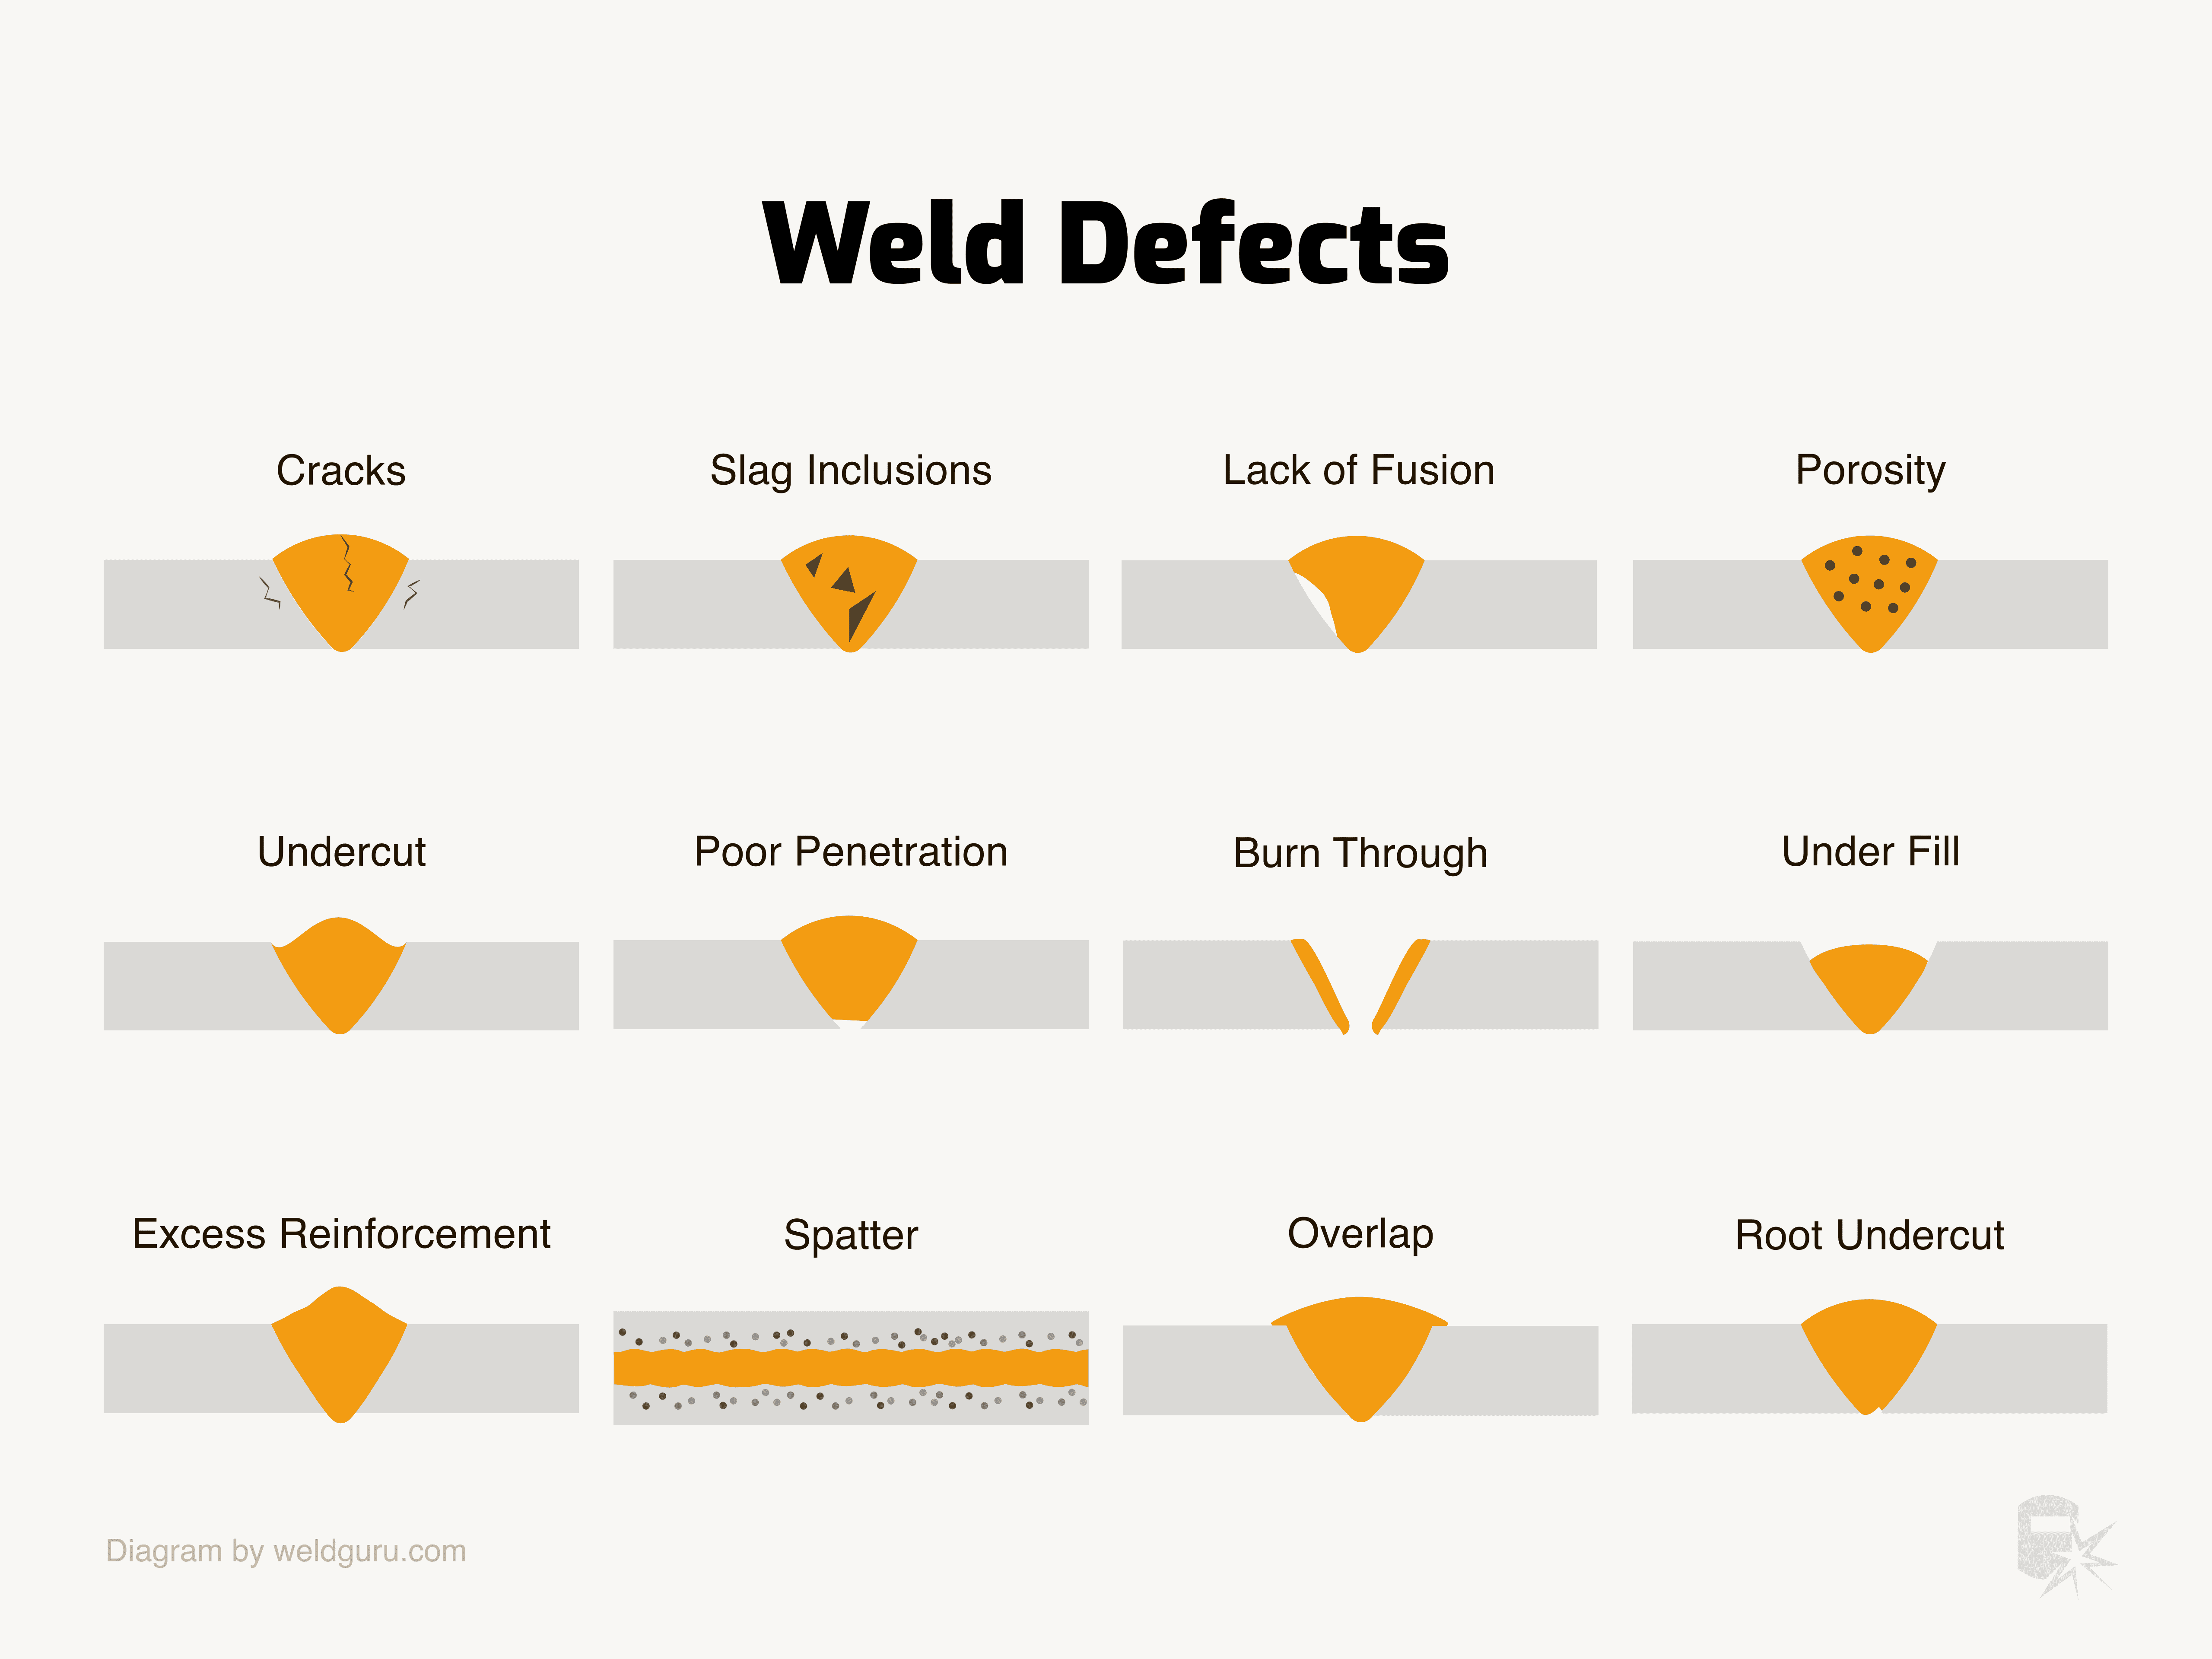
Even experienced welders encounter defects in vertical position. Knowing how to diagnose and fix these issues saves time and materials.
Undercutting appears as a groove along the weld toe and typically indicates excessive amperage or incorrect electrode angle. Reduce amperage by 5-10 amps and increase your backward angle slightly to direct more heat into the base metal.
Sagging creates a wavy, uneven bead profile where molten metal dropped during welding. This defect means your puddle grew too large for your travel speed. Fix it by reducing amperage, increasing travel speed, or switching to a faster-freezing electrode like E6010.
Lack of fusion occurs when weld metal doesn’t properly bond to base metal. This serious defect often stems from insufficient heat, contamination, or improper electrode angle. Clean your base metal thoroughly, ensure adequate amperage, and maintain the correct electrode angle to direct heat into the joint sides.
Safety Considerations Specific to Vertical Welding
Vertical welding introduces unique safety hazards beyond standard welding precautions. Falling slag presents the most significant risk—hot fragments can drop into your clothing, onto your feet, or ignite flammable materials below your work area.
Always wear leather leggings or welding chaps when performing vertical welds to protect your lower legs from falling slag. Position yourself so slag falls away from your body, and never wear open-toed shoes or clothing with pockets that could catch hot particles. Keep a fire watch below elevated welding positions, especially when working on structures.
Working in vertical positions often forces awkward body angles that increase fatigue and reduce control. Take frequent breaks to maintain proper posture and hand stability. The concentration required for quality vertical welds diminishes rapidly when you’re physically uncomfortable.
Practice Exercises That Build Vertical Welding Skills
Developing consistent vertical stick welding technique requires targeted practice, not just welding random projects. Use these exercises to isolate and improve specific skills:
Vertical Stringer Bead Drill: Weld straight upward on 1/4-inch plate without any joint preparation. Focus solely on maintaining consistent arc length and travel speed. Make 20-30 beads, adjusting one variable at a time until you produce uniform results.
Groove Joint Practice: Set up two plates with a 1/8-inch root opening to create a single-V groove. Practice welding from bottom to top using stringer beads. Inspect each root pass for complete fusion at the root.
Fillet Weld Weaving: Create a T-joint configuration and practice the crescent weave pattern. Focus on the rhythm of the motion and brief pauses at each edge. Compare results with E6010 and E7018 to understand how electrode type affects technique.
Quick Reference Settings for Vertical Stick Welding
| Electrode | Diameter | Amperage Range | Arc Length | Travel Angle |
|---|---|---|---|---|
| E6010 | 1/8″ | 70-85A | 1/8″ | 10-15° back |
| E6010 | 5/64″ | 50-65A | 1/8″ | 10-15° back |
| E7018 | 1/8″ | 80-100A | 1/16″ | 5-10° back |
These settings serve as starting points—always validate on scrap metal before welding your actual project.
Mastering Vertical Stick Welding
Consistent vertical stick welding comes down to managing three critical variables: amperage, travel speed, and arc length. Reduce amperage to keep your puddle small. Increase travel speed to prevent sagging. Maintain a tight arc length appropriate for your electrode type. Practice these techniques deliberately using the exercises outlined above.
The difference between amateur and professional welders shows most clearly in vertical position. By applying these techniques consistently, you’ll transform from struggling against gravity to producing clean, strong vertical welds that pass inspection every time. Remember that even master welders continually refine their vertical technique—this position never becomes easy, but with the right approach, it becomes manageable.
Leave a Reply