TIG welding steel produces the cleanest, highest-quality welds of any arc welding process, creating precise joints with minimal cleanup required. This technique uses a nonconsumable tungsten electrode to generate an intense arc that melts the base metal while argon gas shields the weld zone from atmospheric contamination. Unlike MIG welding, TIG requires manual filler rod addition, giving you complete control over weld shape and penetration. Though the learning curve is steeper than other methods, mastering how to TIG weld steel delivers professional results for custom fabrication, automotive repair, and precision metalwork.
When you first approach TIG welding steel, the coordination required—maintaining arc length while adding filler rod—can seem overwhelming. But with proper equipment setup, fundamental technique development, and consistent practice, you’ll quickly move from frustrating attempts to producing beautiful, strong welds. This guide cuts through the complexity to deliver exactly what you need to start successfully TIG welding steel, with actionable steps, common pitfalls to avoid, and practical troubleshooting advice.
Configure Your TIG Machine for Steel Welding

Set Correct DC Polarity and Amperage
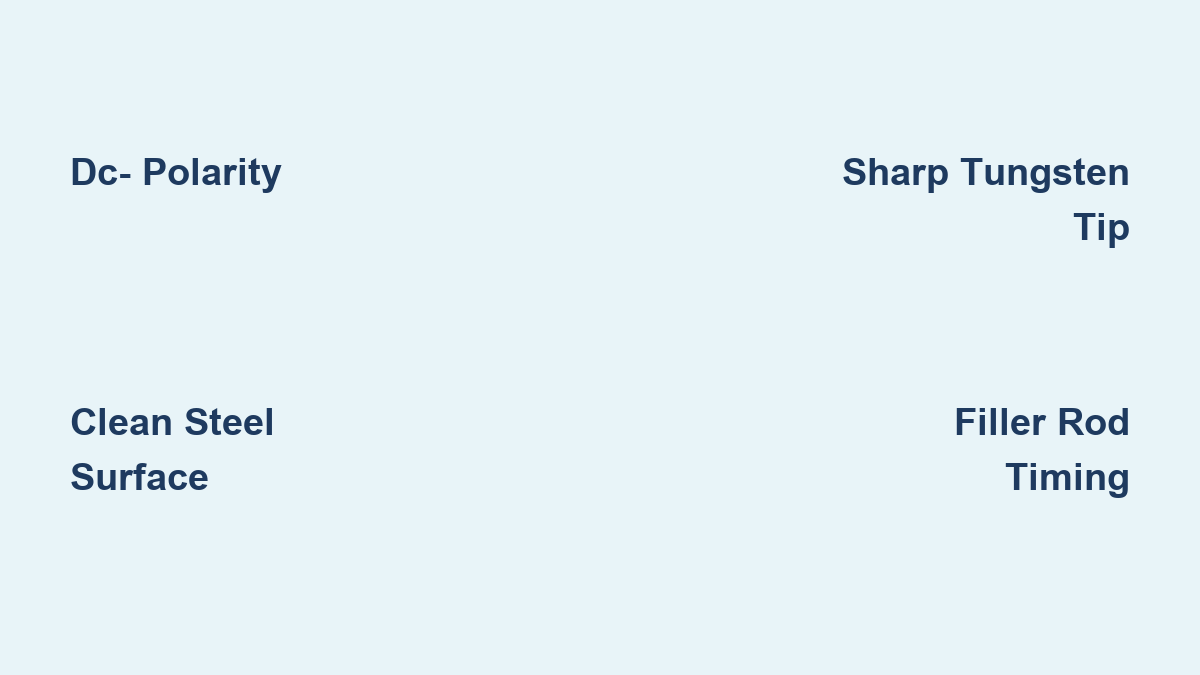
For steel welding, you must use direct current negative (DC-) polarity—this configuration concentrates 66% of heat on your workpiece for proper penetration while keeping the tungsten electrode relatively cool. Confirm your machine’s polarity setting before starting; many beginners waste time troubleshooting when they’ve accidentally selected AC or positive polarity.
Amperage settings depend directly on your steel thickness:
– 1.6mm steel: 30-120 amps
– 2.4mm steel: 80-240 amps
– 3.2mm steel: 200-380 amps
Beginners practicing on 2-3mm steel should start at 50 amps with 1.6mm tungsten and filler rod. This setting provides enough heat to melt the metal without causing instant burn-through. As you gain skill, use your foot pedal to modulate amperage during the weld—higher to establish the pool, lower when adding filler.
Optimize Argon Shielding Gas Flow
Pure argon is essential for TIG welding steel—never substitute CO2 or mixed gases. Set your flow rate between 4-12 liters per minute depending on nozzle size and environmental conditions. Too little gas causes oxidation (pinkish discoloration), while too much creates turbulence that pulls contaminants into the weld zone.
Before welding, perform a gas flow check: press the torch trigger and observe the gas exiting the nozzle—it should flow smoothly without turbulence. Set post-flow timing to 5-8 seconds to protect the cooling weld pool. Remember to bleed the gas cylinder valve briefly before connecting your regulator to clear debris.
Prepare Steel Surfaces and Equipment Properly
Clean Steel Thoroughly Before Welding
Contaminated steel is the #1 cause of failed TIG welds—mill scale, rust, oil, or paint will ruin your weld pool and contaminate your tungsten. Use a stainless steel wire brush (dedicated only to steel) or grinding wheel to clean at least 1 inch back from the joint. For best results, follow mechanical cleaning with acetone wiping to remove oils.
Never handle cleaned areas with bare hands—skin oils transfer to the metal and cause porosity. If you accidentally touch the weld zone, re-clean before proceeding. Stainless steel requires additional care to prevent carbon steel contamination—use separate brushes and cleaning tools.
Select and Prepare Correct Tungsten Electrodes

For steel welding, 2% lanthanated tungsten (gold tip) offers the best combination of arc stability and ease of use. Avoid thoriated tungsten (red tip) due to radioactivity concerns. Electrode diameter should match your amperage:
– 50-100 amps: 1.6mm diameter
– 100-150 amps: 2.4mm diameter
Grind the tungsten to a sharp point (for DC steel welding) with the grinding wheel moving perpendicular to the electrode’s length. Hold the electrode at a consistent 20-degree angle during grinding to create a uniform point. The sharpened section should extend 5-6mm from the collet, with 2-3mm protruding beyond the gas nozzle.
Develop Fundamental TIG Welding Techniques
Maintain Precise Torch Position and Arc Length
TIG welding requires maintaining an arc length of 1-1.5 times your tungsten diameter—approximately 1.6-2.4mm for 1.6mm tungsten. This tight spacing keeps the tungsten cool and provides precise control. Beginners often hold the torch too high (3-4mm), causing an unstable arc and poor penetration.
Hold the torch at 15-20 degrees from vertical, tilted in your travel direction. Rest your hand lightly on the workpiece or a support block for stability. The tungsten tip should remain visible in the weld pool reflection—this visual cue helps maintain proper arc length. Practice dry runs (without arc) to perfect your positioning before striking your first weld.
Master Filler Rod Addition Timing and Technique
Add filler rod to the leading edge of the weld pool, not into the arc itself. Keep the rod under the gas shroud at all times to prevent oxidation. Hold the rod at 15 degrees above horizontal, dipping it into the pool’s front edge where the heat melts the filler.
The key to consistent rod feeding is rhythm: dip, melt, withdraw, repeat. Beginners commonly make these mistakes:
– Holding rod too high (arc balls the tip)
– Feeding too fast (creates unmelted wire buildup)
– Removing rod from gas coverage (causes oxidation)
Cut filler rods in half for easier handling—shorter rods reduce fatigue and improve control. For 2mm steel, 1.6mm ER70S-2 filler provides the best balance of manageability and deposition rate.
Troubleshoot Common Steel TIG Welding Problems

Fix Tungsten Contamination Immediately
Tungsten contamination appears as a ball forming on your electrode tip or erratic arc behavior. This almost always happens when the tungsten touches molten steel—usually from holding the arc too long in one spot or incorrect travel speed.
To fix: Stop welding, grind the tungsten back to a sharp point. If contamination is severe, replace the electrode entirely. Prevent future contamination by:
– Maintaining proper arc length (1-1.5x tungsten diameter)
– Increasing travel speed slightly
– Ensuring base metal is completely clean
Control Weld Pool Behavior on Thin Steel
Thin steel (under 3mm) presents the biggest challenge for beginners learning how to TIG weld steel. Burn-through occurs when heat input exceeds what the material can dissipate—usually from excessive amperage, slow travel speed, or both.
When welding thin steel:
– Reduce amperage to minimum needed for penetration
– Increase travel speed—move faster than feels natural
– Use the filler rod to cool the pool (dip more frequently)
– Consider pulse welding if your machine has this feature
If you see the weld pool “running ahead” of your torch, you’re traveling too slowly. The pool should form directly under the arc and solidify shortly behind it.
Critical Safety Practices for Steel TIG Welding
Protect Against Intense Arc Radiation
The TIG welding arc emits dangerous ultraviolet radiation that can cause “welder’s flash”—a painful eye condition similar to sunburn on your corneas. Always use an auto-darkening helmet with shade #10-12 for steel welding. Wear flame-resistant clothing that covers all skin, including long sleeves and high-collared shirts.
Never look at an active TIG arc without proper eye protection, even briefly. The intense UV can cause damage before your natural blink reflex activates. Keep bystanders away from your welding area or ensure they have appropriate eye protection.
Ensure Proper Ventilation
While TIG welding produces less fume than other processes, steel welding still generates hazardous metal vapors that require adequate ventilation. Work in a well-ventilated area with cross-breezes moving away from your breathing zone. For extended welding sessions or in confined spaces, use mechanical ventilation that captures fumes at the source.
Never weld on galvanized or painted steel without proper respiratory protection—these coatings release toxic zinc oxide fumes when heated. Keep a fire extinguisher rated for electrical fires within immediate reach of your welding station.
Mastering how to TIG weld steel requires patience and deliberate practice, but the results justify the effort. Start with proper machine setup—DC- polarity, correct amperage, and pure argon gas—then focus on clean base metal preparation. Develop your technique on 2-3mm steel before attempting thinner materials, prioritizing consistent arc length and proper filler rod addition over perfect bead appearance.
When troubleshooting issues, remember most problems stem from three causes: improper cleaning, incorrect amperage, or inconsistent arc length. Keep your tungsten sharp, your steel clean, and your arc tight, and you’ll quickly move from frustrating attempts to producing professional-quality steel welds. The investment in learning how to TIG weld steel pays dividends through cleaner joints, stronger welds, and the ability to work on precision projects that demand the highest quality results.
Leave a Reply