Plastic welding is an essential skill for repairing everything from automotive bumpers to industrial containers, yet many DIYers and technicians feel intimidated when first approaching this specialized tool. When your plastic components crack or break, knowing how to properly use a plastic welder can save hundreds in replacement costs while extending the life of valuable equipment. This guide cuts through the confusion to deliver actionable steps for safely operating common plastic welding equipment, whether you’re fixing a cracked kayak or repairing factory machinery. You’ll learn the fundamental techniques that professionals use to create strong, lasting bonds between plastic materials—and avoid the common mistakes that lead to weak welds and frustrating failures.
Selecting the Right Plastic Welding Method for Your Project
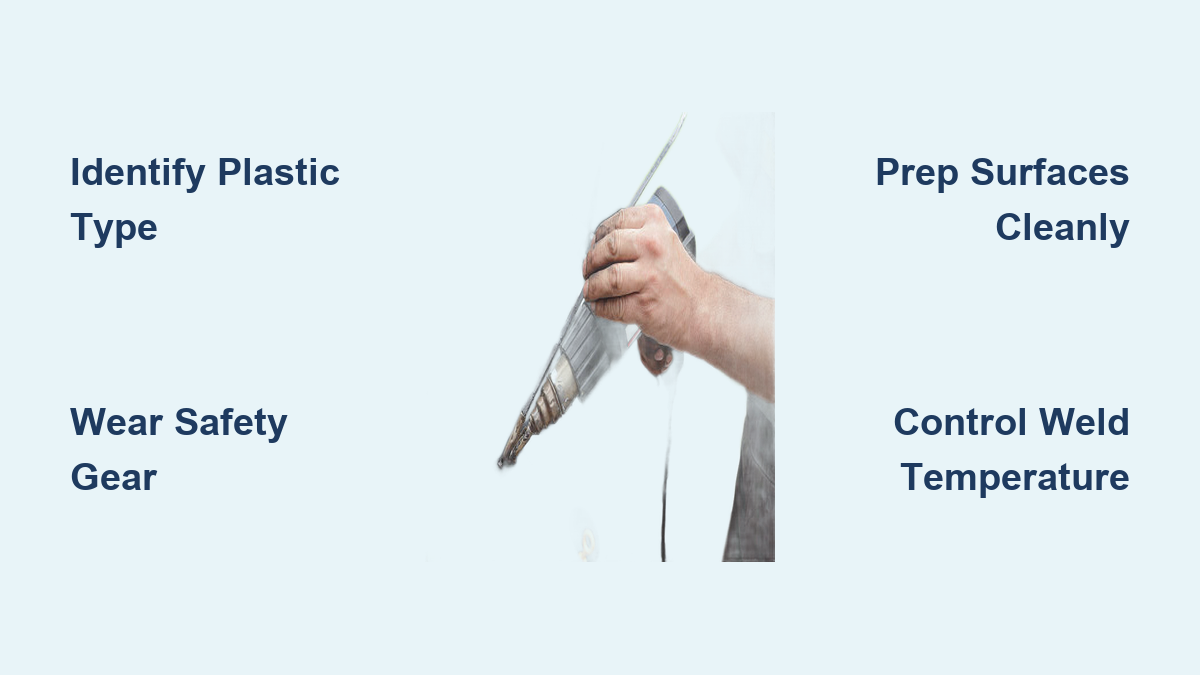
Before touching any welding equipment, you must identify which plastic welding technique matches your specific repair needs. Different plastics require different approaches, and using the wrong method guarantees failure regardless of your skill level. The three most accessible methods for beginners include hot air welding, extrusion welding, and solvent welding—each with distinct advantages depending on your material type, thickness, and application requirements.
How to Identify Which Plastic You’re Working With
Determining your plastic type is non-negotiable before starting any welding project. Most plastics have recycling codes (1-7) molded into the item, but these don’t always correspond directly to weldability. Grab a multimeter and test electrical resistance, or perform a simple burn test in a controlled environment: ABS produces black smoke with a sooty flame while polyethylene burns with a blue-tipped yellow flame and smells like candle wax. Never attempt welding without positively identifying your plastic type—mismatched materials create weak bonds that fail under stress.
Hot Air Welding vs. Extrusion Welding: Which Should You Choose?
Hot air welding works best for thin to medium thickness plastics (up to 6mm) and is the most beginner-friendly option with relatively low equipment costs. This method uses a nozzle that directs heated air to melt both the base material and welding rod simultaneously. Extrusion welding becomes necessary for thicker plastics (6mm+) and industrial applications, where a continuous bead of molten plastic is extruded directly into the joint. If you’re repairing automotive trim or small household items, start with hot air; for large tanks or structural components, consider extrusion despite its steeper learning curve.
Essential Safety Preparations Before Welding
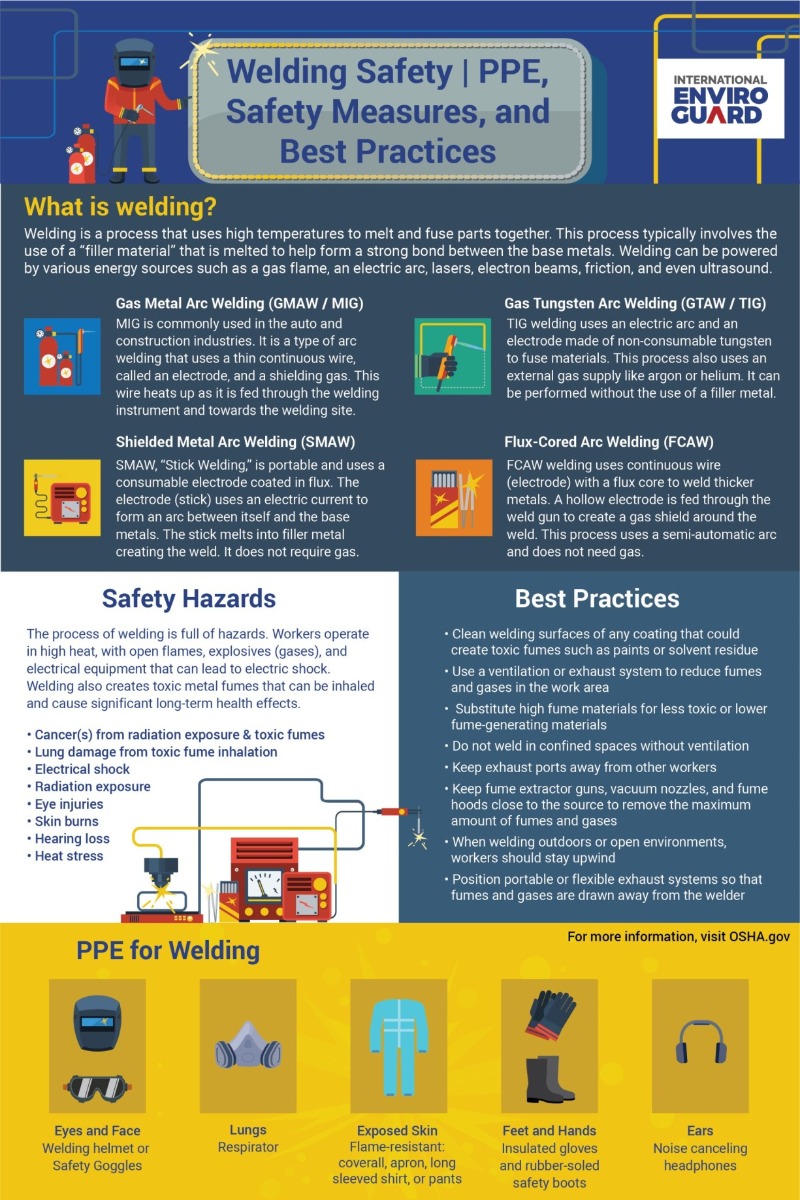
Plastic welding generates hazardous fumes and requires high temperatures that can cause severe burns or ignite nearby materials if proper precautions aren’t taken. Many beginners underestimate these risks until they experience dizziness from plastic fumes or accidentally melt through their workpiece onto the workbench below.
Mandatory Safety Gear Checklist
Your safety equipment isn’t optional—it’s your first line of defense against serious injury. Before powering on your welder, ensure you have:
– Respirator with organic vapor cartridges (N95 masks won’t protect against plastic fumes)
– Heat-resistant gloves rated for at least 500°F
– Safety glasses with side shields (welding produces intense glare)
– Flame-resistant clothing without synthetic fibers that could melt
– Adequate ventilation system capable of moving at least 100 cubic feet per minute
Place a fire extinguisher rated for electrical and chemical fires within immediate reach of your workspace, and remove all flammable materials from at least 10 feet around your welding area.
Step-by-Step Plastic Welding Procedure
With safety precautions in place and your plastic type identified, you’re ready to begin the actual welding process. Rushing through preparation causes more failed welds than any other factor—proper surface preparation accounts for 70% of your welding success.
Surface Preparation: The Critical First Step
Clean both surfaces thoroughly with isopropyl alcohol to remove oils, dirt, and release agents that prevent proper adhesion. For structural repairs, bevel the edges to create a 60-90 degree V-groove that allows the welding rod to penetrate deeply into the joint. Use a wire brush specifically designated for plastic to roughen the surface without embedding contaminants—never use steel brushes as metal particles weaken the weld. Dry both surfaces completely since moisture turns to steam during welding, creating bubbles and weak spots.
Temperature Settings and Technique for Strong Bonds
Set your welder to the manufacturer’s recommended temperature for your specific plastic type—typically between 500-750°F for common thermoplastics. Test on scrap material first to verify proper melting without burning. Hold the welding rod at a 45-degree angle to the workpiece and move steadily along the joint at 2-4 inches per second. Apply gentle downward pressure to ensure full contact between the molten rod and base material. Watch for the telltale “wet” appearance—when both materials melt together and lose their individual boundaries, you’ve achieved proper fusion.
Troubleshooting Common Plastic Welding Problems
Even with perfect preparation, welders encounter issues that compromise bond strength. Recognizing these problems early prevents wasted time and materials on repairs that will inevitably fail.
Why Your Welds Are Weak or Brittle
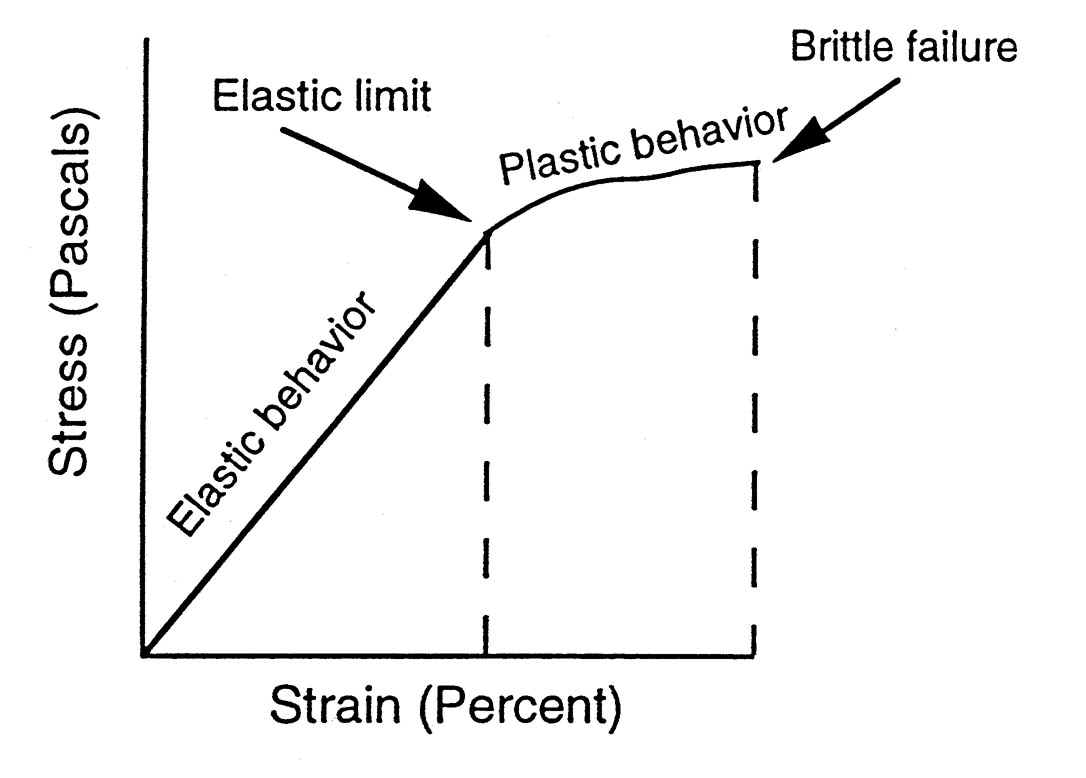
Weak welds typically stem from one of three causes: incorrect temperature (too low prevents proper fusion, too high degrades the plastic), contaminated surfaces, or incompatible materials. If your weld snaps cleanly with minimal force, check that you’re using the correct welding rod formulation for your base plastic—ABS rods won’t bond to polypropylene no matter how perfectly you execute the technique. For brittle welds that crack when bent, your temperature was likely too high, causing molecular degradation of the plastic.
Fixing Burn Marks and Discoloration on Your Workpiece
Burn marks indicate excessive heat or moving too slowly during welding. Immediately reduce your temperature by 25-50°F and increase your travel speed. If discoloration persists, your nozzle might be too close to the work surface—maintain a consistent 1/8-inch gap between nozzle and plastic. For darkened areas that have already occurred, sand the affected zone smooth before attempting a second pass, as burned plastic won’t bond properly to new material.
Maintenance and Longevity Tips for Your Plastic Welder
Regular maintenance prevents costly downtime and ensures consistent welding performance. Many beginners neglect routine care until their equipment fails during a critical repair job.
Daily Cleaning Routine After Welding Sessions
While still warm (but not hot enough to burn you), wipe all plastic residue from the nozzle and heating elements with a brass brush. Never use steel tools that could scratch critical surfaces. Clean the air intake filter weekly with compressed air to prevent dust buildup that affects temperature stability. Store welding rods in airtight containers away from sunlight, as UV exposure and moisture degrade plastic filler materials over time.
When to Replace Critical Components
Worn nozzles cause inconsistent heating and poor weld quality—replace them when you notice uneven melting or difficulty maintaining a stable temperature. Heating elements typically last 200-300 hours of operation; if your welder takes significantly longer to reach temperature or fluctuates wildly, it’s time for replacement. Never ignore unusual smells or smoke from the welder itself—these indicate internal component failure that creates fire hazards.
Practical Applications That Benefit From Plastic Welding
Understanding where plastic welding delivers the most value helps prioritize which repairs warrant your time and effort. Not all plastic breaks should be welded—some components require replacement for safety reasons.
Automotive Repairs Worth Welding
Bumpers, interior trim, and fluid reservoirs often respond well to plastic welding when performed correctly. Focus on non-structural components where cosmetic appearance matters less than function. Never weld fuel tanks or safety-critical components—these require factory replacement due to stringent safety standards. For bumper repairs, combine welding with internal reinforcement plates for structural integrity that withstands minor impacts.
Industrial and Household Applications
Plastic welding shines in repairing chemical tanks, conveyor components, and agricultural equipment where replacement costs far exceed repair value. For household items, focus on thick-walled containers like storage bins or children’s toys that experience stress fractures. Thin, flexible plastics like food packaging rarely weld successfully due to their material composition and wall thickness.
Mastering plastic welding requires practice, patience, and respect for the material’s unique properties. Start with simple, non-critical repairs to develop your technique before tackling important projects. Always prioritize safety over speed, and remember that proper surface preparation makes the difference between a temporary fix and a permanent solution. As you gain experience, experiment with different rod materials and techniques to expand your capabilities. For complex repairs or safety-critical components, consult a professional welding service—some breaks are better handled by experts with industrial-grade equipment and certification. With proper technique and realistic expectations, plastic welding becomes an invaluable skill that saves money and reduces waste across countless applications.
Leave a Reply