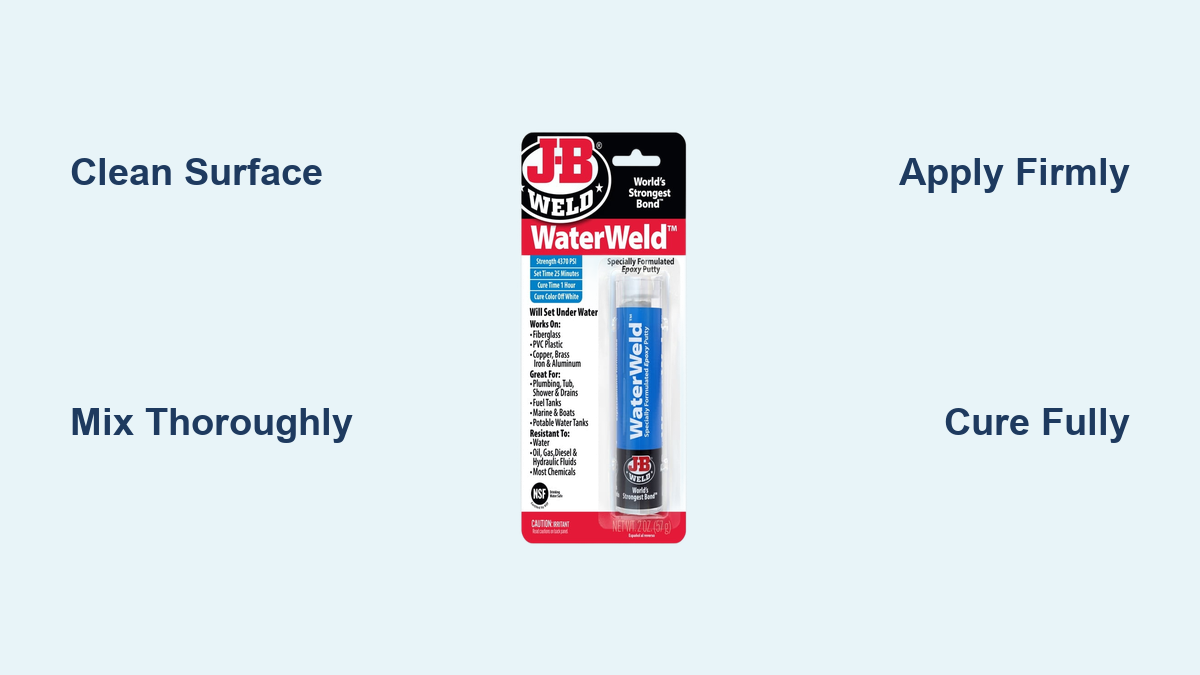
When that unexpected leak springs up in your plumbing system or marine equipment, knowing how to use JB WaterWeld properly can save you hundreds in emergency repair costs while providing a permanent solution. This specialized epoxy putty stands as one of the most reliable waterproof repair solutions available, curing even when completely submerged underwater—making it the go-to choice for homeowners, plumbers, and marine technicians facing urgent water-related damage. Unlike conventional adhesives that fail when wet, JB WaterWeld creates bonds that withstand water pressure up to 500 PSI and temperatures reaching 250°F, transforming emergency fixes into permanent repairs that last for years.
Mastering how to use JB WaterWeld correctly separates temporary patches from professional-grade solutions that withstand daily stress and environmental challenges. This comprehensive guide walks you through the precise techniques required for successful application, including critical surface preparation methods, proper mixing ratios, and timing considerations that determine whether your repair holds strong or fails prematurely. Whether you’re patching a leaking pipe under your sink, fixing a crack in your boat hull, or sealing a pool liner tear, these proven techniques ensure your JB WaterWeld application delivers lasting results.
Gather Required Materials and Tools
Before starting your repair, assemble everything you’ll need to ensure smooth application without interruptions during the critical working window. While JB WaterWeld requires no specialized equipment thanks to its convenient stick format, having the right supplementary materials nearby prevents mistakes that compromise your repair.
Ensure you have the JB WaterWeld stick (typically sold in 2-ounce packages), sandpaper or a wire brush for surface preparation, clean rags for wiping away debris, and disposable gloves to protect your hands. A flat surface like a cutting board provides an ideal mixing area that won’t be damaged by the putty. For overhead repairs or confined spaces, have someone available to assist with holding materials or passing tools as needed. Keep all materials organized and within reach before beginning—once you cut into the putty stick, your 5-10 minute workable window begins immediately.
Prepare the Repair Surface Thoroughly
This often-rushed step determines whether your JB WaterWeld repair succeeds or fails within days. Begin by cleaning the damaged area completely to remove all contaminants that interfere with adhesion. For oily surfaces, use a degreaser or solvent-based cleaner; for rusted areas, employ a wire brush. Rough smooth surfaces with sandpaper to create texture the epoxy can grip—especially critical on metal pipes and ceramic surfaces where smooth finishes provide minimal mechanical engagement.
If possible, shut off the water supply before beginning. While JB WaterWeld cures underwater and handles active leaks admirably, a calmer environment produces stronger initial bonding and requires less material to account for wash-off during application. For leaks that can’t be isolated, briefly dry the immediate area with a rag—though the product bonds effectively to wet surfaces if time doesn’t permit complete drying.
Cut and Mix the Epoxy Putty Correctly
The mixing process separates novice users from those achieving professional-grade repairs. Cut through the entire diameter of the stick rather than partially through and bending, ensuring you capture both resin and hardener layers in proper proportion. For small repairs like pinhole leaks, a 1-inch piece usually suffices; larger cracks require proportionally more material.
Knead the piece between your fingers aggressively for 2-3 minutes until the appearance transitions from marbled to completely uniform off-white throughout. This thorough mixing proves non-negotiable—incomplete mixing leaves soft spots that remain permanently uncured, creating weak points that fail under stress. Fold and compress the putty repeatedly, working it until no streaks or color variations remain. The material becomes progressively easier to manipulate as it warms from hand contact, so persist through any initial resistance.
Apply JB WaterWeld with Proper Technique

With the mixed putty ready, immediate application ensures you work during its optimal 5-10 minute workable window. Press the epoxy firmly into cracks, holes, or gaps using thumb and finger pressure, forcing the material deep into the damage area to eliminate air pockets. For through-holes where water escapes from both sides, apply material to each side if accessible, building up layers to bridge the entire thickness.
Overlap the repair area by at least half an inch in all directions—this bonding flange distributes stress across a wider area and prevents peeling at edges. Shape the exterior surface to match surrounding contours while the material remains workable. For underwater applications, apply generously to account for any material wash-off in flowing water, and smooth the exterior to minimize drag once the vessel returns to operation.
Allow Adequate Set and Cure Time

Patience during curing rewards you with a repair reaching full strength. JB WaterWeld requires approximately 25 minutes for initial set and 1 hour for full cure. During the initial 25-minute set period, the epoxy hardens sufficiently for light handling but remains workable for minor adjustments. The repair can withstand water exposure after this set period, making it safe to restore water flow in plumbing applications.
Full cure completes in approximately 1 hour, at which point the material achieves its rated 4,370 PSI tensile strength and full resistance to water pressure, oil, and temperature extremes. Only after this full cure should you drill, tap, file, sand, or paint the repaired surface. Cure times extend in very cold conditions or when applying thick layers exceeding one inch—allow additional time if temperatures hover below 60°F.
Finish and Strengthen the Cured Repair
Once fully cured, several post-processing options enable the repair to blend aesthetically with surrounding surfaces. Drilling and tapping become possible after full cure using moderate drill speeds and appropriate lubrication. Filing and sanding reshape the surface starting with 80-grit files or sandpaper for major removal, then progressing through finer grits—220-grit or finer produces a smooth finish suitable for painting.
Painting the cured epoxy extends aesthetic options considerably. The off-white color accepts most household paints, automotive finishes, and marine coatings without requiring primer, though light sanding before painting enhances adhesion and ensures the topcoat adheres properly.
Troubleshoot Common JB WaterWeld Application Mistakes
Why doesn’t my JB WaterWeld cure completely?
Incomplete curing typically results from improper mixing ratios or insufficient kneading time. Ensure you cut through the entire stick diameter and knead for the full 2-3 minutes until uniform color appears. Incomplete mixing leaves uncured soft spots that compromise the repair.
How do I fix JB WaterWeld that washed off during underwater application?
For active leaks with significant water flow, apply a thicker initial layer and hold it in place for 30-60 seconds to establish initial bonding before releasing. Work against the water flow direction when possible to minimize wash-off during the critical setting phase.
Can I use JB WaterWeld on gasoline leaks?
While JB WaterWeld resists petroleum products, it’s not certified for permanent gasoline immersion. For fuel system repairs, it provides a temporary solution but severe tank damage may require replacement.
Store JB WaterWeld for Maximum Longevity
Proper storage extends the shelf life of unopened and partially used JB WaterWeld. Unopened packages maintain potency indefinitely when stored in cool, dry conditions between freezing and 90°F. Once opened, ensure the tube is tightly recapped after each use to prevent the remaining putty from drying out.
Material that has dried or cured in the tube should be discarded, as it will not soften or remix successfully regardless of soaking or heating attempts. Monitor your stored product periodically for any signs of hardening at the cut end, and trim away affected material before it spreads throughout the package.
Achieve Reliable Repairs Every Time
Mastering how to use JB WaterWeld transforms you from a casual user into someone capable of handling emergency leaks that would otherwise require expensive professional service. The key differentiators separating successful repairs from failed attempts come down to three factors: thorough surface preparation, complete mixing of both components, and adequate cure time before putting the repair into service.
The waterproof formulation’s ability to cure underwater opens possibilities that conventional adhesives simply cannot match, enabling emergency plumbing fixes without shutting off water supply and marine repairs without dry-docking. Keep JB WaterWeld stocked in your workshop or boat, and you’ll approach unexpected leaks with confidence, knowing a reliable solution waits ready in your supplies. With proper technique, your JB WaterWeld repair will withstand years of demanding service without requiring repeated attention.
Leave a Reply