That annoying rumble coming from under your car isn’t just an irritation—it’s a sign your exhaust system has developed leaks that need immediate attention. Ignoring exhaust leaks can lead to dangerous carbon monoxide exposure inside your vehicle cabin, decreased fuel efficiency, and potential damage to other components. J-B Weld Exhaust System Sealant provides a professional-quality solution for sealing gaps, smoothing seams, and securing pipe connections throughout your exhaust system. This heat-resistant paste is engineered specifically to withstand the extreme temperatures and constant vibration that define automotive exhaust environments. When properly applied, it creates a permanent, leak-proof seal that performs reliably from the tailpipe to the catalytic converter.
Unlike temporary fixes that fail within days, J-B Weld Exhaust System Sealant delivers a long-lasting repair when you follow the correct application process. This guide reveals exactly how to use J-B Weld exhaust sealant for maximum effectiveness, including critical preparation steps most DIYers skip, precise application techniques that ensure complete coverage, and the proper curing method that activates the sealant’s full temperature resistance. You’ll learn why surface preparation makes or breaks your repair, how to select the right J-B Weld product for different exhaust issues, and professional tips to avoid common mistakes that lead to premature failure.
Prepare Exhaust Surfaces for Optimal Adhesion

Skipping proper surface preparation is the #1 reason exhaust sealant repairs fail prematurely. Even the highest-quality sealant cannot bond properly to contaminated surfaces, and exhaust components accumulate layers of grease, oil, carbon deposits, and rust that prevent proper adhesion. Take these critical steps before applying any sealant to ensure your repair lasts.
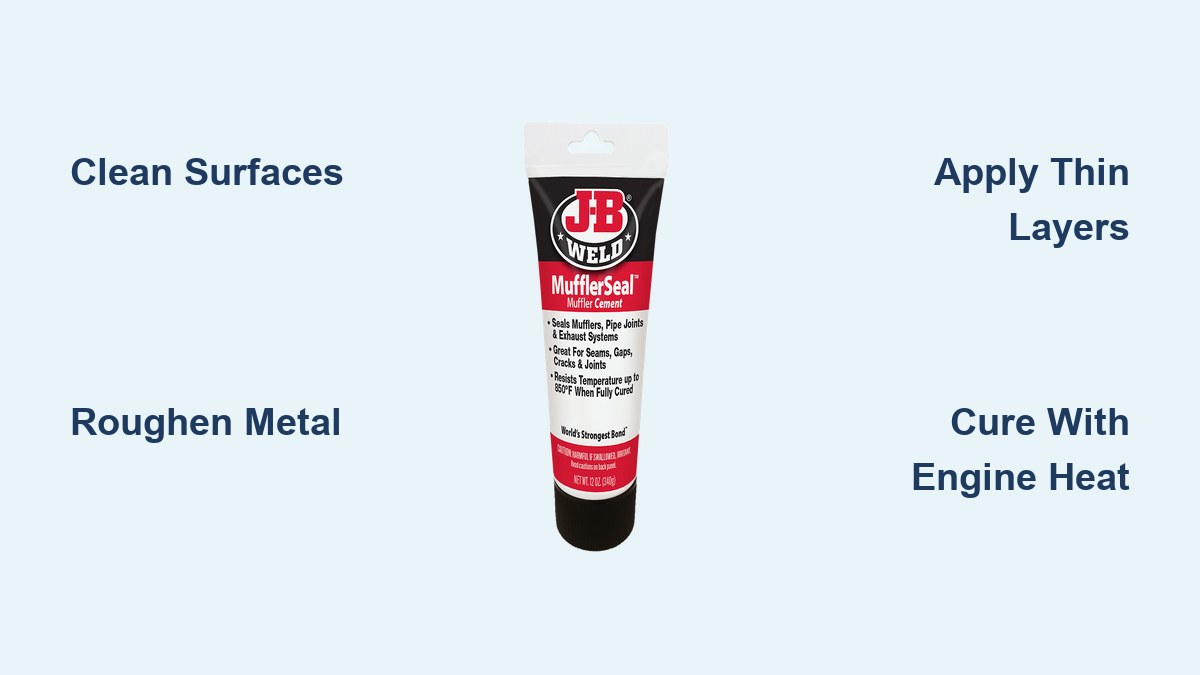
Begin by ensuring the exhaust system has completely cooled—exhaust components retain dangerous heat long after engine shutdown. Once safe to handle, use a stiff wire brush to aggressively scrub all mating surfaces, flanges, and seam areas where you’ll apply the sealant. Focus on removing all rust, corrosion, carbon buildup, and any remnants of old gaskets or previous sealant applications. The goal is bare, clean metal that provides maximum bonding surface.
After mechanical cleaning, wipe all surfaces with a rag dampened with acetone, brake cleaner, or isopropyl alcohol to remove invisible oils and grease that the wire brush couldn’t eliminate. This degreasing step is non-negotiable—exhaust systems accumulate petroleum residues that create barriers between metal and sealant. Allow surfaces to air dry completely before proceeding, as trapped moisture causes bubbling and weak spots in the final repair.
For optimal results, roughen the cleaned surfaces using 80-120 grit sandpaper. This creates microscopic texture that dramatically improves the sealant’s grip on the metal. Pay special attention to flat mating surfaces where connections will join, as these areas require the strongest bond. Blow away all sanding residue with compressed air or wipe with a clean, dry rag—never touch the prepared surfaces with bare hands, as skin oils can compromise adhesion.
Apply J-B Weld Sealant for Complete Gap Coverage
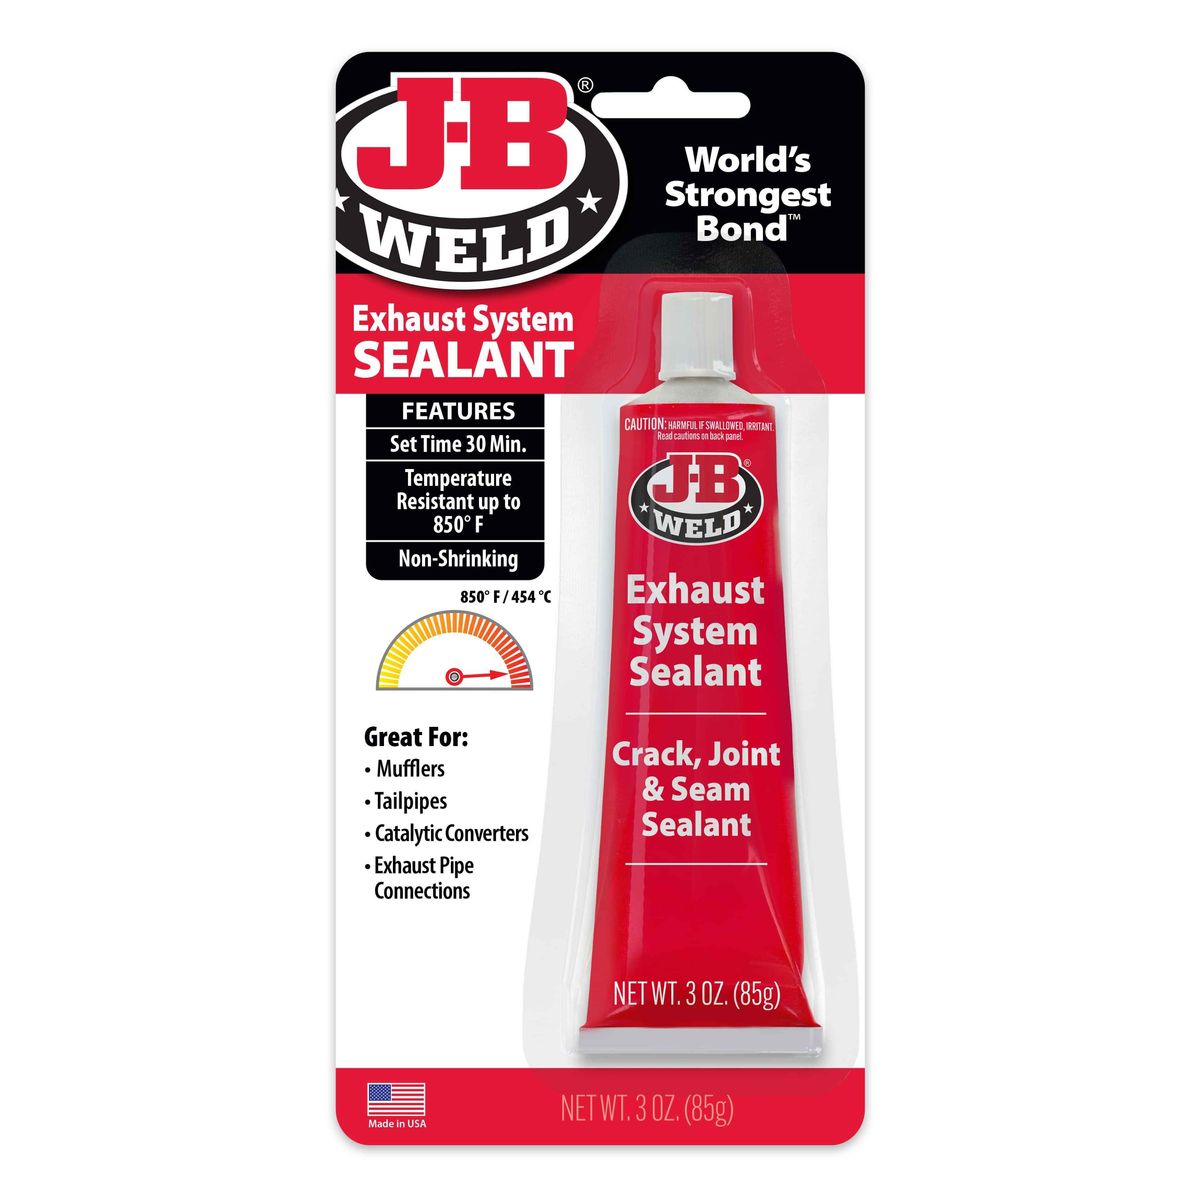
With properly prepared surfaces ready, you can now focus on precise application technique. The paste consistency of J-B Weld Exhaust System Sealant (85g container, part #37903) allows for straightforward application using a putty knife, screwdriver, or similar tool, but following proper technique ensures complete coverage and optimal sealing performance.
Squeeze a small amount of the dark gray sealant onto a clean applicator surface. Working quickly since the sealant begins setting within minutes, apply the paste directly into gaps between exhaust components, spreading it smoothly to ensure complete coverage of sealing surfaces. For flange connections, apply a continuous bead around the entire perimeter of the flange, ensuring no gaps exist in the seal. Press the sealant into place firmly enough that it fills any irregularities in the mating surfaces but not so aggressively that it squeezes out entirely from the joint.
When sealing seams or cracks rather than connections, use the putty knife to work the paste into the affected area, building up slightly above the surface to account for any shrinkage during curing. The sealant can be layered if needed, but each layer should be applied thinly and allowed to set for the recommended 30 minutes before adding additional material. For reassembly applications where you’re sealing brand-new gasket surfaces, apply a thin, even layer to both mating surfaces before bolting components together.
Avoid Thick Application Layers
Never apply thick layers of sealant in a single pass. Thick applications take longer to cure properly and may not achieve the same bond strength as thin, even layers. If you’re dealing with larger gaps exceeding 1/8 inch, apply the sealant in multiple thin layers, allowing each to set for the recommended 30 minutes before adding the next. This approach ensures thorough curing throughout the material and creates a stronger, more durable seal that withstands thermal cycling.
Cure J-B Weld Sealant Using Engine Heat
Proper curing is essential for achieving the full temperature resistance and bond strength that J-B Weld Exhaust System Sealant is designed to provide. The product uses a two-stage curing process that begins with an initial set time at room temperature and completes with a heat-activated final cure that requires running the engine—skipping either stage compromises the repair’s durability.
After applying the sealant, allow it to set undisturbed for the full 30 minutes at room temperature. During this initial set period, the sealant begins to tack up and develop initial holding strength, but it’s not yet ready for the extreme heat of an operating exhaust system. Disturbing the repair during this window can break the developing bond and create weak spots in the seal.
Once the 30-minute set time has elapsed, start the engine and allow it to idle for the full 10 minutes specified in the product instructions. This engine run serves a critical purpose: it exposes the curing sealant to genuine exhaust heat, triggering the chemical reactions that develop full temperature resistance up to 850°F (454°C). The brief operating period is sufficient to complete the curing process without subjecting the fresh repair to the full thermal stress of extended driving.
Troubleshooting Improper Curing
If your sealant remains tacky after the 10-minute engine run, the most likely causes are:
– Inadequate surface preparation (oil or rust contamination)
– Application to damp surfaces
– Insufficient engine run time
– Disturbing the seal during initial set period
Never drive the vehicle immediately after application—allow the sealant to complete its heat curing process before subjecting it to vibration and thermal cycling from actual driving conditions.
Choose the Right J-B Weld Product for Your Repair
While this guide focuses on the Exhaust System Sealant, J-B Weld offers specialized products for different exhaust repair scenarios. Selecting the appropriate product ensures you achieve the best possible results for your specific issue.
For standard gap-filling and seam sealing during exhaust reassembly, the $11.59 Exhaust System Sealant remains the primary choice. Its paste formulation is specifically designed for filling gaps between pipe connections and sealing flange joints. When dealing with cracks specifically in mufflers or tailpipes, MufflerSeal (170g or 340g versions) offers a specialized formulation optimized for these components.
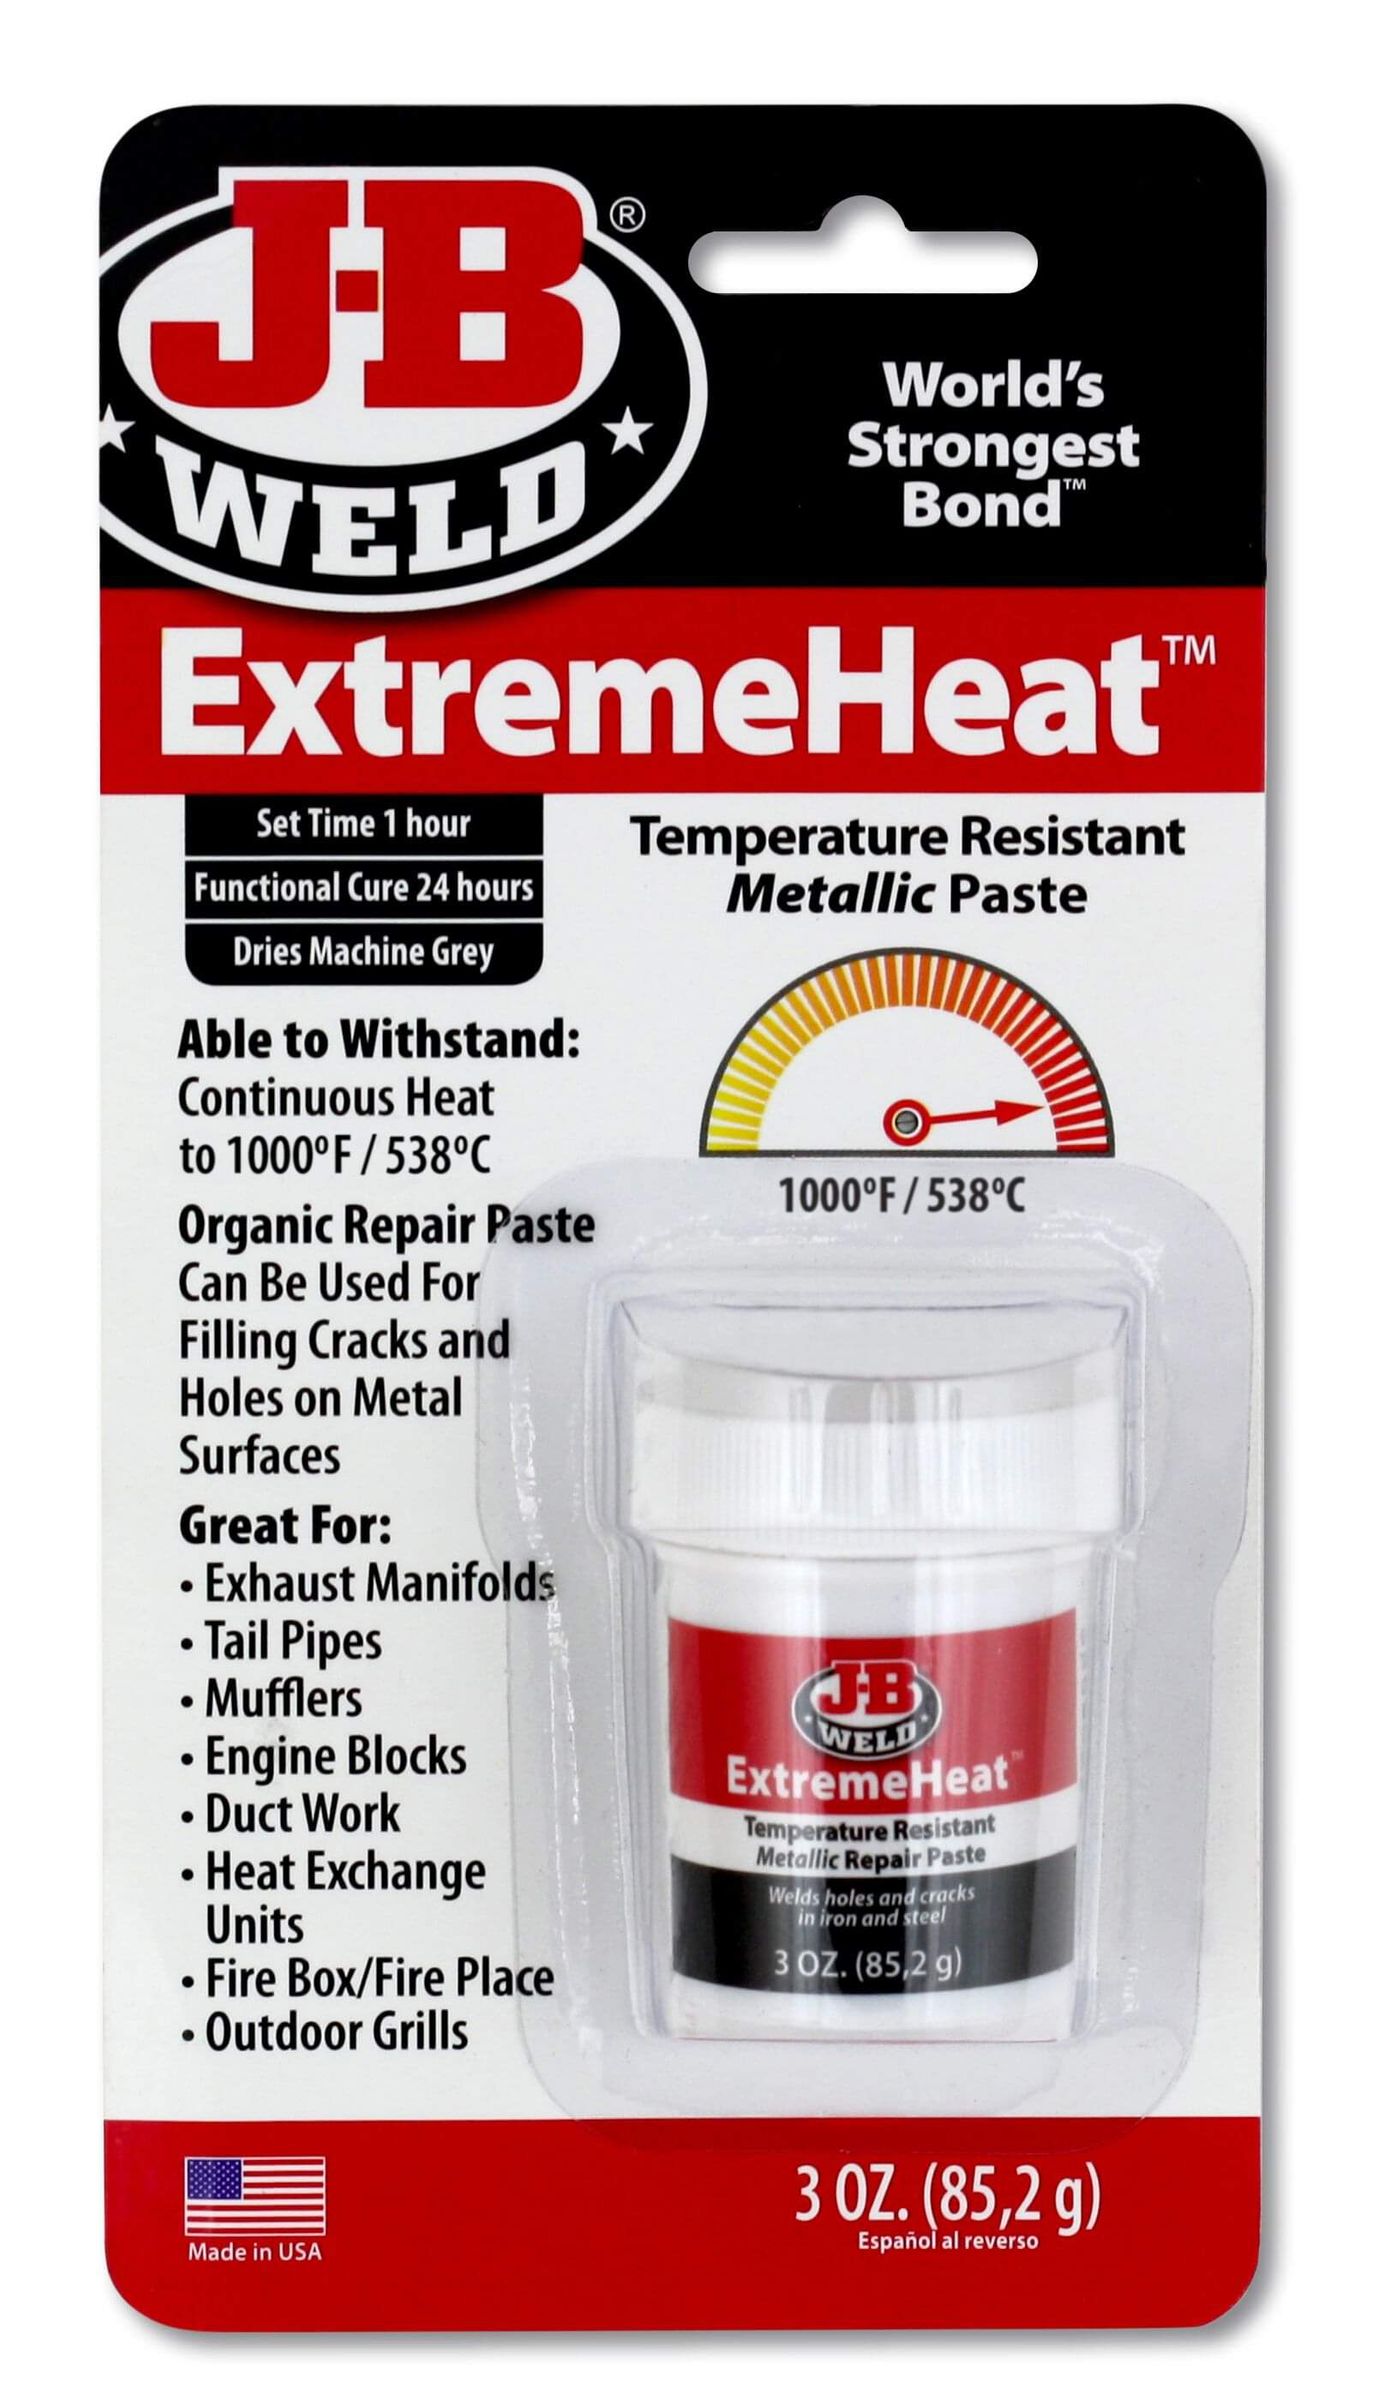
For structural repairs where crack sealing requires additional strength, ExtremeHeat provides steel-reinforced paste that adds structural integrity along with sealing capability. When your repair involves holes or broken sections rather than simple seams, fiberglass wrap products like Tiger Patch or the longer ExhaustWeld (182cm) provide the robust structural repair necessary.
Prevent Common J-B Weld Sealant Failures
Even experienced DIYers encounter issues with exhaust sealant applications when they overlook critical details. Understanding these preventable mistakes ensures your repair lasts:
Surface Preparation Shortcuts
Attempting to apply sealant over inadequately cleaned surfaces is the leading cause of failure. Never skip the wire brushing, degreasing, and surface roughening steps—even when surfaces appear reasonably clean. Exhaust components accumulate invisible oil residues that compromise adhesion.
Moisture Contamination
Applying sealant to damp or wet surfaces introduces moisture that becomes trapped during curing, creating bubbles and weak spots. Always ensure surfaces are completely dry before application, and avoid working in humid conditions or immediately after washing your vehicle.
Incorrect Curing Sequence
Shortening the 30-minute set time or failing to run the engine for the full 10 minutes prevents the sealant from achieving its maximum temperature resistance. The heat-activated curing stage is essential for developing the full 850°F resistance capability.
Maintain Your Exhaust System After Sealing
Creating a quality exhaust seal represents only half the battle—regular maintenance ensures your repair continues performing. Periodically inspect your exhaust system, paying special attention to areas near the repair site. Check for new leaks by listening for unusual exhaust sounds during operation and watching for visible smoke where it shouldn’t appear.
Vibration and thermal cycling gradually loosen exhaust connections over time, even with quality sealant. Periodically check that all exhaust hangers and mounting hardware remain secure. Replacing worn hangers reduces stress on sealed connections and helps maintain repair integrity.
When performing future maintenance that requires disconnecting exhaust components, take the opportunity to inspect sealed areas and reapply sealant if necessary. Keeping a small container of J-B Weld Exhaust System Sealant on hand ensures you’re prepared to maintain your exhaust system’s integrity without delays. This proactive approach costs far less than emergency repairs and keeps your exhaust system operating quietly and efficiently year after year.
Leave a Reply