Ever tried to join metal pieces only to have them snap under pressure? Learning how to weld solves this problem by creating bonds stronger than the original metal itself. Welding melts base metals and filler material together, forming a unified structure that mechanical fasteners can’t match. This permanent fusion powers everything from skyscrapers to custom bike frames, and with today’s accessible equipment, you can start welding successfully in your garage within weeks.
The electric arc in welding reaches temperatures exceeding 6,000°F—hot enough to melt steel instantly. Yet despite this intense heat, how to weld properly follows predictable patterns anyone can learn with structured practice. Whether you’re fixing farm equipment or crafting metal art, understanding these fundamentals transforms frustration into confidence. This guide cuts through the confusion to deliver exactly what you need to create strong, clean welds on your very first attempts.
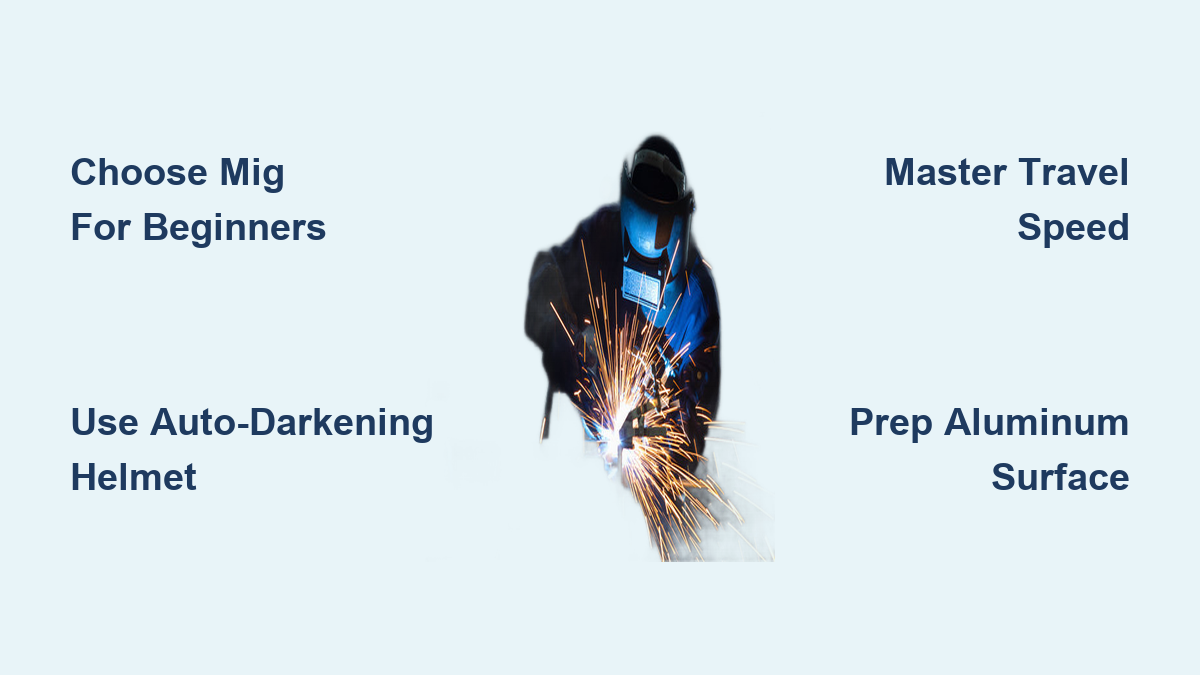
Choose Your First Welding Process Based on Project Needs

Selecting the right welding method makes or breaks your early success. Each technique suits different materials, thicknesses, and skill levels—picking wisely prevents wasted time and materials.
Why MIG Welding Wins for Beginner Metal Projects
MIG (Metal Inert Gas) welding stands as the top recommendation for how to weld as a beginner because its continuous wire feed creates a forgiving learning curve. The process automatically feeds electrode wire through the gun while shielding gas protects the molten pool. When you pull the trigger, the wire contacts the metal, completes the circuit, and pulls back to create an arc that melts both the wire and base metals together.
Pro Tip: Start with 0.030-inch solid wire on mild steel at 18-20 volts for 1/8-inch thick material. This setting works for 80% of beginner projects.
MIG welding shines on:
– Steel up to 1/2-inch thick
– Outdoor repairs (with flux-cored wire)
– Automotive body work
– Farm equipment maintenance
The auto-feed system lets you focus on travel speed and angle rather than rod management. Within hours of practice, most beginners produce usable welds on scrap metal—something impossible with more complex methods.
When TIG Beats MIG for Precision Metalwork
TIG (Tungsten Inert Gas) welding demands more skill but delivers unmatched precision for thin metals and tricky alloys. The process uses a non-consumable tungsten electrode while you manually feed filler rod into the weld pool with your other hand. A foot pedal controls heat in real-time, preventing burn-through on delicate materials.
Difficulty Indicator: Expect 20-30 practice hours before producing clean TIG welds—significantly more than MIG.
TIG excels when:
– Working with aluminum under 1/8-inch thick
– Welding stainless steel tubing
– Creating show-quality motorcycle frames
– Repairing thin-walled exhaust systems
The two-handed technique requires coordination that feels unnatural at first. But once mastered, TIG produces welds so clean they often don’t require grinding—making it worth the steeper learning curve for quality-focused projects.
Stick Welding’s Hidden Advantages for Rusty Metal Repairs
Stick welding (Shielded Metal Arc Welding) remains the go-to method for field repairs where conditions aren’t ideal. The electrode’s flux coating creates its own shielding gas and slag layer, allowing welding on dirty, rusty, or painted surfaces without perfect preparation.
Time-Saving Shortcut: Use 6011 rods on AC power for immediate outdoor capability—no gas tanks required.
Stick welding dominates when:
– Fixing farm equipment in the field
– Repairing cast iron engine blocks
– Working in windy outdoor conditions
– Joining metals with surface contamination
The tradeoff is slower speed and more post-weld cleanup to remove slag. But when power sources are limited or surfaces imperfect, stick welding gets the job done where other methods fail.
Essential Welding Gear You Can’t Skip for Safety

Cutting corners on safety equipment risks permanent injury—especially for beginners still mastering technique. Invest in these non-negotiable items before striking your first arc.
Auto-Darkening Helmets: The Single Most Important Purchase
Critical Warning: Never use a fixed-shade helmet for your first welding attempts—the delay in lowering it causes dangerous arc flashes to your eyes.
Modern auto-darkening helmets instantly switch from shade 3 to 9-13 when sensing the arc, protecting your vision while maintaining visibility. Look for:
– Solar+battery dual power (no dead batteries mid-weld)
– 1/25,000 second reaction time
– 3.5-13 adjustable shade range
– At least 3.5″ x 1.75″ viewing area
A quality helmet costs $200-$400 but pays for itself in prevented injuries. Cheaper models often have slower reaction times that expose your eyes to harmful UV radiation during the critical first milliseconds of arc initiation.
Flame-Resistant Clothing Checklist for Beginner Welders
Sparks reach 1,800°F and embed in fabric fibers, causing severe burns hours after welding stops. Your first clothing setup must include:
– Leather welding gloves (cotton melts onto skin)
– Denim or leather apron (synthetics melt)
– Full coverage long sleeves (no exposed skin)
– High-top leather boots (sparks fall downward)
Expert Note: Keep a dedicated welding shirt free of oil and grease—contaminants ignite instantly at welding temperatures.
Master These 3 Foundational Welding Techniques Immediately
Technical skill separates functional welds from structurally sound ones. Focus on these fundamentals before attempting actual projects.
Perfect Your First Weld Bead in 4 Steps
- Tack weld corners (1/2″ beads every 6″) to hold pieces aligned
- Start at one end with gun angled 10-15 degrees in travel direction
- Move steadily at 6-8 inches per minute (faster for thin metal)
- Watch the puddle—it should be 1.5x wider than the electrode
Visual Cue: A proper weld bead resembles stacked dimes—uniform, slightly rounded, with consistent width.
Troubleshoot Weak Welds Caused by Travel Speed Errors
Most beginner weld failures stem from incorrect travel speed. Diagnose your speed issues:
– Too fast: Narrow bead, poor penetration, visible gaps under weld
– Too slow: Wide, flat bead, excessive spatter, burn-through holes
Fix: Practice on scrap metal until you recognize the sound change when speed is correct—a consistent “sizzle” like bacon frying.
Restart Broken Welds Without Creating Weak Points
Stopping mid-weld creates a crater prone to cracking. Proper restart technique:
1. Position electrode at crater edge
2. Hesitate 1 second to preheat
3. Backtrack slightly into crater
4. Resume normal travel speed
Common Mistake: Starting directly in the crater center creates incomplete fusion—always approach from the edge.
Welding Aluminum Successfully on Your First Attempt
Aluminum’s high thermal conductivity and oxide layer make it notoriously difficult for beginners. Avoid these pitfalls:
Remove Aluminum Oxide Before Welding
The invisible oxide layer melts at 3,700°F—over 1,000°F higher than aluminum’s melting point. This causes:
– Inconsistent penetration
– Porous, weak welds
– Erratic wire feeding
Solution: Brush with stainless steel wire brush dedicated to aluminum only (steel contamination causes cracking). Never use the same brush on steel.
Adjust Settings for Aluminum’s Unique Behavior
Aluminum requires different parameters than steel:
– Higher amperage (20-25% more than steel)
– Faster travel speed (prevents burn-through)
– AC current (cleaning action breaks oxide)
– Push technique (unlike steel’s pull method)
Pro Tip: Use 100% argon gas at 20-25 CFH flow rate—any less won’t protect the weld pool properly.
Safety Protocols Every New Welder Must Follow
Welding creates multiple invisible hazards that require specific countermeasures.
Prevent Arc Eye With Proper Helmet Settings
UV radiation from welding arcs causes “arc eye”—a painful corneal burn similar to sunburn. Protection requires:
– Correct shade setting (10 for 30-100A, 12 for 100-200A)
– No gaps around helmet edges
– Safety glasses underneath (for reflected UV)
Critical Mistake: Using too light a shade setting causes immediate eye damage—you won’t feel it until hours later when symptoms appear.
Control Fume Exposure in Your Workshop
Welding fumes contain toxic metals that accumulate in your body over time. Minimize exposure by:
– Positioning fan to draw fumes away from breathing zone
– Using fume extractor with HEPA filter
– Never welding in enclosed spaces without ventilation
– Taking 5-minute breaks every 30 minutes
Expert Warning: Stainless steel welding produces hexavalent chromium—carcinogenic even in small amounts. Always use proper respiratory protection.
Practice Strategies That Accelerate Welding Mastery
Deliberate practice beats mindless repetition every time. Structure your training sessions for maximum improvement.
Create a Focused Practice Routine
- Warm up with 5 minutes of bead-on-plate practice
- Isolate one variable (speed, angle, or amperage)
- Weld 5 beads adjusting only that variable
- Analyze results before next attempt
Time Estimate: 30 minutes daily practice produces more improvement than 3 hours once weekly.
Track Progress With These Metrics
Measure improvement objectively by recording:
– Bead width consistency (±10% is good)
– Penetration depth (should be 25-50% of base metal)
– Spatter count per inch
– Restart quality (no visible crater)
Pro Tip: Photograph each practice weld with settings noted—review weekly to spot patterns in your progress.
Start Welding Today With These Action Steps
Your first welding project should build confidence while teaching fundamentals. Follow this sequence:
Build a Simple Welding Practice Jig
- Cut two 6″x6″ steel plates (1/4″ thick)
- Tack weld perpendicular supports underneath
- Practice welding across the top edge
- Flip and repeat on opposite side
This creates immediate visual feedback on bead consistency. Within 20 practice welds, you’ll recognize proper penetration versus weak welds.
Schedule Your First Real Project
Choose a beginner-friendly project that:
– Uses 1/8″-1/4″ mild steel
– Has simple butt or lap joints
– Doesn’t carry structural loads
– Can be completed in under 2 hours
Recommended starter project: A simple metal shelf bracket—functional, forgiving of imperfections, and immediately useful.
Learning how to weld properly transforms intimidating equipment into a creative tool within weeks. By focusing on these fundamentals—proper technique selection, safety protocols, and deliberate practice—you’ll create strong, reliable welds faster than you imagined possible. The metalworking world awaits your creations—fire up that machine and make your first spark today.
Leave a Reply