Welding chain links together presents unique challenges that distinguish it from standard welding projects. The rounded geometry of chain links offers minimal contact surface, requiring specialized techniques to achieve proper penetration and structural strength. Whether you’re fabricating custom furniture, repairing broken hardware, or creating decorative installations, mastering chain welding opens possibilities that standard construction methods cannot match. This comprehensive guide covers everything from material preparation and equipment selection to advanced techniques that professional fabricators use to create strong, nearly invisible welds. You’ll learn the critical differences between welding methods, understand how chain composition affects results, and discover step-by-step procedures that ensure successful outcomes for projects ranging from heavy-duty structural applications to delicate jewelry repair.
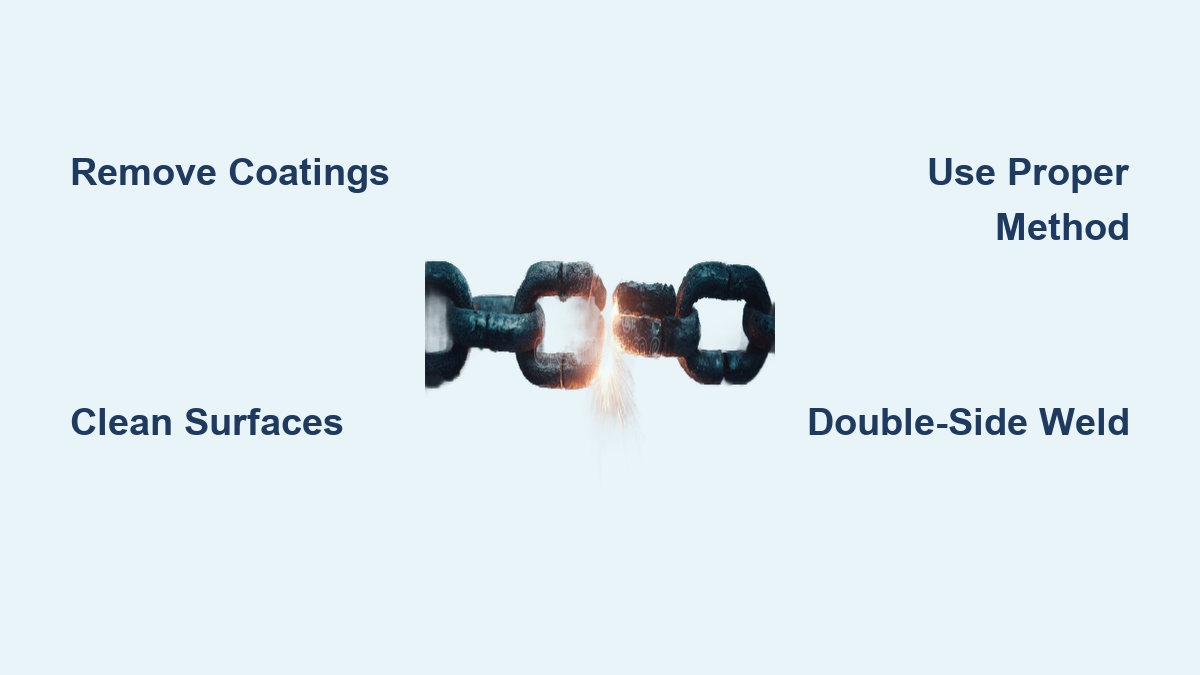
Eliminate Zinc Fume Hazards Before Starting
Welding galvanized chain without proper preparation creates dangerous zinc fumes that cause metal fume fever—a condition producing flu-like symptoms that can sideline you for days. Gold or silver plating on decorative chain releases equally hazardous fumes when heated. Before striking your first arc, you must completely remove any coatings through one of two reliable methods: mechanical grinding or chemical stripping. For mechanical removal, use a wire wheel or grinding disc to thoroughly clean all contact surfaces, paying special attention to the interior curves of each link where zinc accumulates. Chemical stripping with a citric acid bath provides more complete coverage but requires chemical-resistant gloves, safety glasses, and proper ventilation during the process.
Standard welding personal protective equipment forms your essential barrier against arc radiation and spatter. A welding helmet with shade 10-12 lens protects your eyes from intense ultraviolet radiation that can cause serious burns in seconds. Leather welding gloves shield your hands from hot metal contact, while flame-resistant clothing prevents sparks from igniting regular fabrics. The close quarters of chain links demand extra attention to hand positioning—keep your gloves away from the arc path while maintaining precise control. For chemical cleaning methods, add chemical-resistant gloves and safety glasses to your protection gear, and work in a well-ventilated space to avoid inhaling fumes from acid solutions.
Why Partial Coating Removal Guarantees Weld Failure
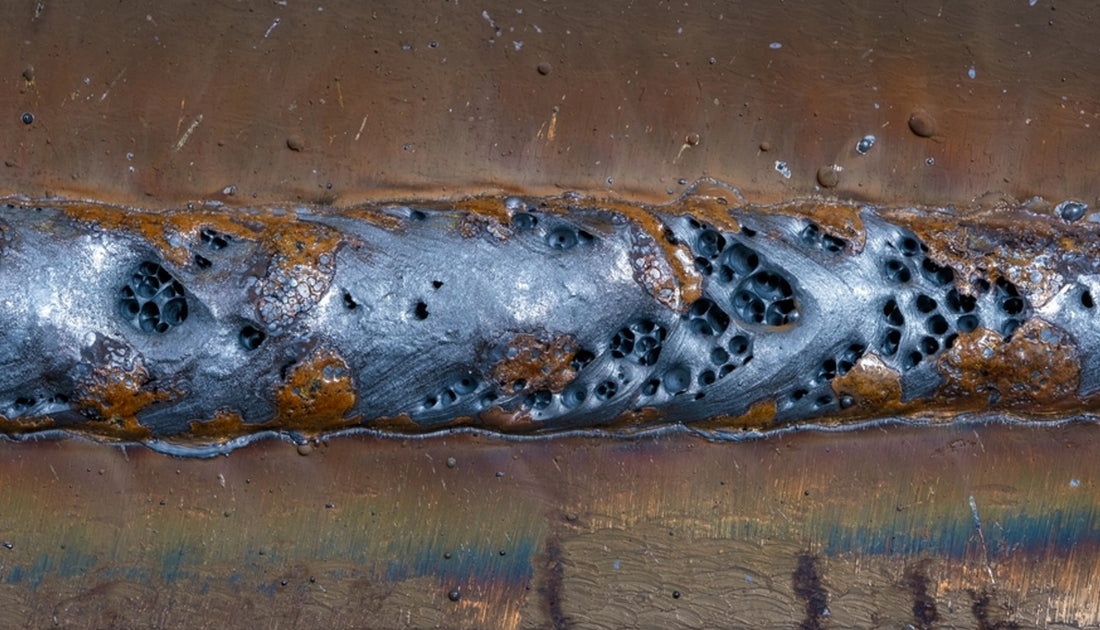
Many beginners make the critical mistake of only partially removing galvanization, thinking surface scratches suffice. Any remaining zinc coating will vaporize during welding, creating gas pockets that prevent proper metal fusion. This results in weak joints that may hold initially but fail under stress. Complete removal ensures clean steel-to-steel contact, allowing proper penetration and eliminating toxic fume hazards. Test your preparation by running a test weld on a scrap link—properly cleaned chain produces smooth, consistent welds without excessive spatter or porosity.
Remove All Contaminants for Optimal Fusion
Oil, grease, and lubricant residue present hidden challenges in used or stored chain that will vaporize under welding heat, creating gas pockets that weaken your weld through porosity. Degreasing solvents applied liberally to all chain surfaces—paying special attention to link interiors where lubricant collects—remove these contaminants. Allow adequate drying time after cleaning because any remaining solvent will steam and disrupt the weld pool. For stubborn contamination, some professionals bake cleaned chain at 200°F for 30 minutes to drive out absorbed oils, achieving a level of cleanliness that solvent cleaning alone cannot reach.
Chain grade significantly impacts welding results and joint strength. Lower-grade proof coil chain from hardware stores typically welds well, maintaining ductility in the heat-affected zone because these chains are manufactured from low-carbon steel that responds favorably to welding heat. High-test chain, grade 70 transport chain, and lifting chain grades present different challenges—they’re manufactured from higher-carbon or alloy steels that become prone to cracking or extreme brittleness when welded. For structural applications requiring welded chain, select lower-grade chain material specifically marketed as weldable to ensure predictable results.
How to Identify Weldable Chain Material
Examine chain packaging or manufacturer specifications for terms like “weldable” or “weldable grade.” Low-carbon steel chains (typically under 0.25% carbon content) offer the best welding characteristics. When in doubt, test a small section first—properly weldable chain will show smooth fusion without cracking when bent. High-test chain often “snaps” after welding, with the welded material crumbling like glass due to excessive brittleness. For critical structural applications, invest in chain explicitly rated for welding rather than risking failure with incompatible materials.
Choose the Right Welding Method for Your Chain Size
MIG welding represents the most common approach for chain welding projects, particularly for larger chain sizes and structural applications where ease of use and penetration capability matter most. Machines in the 140-amp range can handle 3/8-inch chain links but may need maximum settings, while 180-200 amp machines provide more comfortable welding capability for this size material. Use ER70S-6 wire with slightly reduced wire feed speed compared to flat plate welding to prevent excessive buildup that closes down chain openings. Standard 75/25 argon/CO2 mix provides adequate shielding for most chain welding applications.
TIG welding provides superior control for chain work, especially for smaller chain sizes or projects requiring nearly invisible welds. The process allows precise heat input management, excellent weld appearance, and the ability to access tight spaces between linked components. Hold the tungsten electrode approximately 1/8 inch from the workpiece at a 75-degree angle, creating a small arc that provides precise heat control. Begin by establishing a molten pool on the base metal, then introduce the filler rod at the leading edge. For structural applications requiring maximum strength, weld both sides of each link contact point because single-sided welds create inherent weak points.
Why Brazing Works Best for Jewelry Chain Repair
For thin jewelry chain, brazing provides the most appropriate joining method since it doesn’t melt the base metal but instead joins surfaces using lower-melting-point filler material. Silver solder paste combined with borax flux provides the appropriate materials for sterling silver chain repair. The process requires rapid, controlled heating because silver solders melt quickly—excessive heat damages thin chain or causes unwanted discoloration. After heating and solder flow, soak the piece in deroché solution (sulfuric acid and water) to remove oxidation and flux residue before polishing restores the chain’s finish. This technique preserves delicate chain structure while creating strong, nearly invisible joints.
Perfect Your Chain Positioning Technique

Welding chain while it lays flat on a work surface often leads to excessive penetration, spatter accumulation in link crevices, and difficulty achieving uniform results. Hanging the chain and welding with vertical down technique offers substantial advantages—gravity assists in controlling the weld pool, reducing excessive pooling. This approach naturally limits heat input because you must complete the weld quickly before the pool falls, resulting in less total weld metal and a more concave profile that blends better with the chain surface.
For straight chain sections, position the chain inside a piece of angle iron to automatically straighten all links and ensure uniform alignment. This positioning provides excellent access while the metal mass acts as a heat sink that draws heat away from the chain, reducing peak temperatures and helping control warping. The angle iron sides also shield adjacent links from spatter and excessive heat exposure during welding.
How to Maintain Consistent Tension During Welding
Without proper tensioning, chain links shift during welding, requiring constant realignment that slows progress and creates weak joints. Attach one end of the chain section to a fixed point and apply tension from the other end using bungee cords or ratchet straps. The elastic nature of bungee cords allows flexibility while maintaining consistent tension, and you can position them to avoid direct contact with the welding area. For longer sections, hang a weight from the chain over the edge of a work table—select weights sufficient to remove all slack but not so heavy as to deform the chain.
Fix Common Chain Welding Problems Immediately
Excessive weld metal creates unsightly buildup that can alter chain function by reducing effective link opening size. This problem typically results from using too much filler metal relative to base metal thickness. Reduce wire feed speed for MIG welding or use smaller diameter filler metal, and consciously limit weld metal deposition. For existing excessive welds, cleanup with a grinder or Dremel tool can restore a more natural chain appearance—grind the weld flat and smooth without removing so much material that the joint becomes weak.
Poor penetration occurs when the weld fails to adequately fuse with the base metal, resulting in weak joints. Ensure the chain is completely clean of coatings, oils, and oxidation in the weld area. Position the arc at the link intersection and allow adequate dwell time for heat to penetrate the base metal before adding filler metal. Chain distortion and warping result from heat expansion—manage heat input by welding one side, allowing cooling, then welding the opposite side to balance heat distribution.
Why Double-Sided Welds Are Essential for Structural Applications
For chain that must support significant loads, welding both sides of each link contact point provides essential strength. A single-sided weld creates an inherent weak point where the unwelded side remains a potential failure location under stress. After completing the first side, reposition the chain section to access all contact points—the chain maintains alignment when properly tensioned in angle iron or a jig. The additional welding time for the second side is minimal compared to the strength improvement achieved, with test reports showing properly double-welded chain spreader bars supporting 200-pound individuals with remarkable rigidity.
Apply Critical Post-Weld Treatments
For steel chain, applying rust-preventive coating or paint protects welded areas from corrosion, which can initiate at weld boundaries where the heat-affected zone may have altered corrosion resistance. Wait until the weld and heat-affected zone have cooled completely and been cleaned of oxidation before applying protective coatings. For applications where appearance is critical, grind and polish weld areas to create a uniform surface that blends with surrounding chain—start with coarse grinding discs to remove excess material, then progress through finer grits for a smooth finish.
Properly welded chain demonstrates excellent long-term durability when appropriate chain grades are selected and sound welding techniques are employed. Historical examples of stick-welded chain projects from decades ago continue functioning reliably, validating the fundamental soundness of welded chain construction. Select weldable chain grades, use appropriate techniques minimizing heat input, and apply protective coatings to ensure your welded chain constructions deliver years of dependable service.
Leave a Reply