Discovering a cracked engine block can send any vehicle owner into panic mode—especially when you’re faced with the daunting prospect of a full engine replacement. How to weld a engine block successfully represents one of the most challenging yet rewarding repairs in automotive maintenance, potentially saving thousands compared to replacement costs. Cast iron’s brittle nature and high carbon content make it notoriously difficult to weld, but with the right techniques, you can restore structural integrity to your engine block and extend its service life significantly. This guide walks you through the essential steps for a successful cast iron engine block welding repair, whether you’re dealing with freeze damage, thermal stress cracks, or mechanical failures.
The fundamental challenge with welding cast iron engine blocks lies in their metallurgical properties rather than the welding process itself. Unlike steel, cast iron contains 2-4% carbon that creates a material with almost zero ductility, making it prone to cracking under thermal stress. Rushing the repair process or using improper techniques virtually guarantees failure, as the heat from welding creates hard, brittle zones that fracture instead of flexing. Understanding these principles before you strike your first arc ensures you approach the repair with realistic expectations and proper methodology. With careful temperature control, appropriate filler selection, and meticulous technique, you can achieve a repair that lasts the lifetime of your engine.
Before grabbing your welding gear, assess whether welding makes economic sense for your specific situation. Blocks with extensive cracking, severe corrosion, or cracks in highly stressed areas like main bearing webs often warrant replacement rather than repair. However, common repairable locations include freeze plug areas, water jacket walls, deck surfaces, and external mounting bosses—areas where proper welding techniques can restore complete structural integrity.
Identify Crack Patterns and Engine Block Type
Understanding your specific cast iron composition determines your repair approach. Most automotive blocks use gray cast iron with graphite flakes that create natural stress concentrators, making them particularly susceptible to cracking. High-performance and diesel engines may use ductile iron with spherical graphite nodules, offering slightly better weldability while still requiring careful heat management. Before beginning, thoroughly inspect your crack using visual examination, dye penetrant testing, or magnaflux inspection to establish its full extent and determine whether it’s a surface crack or through-wall failure.
Cracks typically originate from three main causes, each requiring different considerations:
– Freeze damage cracks appear near freeze plug locations with multiple radiating lines
– Thermal fatigue cracks develop from repeated heating/cooling cycles near exhaust ports
– Mechanical stress cracks result from over-revving or component failure in cylinder walls
Mark both crack ends clearly and measure total length to plan your welding sequence. For cracks longer than 2 inches, plan additional stop-drill holes at 2-3 inch intervals to prevent propagation during welding.
Prepare the Cracked Area Thoroughly
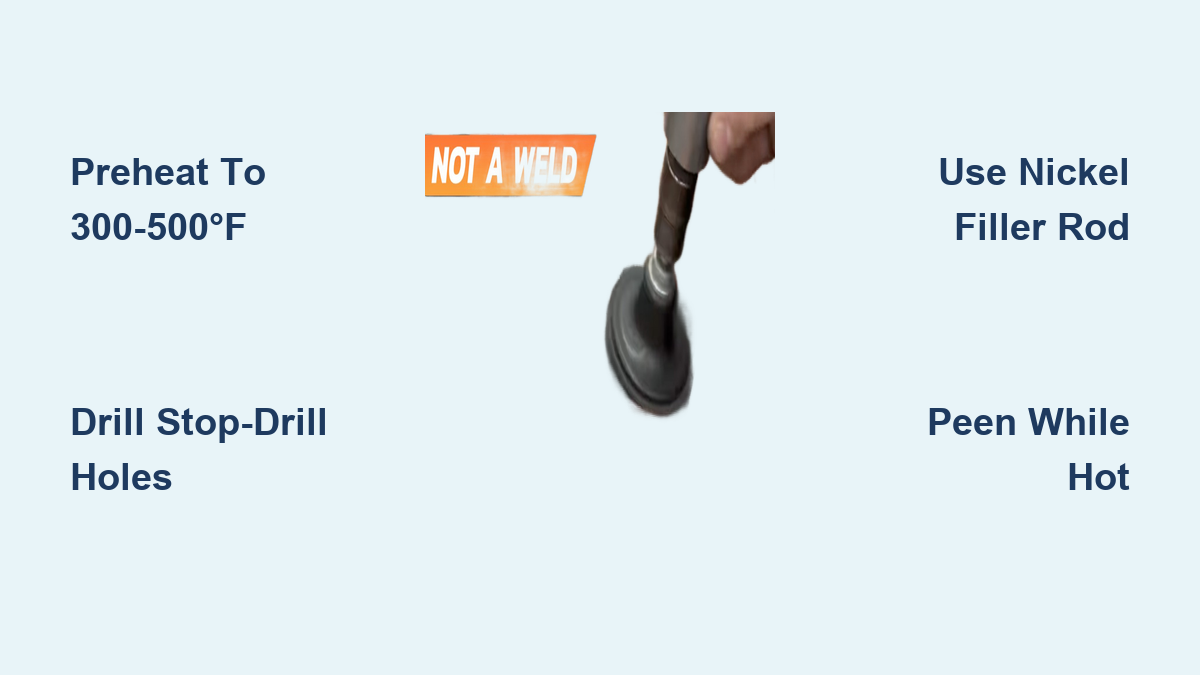
Drilling stop-drill holes at both crack ends represents the most critical preparation step—this simple action dramatically increases repair success rates. Using a 1/8 to 1/4 inch drill bit, drill perpendicular to the crack surface, extending at least halfway through the block wall thickness. These holes intercept the crack tip where stress concentration would otherwise cause continued splitting as heat builds during welding.
Open the crack to create a proper V-groove that allows full weld penetration. Grind or chip out the crack to form a channel with the apex pointing toward the block interior, creating a mechanical interlock that distributes stresses across a broader area. The groove must extend to the full depth of the crack with an included angle between 60-90 degrees depending on accessibility.
Eliminate all contamination before welding begins—cast iron’s porous structure absorbs oil and coolant that create porosity when drawn into the weld pool. Clean thoroughly using solvent degreasers or brake cleaner (never petroleum-based products), and consider using a stainless steel wire brush in a drill to clean the groove. For oil-contaminated cracks, heat the area to 300-400°F and maintain temperature to vaporize embedded contaminants from metal pores.
Select Proper Filler Materials for Cast Iron

Nickel-based fillers represent the gold standard for engine block welding due to excellent cast iron compatibility. Pure nickel rods produce deposits with good ductility, corrosion resistance, and machinability matching base cast iron. While expensive (often exceeding $100 per pound), nickel fillers deliver unmatched results for critical repairs where longevity matters.
Nickel-copper alloy fillers offer a practical compromise between performance and cost. These monel-type wires provide good machinability and crack resistance at lower price points. The copper content reduces melting point and improves fluidity, making these fillers easier to use in some applications while maintaining acceptable performance.
Ferro-nickel alloys like UTP 85 FN blend nickel with iron for faster deposition rates while maintaining good machinability. These fillers suit extensive crack repairs requiring larger filler volumes. For non-critical applications where machining isn’t required, stainless steel type 309 provides the lowest cost option but produces non-machinable welds with potential hard spots.
Choose the Right Welding Process for Your Block
MIG welding with nickel-based wire provides the most accessible entry point if you already own wire feed equipment. Continuous wire feed eliminates frequent electrode changes, making MIG efficient for longer welds. Use .030-.035 inch wire for thin block sections and .045 inch for larger repairs. The accessibility of MIG equipment makes this the most common choice for DIY engine block welding.
TIG welding delivers the highest control and produces the cleanest, highest-quality welds but demands significant skill. Precise heat input control minimizes heat-affected zone size, but cast iron’s high thermal conductivity makes maintaining a stable arc pool challenging. Reserve TIG for critical repairs where precision matters most or when working in tight spaces.
Stick welding with nickel electrodes remains popular among experienced welders for its simplicity and portability. While offering lower deposition rates and more difficult slag removal, stick welding requires minimal equipment—just a transformer machine and appropriate electrodes. Oxy-acetylene welding provides even heating that reduces hard spot formation but proceeds more slowly than arc methods.
Control Preheat Temperature Precisely
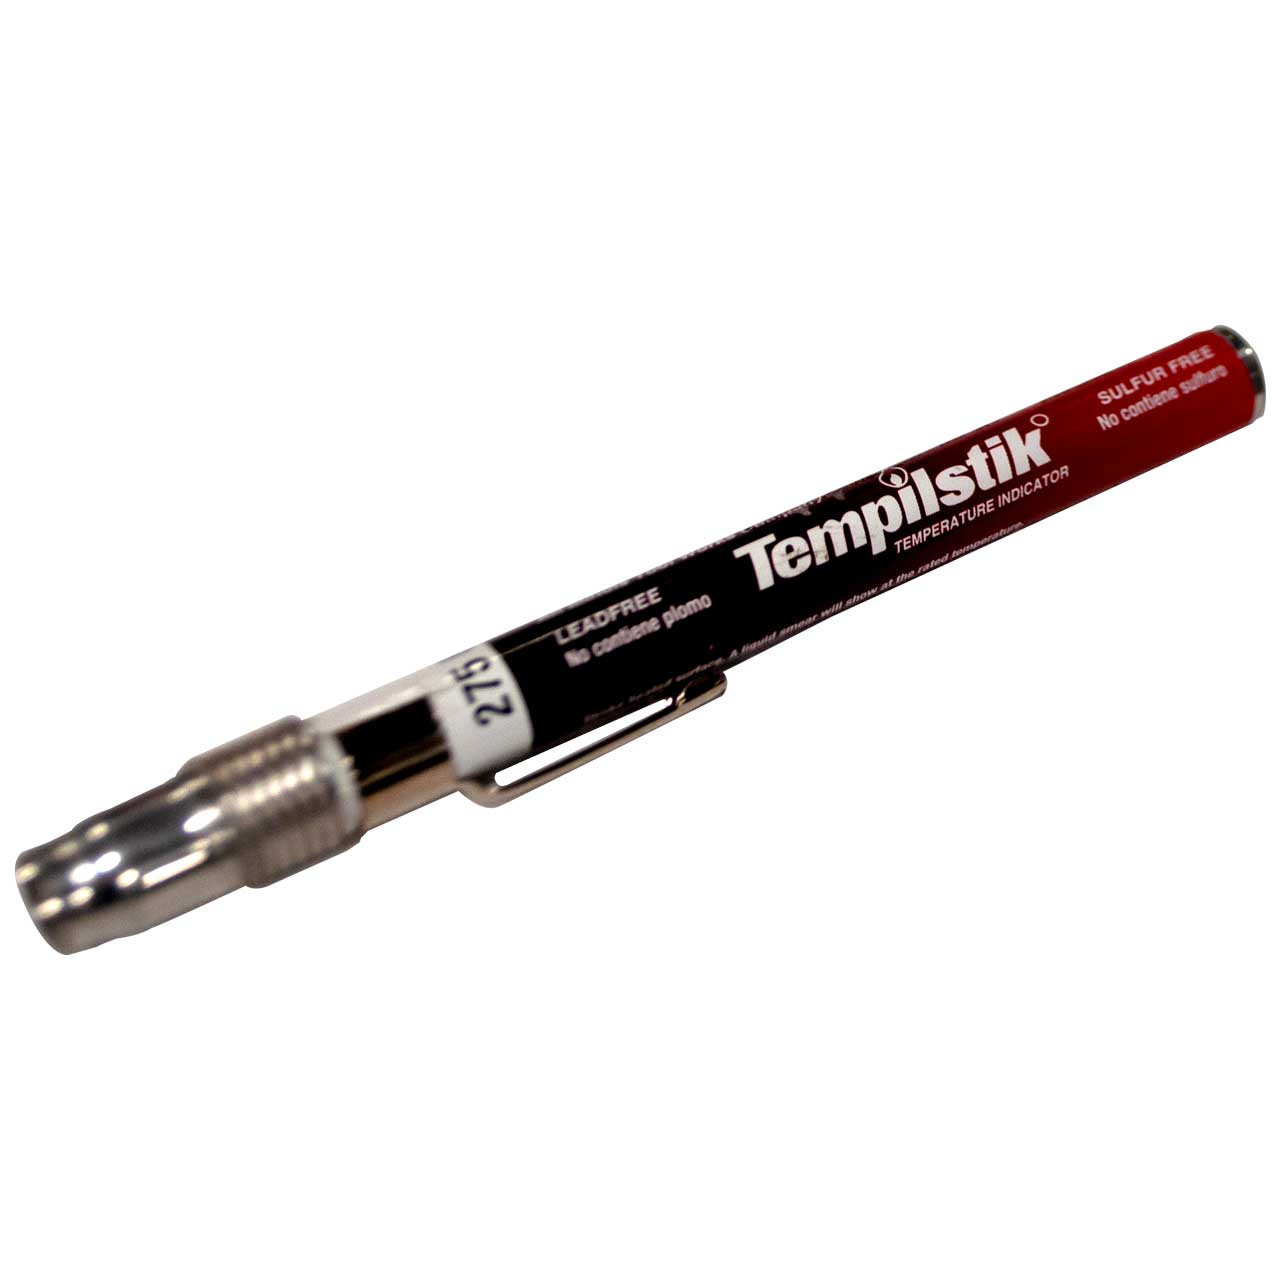
Preheat temperature determines success more than any other factor in cast iron welding. Target 300-500°F preheat temperature (up to 600°F for critical repairs) to reduce temperature differential between weld zone and surrounding material. Verify temperature using temperature sticks or infrared guns—variations across the block should stay within 100°F.
Apply heat slowly and evenly—allow approximately one hour per inch of section thickness to avoid thermal shock. For small repairs, local preheating around the crack may suffice using propane torches. Larger repairs benefit from heating the entire block for uniform thermal conditions using oxy-acetylene torches, resistance heating blankets, or even charcoal fires. Maintain your target temperature throughout the entire welding process.
Execute Proper Stitch Welding Technique
Divide the crack into short segments using the stitch welding technique—weld 1/2 to 3/4 inch sections separately, allowing cooling and peening between segments. This prevents excessive heat buildup in any single area, letting surrounding material absorb heat gradually rather than experiencing rapid temperature rise. Rushing this step almost guarantees failure.
Organize your welding sequence using the back-stepping technique: Start in the middle, weld a short segment, move ahead and weld another segment, then return to fill gaps between completed sections. Continue this pattern until reaching one crack end, then fill remaining gaps working toward the other end.
Monitor interpass temperature carefully—allow previously deposited weld metal to drop below 300°F before applying the next pass. For through-wall cracks in water jacket walls, use a mild steel backing plate against interior surfaces to catch excessive penetration and support the weld pool.
Peen Welds While Still Red-Hot
Peening is non-negotiable for successful cast iron welding—this mechanical working process counteracts shrinkage stresses that develop as weld metal cools. Perform peening while weld metal remains red-hot (above 1000°F) using a ball-peen hammer with light repeated blows from edges toward center.
Each pass during multi-pass welding requires peening before applying the next pass—the final cover pass typically remains unpeened. For deep cracks, use a center punch and hammer to peen the groove bottom before filling with weld metal. Never skip peening—it requires minimal time investment and dramatically improves repair reliability.
Manage Post-Weld Cooling for 24+ Hours
Insulate the block completely while still hot using fiberglass welding blankets, ceramic fiber blankets, or even household insulation. Multiple layers increase effectiveness for critical repairs. Traditional materials like wood ashes, sand, or cat litter also provide excellent insulation properties with greater shop availability.
Leave the insulated block undisturbed for 12-24 hours minimum—don’t remove or disturb insulation during this period, as brief room temperature exposure can accelerate cooling enough to cause cracking. After initial cooling, remove insulation gradually over several hours. This slow cooling allows weld metal to transform to soft, machinable microstructures rather than hard martensite.
Verify Repair Quality Before Reassembly
Pressure test the repaired block using a radiator pressure tester to pressurize cooling passages to 12-15 psi. Submerge the repair area in water and observe for bubbles indicating leaks. Test oil passages by applying compressed air through an oil passage opening with the repair area submerged.
Perform visual inspection with magnification to examine the repaired area for surface cracks, porosity, or incomplete fusion. Dye penetrant testing detects surface-breaking defects invisible to the naked eye. For critical applications, magnaflux testing uses magnetic particles to detect surface and near-surface discontinuities in the ferromagnetic cast iron.
Calculate Repair Costs Versus Replacement
Weigh repair costs against replacement economics before starting. For common production engines, replacement blocks often cost less than professional welding repairs. DIY welding at minimal material cost appeals when equipment already exists—but equipment costs for beginners add substantially. Professional welding services range from a few hundred dollars for simple repairs to $1000+ for extensive damage. Well-executed repairs in appropriate locations last the engine’s lifetime, while poor repairs or highly stressed area repairs may fail quickly. Consider these factors when deciding whether how to weld a engine block makes economic sense for your specific situation.
Leave a Reply