Nothing beats the satisfaction of grinding your own homemade skate rail after perfecting the technique. Building your own steel rail costs a fraction of commercial alternatives while giving you complete control over dimensions and design. This hands-on project combines practical welding skills with creating something you’ll actually use to progress your skate or ski tricks. By the end of this guide, you’ll know exactly how to weld a skate rail that performs like professional park features but costs hundreds less.
Before you fire up your welder, understanding the complete process prevents costly mistakes and ensures your finished rail stands up to repeated use. The information below covers material selection, required tools, assembly techniques, and safety considerations that separate professional-quality results from wobbly DIY failures. Whether you’re a skateboarder looking to practice grind tricks at home or a skiing enthusiast wanting a backyard feature, this guide delivers everything needed to complete a safe, durable rail that lasts for years of practice sessions.
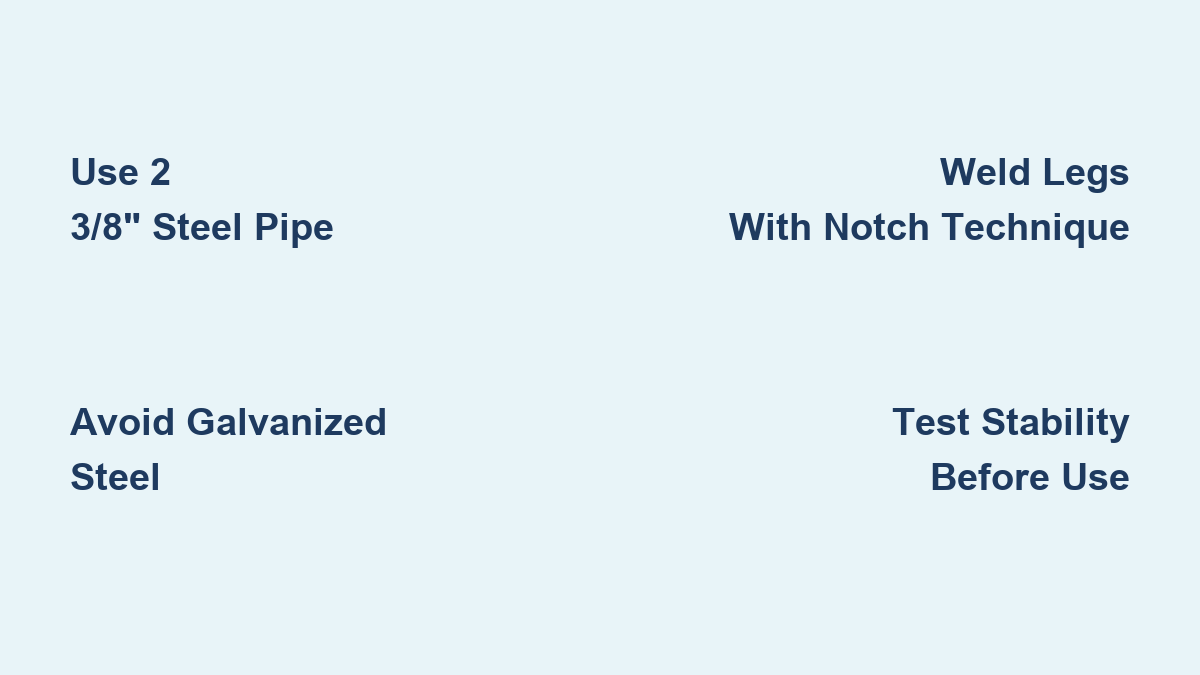
Select 2 3/8-Inch Steel Pipe for Optimal Grinding Performance
Why Wall Thickness Matters for Skate Rails
The ideal steel pipe for grinding measures 2 3/8 inches outside diameter with a 1/4-inch wall thickness—this exact specification matches standard ramp coping used in skate parks. Steel yards recognize this as 2-inch OD Schedule 80 black steel pipe, providing the perfect balance between durability and slideability. When purchasing from home improvement stores, expect to pay approximately $80 for a 10-foot section of black steel pipe, while stainless steel alternatives cost around $400 for 20 feet.
Square tubing offers a viable alternative with dimensions of 2 inches by 2 inches and wall thickness between 1/8 inch to 3/16 inch. Always specify the thicker wall option when ordering from fabricators, as this significantly improves resistance to denting from repeated impacts. Thicker walls withstand the abuse of daily practice sessions far better than thin-walled alternatives, making them worth the modest extra investment.
Avoid Galvanized Steel Despite Its Convenience
Never use galvanized steel for your skate rail construction—the zinc coating creates toxic fumes when heated during welding that pose serious health hazards without proper ventilation. Beyond safety concerns, galvanized coatings interfere with proper weld penetration, resulting in weaker joints that may fail under stress. Stick with plain black steel or stainless steel for clean, strong welds that perform reliably through countless trick attempts.
Chain link fence posts work adequately for vertical supports in DIY builds, though drilling holes through them presents the most challenging part of the construction process. Using sharp metal-cutting drill bits specifically designed for steel helps overcome this difficulty while keeping costs low.
Gather Essential Welding Equipment Before Starting

Choose the Right Welder for Your Skill Level
A reliable welder forms the foundation of successful rail construction, and budget-friendly options work well for first-time builders. Harbor Freight’s Chicago Electric line starts around $100 and handles backyard projects adequately, though these entry-level machines won’t last through heavy professional use. For those planning ongoing fabrication work beyond a single rail, Hobart welders (now owned by Lincoln Electric) represent an excellent mid-range option at approximately $450.
If purchasing equipment doesn’t fit your budget, borrowing a welder through personal connections provides an excellent alternative. Family friends with shops, neighbors with fabrication experience, or fellow enthusiasts often enjoy helping newcomers learn the craft. Many experienced welders take pride in mentoring beginners and may even offer to help with the actual welding if you handle the preparation and assembly.
Critical Cutting and Shaping Tools
Your essential toolkit must include:
– A sawzall for initial cutting of steel tubing to length
– Angle grinder with multiple attachments (grinding wheels, cutting disks, flap disks)
– Wire brush for cleaning metal surfaces before welding
– Sharp metal-cutting drill bits for precise hole drilling
Harbor Freight offers budget-friendly angle grinders starting at $15 that prove more than adequate for building multiple features. These affordable tools may not survive extensive heavy-duty use, but they handle the demands of rail construction effectively.
Build a Stable Skate Rail Frame That Won’t Rock
:max_bytes(150000):strip_icc()/skateboard-grind-rail-blueprints-56a8781d5f9b58b7d0f2b4b8.jpg)
Calculate Precise Leg Placement for Your Dimensions
For a 6-foot round rail standing one foot tall, cut legs to 9 5/8 inches long and position them approximately 6 inches from each end. Square rail construction for similar dimensions requires cutting two pieces of square tubing at 6 3/4 inches for legs with the main rail at 6 feet. The legs attach 9 inches in from each end, matching the rail’s height and providing balanced support.
Wide feet prove essential for stability, especially when performing spins or switch-ups with minimal snow coverage. A minimum of one foot on each side provides baseline stability, though 1.5 to 2 feet per side works better for rails 1 to 1.5 feet tall. Without adequate foot width, rails rock side-to-side during use, creating dangerous conditions for learning tricks.
Master the Notch Technique for Round Rails
When building round rail configurations, cut legs approximately one inch longer than final measurements and grind a semicircular notch into the tops. This modification isn’t strictly necessary but makes welding the pipe to the legs significantly easier and creates stronger joints. The notch provides a registering surface that helps position the rail accurately before welding, resulting in straighter, more professional-looking results.
Complete the Welding Sequence in Proper Order
Step-by-Step Assembly for Square Rails
Begin by marking the center of each foot plate and welding the legs perpendicular to them. Use a square to verify angles before completing welds, as correcting mistakes after the metal cools proves much more difficult. Lay the main rail tube across the legs, verify everything sits perfectly level using a standard spirit level, and complete the welds. For a 6-foot rail at 9 inches tall, position legs 9 inches in from both ends.
For round rails following the same 6-foot by 1-foot dimensions, cut one piece at 6 feet for the rail and two legs at 9 5/8 inches. After notching the leg tops if using that technique, mark foot centers and weld legs perpendicular to the feet. Place the steel pipe on the legs and weld securely, positioning legs approximately 6 inches from each end.
Prevent Common Welding Mistakes
Always test fit components before welding—steel warps when heated, so tack welds first in multiple positions before completing final welds. Start with small tack welds at both ends and the center, then check alignment before filling in the rest. This prevents frustrating misalignments that require grinding out completed welds.
One leg longer than the other creates a slanted rail for added challenge and variety. This simple variation increases the rail’s entertainment value and helps progress skills beyond basic flat rail tricks. If welding isn’t your strong suit, steel fabricators will weld components together according to your specifications for a reasonable fee.
Polish and Protect Your Finished Skate Rail

Eliminate Grinder Marks for Smooth Slides
Before painting or finishing, address any grinder marks on the rail surface using a flap wheel attachment. Standard grinding creates visible patterns and edges that skate or ski equipment will catch on, making tricks feel inconsistent. This extra polishing step significantly improves the rail’s ride quality and prevents frustration during practice sessions.
The time invested in proper surface preparation pays dividends every time you use the rail. A smooth surface allows cleaner slide techniques and feels more like commercial park features, making skill transfer to resort rails much easier.
Apply Rust Prevention Without Compromising Performance
Paint protects steel rails from rust and extends their lifespan significantly. For best results, apply a strip of painter’s tape down the center of the rail before painting to keep the top riding surface bare. Oil-based paints provide thicker coverage that inhibits rust better than latex alternatives and maintain their appearance longer under outdoor conditions.
Apply paint in thin, even coats rather than trying to cover everything in one thick application. Multiple light coats dry more evenly and provide better protection than single heavy coats that may peel or bubble over time.
Verify Stability Before Your First Trick Attempt
Critical Pre-Use Safety Check
Before riding, verify your rail’s stability by attempting to rock it side-to-side with significant force. A properly constructed rail should remain firmly planted without any movement. If rocking occurs, widen the feet, add ground anchors, or increase the weight at the base. A rail falling over during trick attempts creates serious injury risk, making stability testing an essential step before first use.
Environmental factors affect stability in ways that indoor construction doesn’t reveal. Snow coverage around backyard installations impacts support, with minimal snow requiring wider feet for adequate foundation. Grass surfaces allow for ground anchoring with the flat straps mentioned earlier, while concrete or pavement may require different fastening methods such as bolting to existing structures.
Cost Breakdown for Budget-Friendly Construction
Material and Tool Investment
Steel prices fluctuate with market conditions, but general pricing provides useful budgeting guidance. A 10-foot black steel pipe from home improvement retailers costs around $80, while 20-foot stainless steel pipe runs approximately $400. Minimal tool investment includes a sawzall ($50), angle grinder ($15), and welding equipment ($100-$450).
Borrowing tools from friends, family, or community shops reduces initial investment requirements dramatically. Many makerspaces also provide tool access for membership fees far lower than purchasing equipment. Scrap steel from construction sites can provide materials at minimal or no cost, though verifying material quality becomes essential.
Building your own skate rail combines practical skill development with creating something genuinely useful for your sport. Start with a straightforward flat rail design, document your process with photographs, and share your results. The skills you gain transfer to other fabrication projects, and the money saved compared to commercial products makes the effort worthwhile for any dedicated skater or skier.
Leave a Reply