Welding exhaust pipes challenges even experienced welders. The thin gauge materials, awkward working positions, and variety of coatings create a unique set of obstacles that separate exhaust work from general welding projects. Whether you’re repairing a rusted muffler outlet, replacing a corroded section, or fabricating a custom exhaust system, understanding the specific techniques for thin-walled tubing prevents frustrating burn-through and weak joints. This guide walks you through proven methods for MIG, TIG, and stick welding exhaust components, helping you achieve leak-free results without professional shop prices.
The techniques described here come from extensive community experience with real-world exhaust repairs. Professional muffler shops charge hundreds of dollars for work you can complete in your garage with the right approach. What these shops understand—and what DIYers often discover through trial and error—is that exhaust welding requires fundamentally different techniques than structural welding. Accepting functional quality over cosmetic perfection, managing heat carefully, and working methodically produces results that hold up reliably under the extreme conditions exhaust systems endure.
Why Exhaust Pipes Burn Through with Standard Welding Techniques

Exhaust tubing presents welding challenges unlike thicker structural metals. Understanding these challenges before you begin saves frustration and wasted materials.
Material Types You Will Encounter
Most exhaust systems use one of several material types, each requiring specific consideration when welding. Aluminized steel dominates the aftermarket and replacement parts market, featuring a zinc-aluminum coating that burns away at the weld zone while releasing toxic fumes. This coating must be ground away from the welding area before proceeding, and proper ventilation with respiratory protection becomes essential. Galvanized steel behaves similarly, producing harmful zinc oxide fumes that cause flu-like symptoms when inhaled in sufficient quantities.
Stainless steel appears in higher-quality factory systems and performance applications. When TIG welding stainless exhaust, back purging the inside of the pipe with nitrogen reduces oxidation at the weld root and produces cleaner internal results. Nitrogen costs significantly less than argon, making it economical for this purpose. OEM stock tubing generally welds more easily when clean, though older components with high mileage may have degraded metal integrity that complicates welding.
Why Burn-Through Happens
Exhaust tubing typically ranges from 18 gauge to extremely thin specifications. This thin profile creates three interconnected problems during welding. First, high heat input easily creates holes in thin material before adequate fusion occurs. Second, heat concentrates quickly, causing warping and misalignment that makes subsequent welding more difficult. Third, many weld joints require positions where visibility is limited and access is awkward, making consistent technique nearly impossible without proper preparation.
Experienced welders summarize the reality bluntly: you will never achieve perfect results welding cheap aluminized pipe onto OEM semi-stainless tubing with 100,000 miles on it. Accepting this limitation is the first step toward successful exhaust repair. The goal is a sealed, functional joint that holds together, not a cosmetically perfect bead.
Must-Have Safety Gear for Welding Toxic Galvanized Exhaust Pipes

Exhaust welding involves hazards beyond ordinary welding that require specific precautions.
Protect Against Toxic Fumes
Galvanized and aluminized coatings produce toxic fumes when heated. Zinc oxide fumes cause “metal fume fever,” producing flu-like symptoms that make you genuinely ill. Working in a well-ventilated area is absolutely essential, and a respirator provides additional protection. The coating material burns away at the weld zone, so focus fume extraction or natural airflow specifically on that area.
Never weld coated materials without respiratory protection, even in open areas. The fumes concentrate quickly in the breathing zone, and the acute effects of zinc exposure are unpleasant and entirely preventable.
Electrical Safety on Vehicles
Welding on vehicles creates grounding risks that can destroy electronics or cause unexpected arcing. Always disconnect the battery or at least the negative terminal before beginning work. Ensure the vehicle cannot complete a ground circuit through its tires—rubber tires on concrete or jack stands on concrete provide isolation.
Use vice grips clamped to the exhaust pipe near the weld area for your ground connection rather than clamping to vehicle frame or body panels. This prevents current from traveling through bearings, sensors, fuel lines, or other grounded components that could be damaged by the welding current.
Complete Exhaust Pipe Preparation: Grinding, Cleaning, and Fit-Up
Proper preparation eliminates 90% of exhaust welding problems before you strike your first arc.
Removing Coatings and Rust
Before welding, thoroughly clean the joint area. For galvanized or aluminized steel, grind away the coating completely from both sides of the joint—approximately 1/2 inch from the edge. For rusted areas, use a die grinder with sandpaper to clean the inside of the pipe as well as the outside. One professional tip: “Sand the inside with sandpaper wrapped around a die grinder to remove internal corrosion that would contaminate your weld.”
Creating Proper Joints
Slip joints simplify exhaust welding significantly. Whenever possible, slip one pipe section into another rather than butting them edge-to-edge. This provides more material for the weld to grab and creates self-aligning joints that are much easier to weld. Pipe expansion tools slightly enlarge one section to create slip-fits that make subsequent welding far more straightforward.
For gaps in joints, adjust your approach based on size:
– Small gaps: Fill with wire feed at slightly reduced voltage
– Medium gaps: Use stitch-tack technique to build up filler progressively
– Large gaps: Consider adding a sleeve or patch rather than forcing a weld
MIG Welding Aluminized Steel: Settings and Techniques for 18-Gauge Tubing
MIG welding remains the most common approach for DIY exhaust work. The right technique transforms this versatile process into an effective solution for thin-walled tubing.
Configure Your Equipment Properly
Wire diameter significantly affects control on thin materials. Experienced exhaust welders prefer 0.023-inch wire for thin tubing because it allows better heat control and reduces burn-through risk. The more common 0.030-inch wire works adequately but requires greater skill to prevent holes in very thin metal. Flux core wire eliminates the need for shielding gas, which simplifies outdoor work, though gas-shielded wire produces cleaner welds when conditions permit.
For gas selection, standard argon/CO2 mixes work well for exhaust work. Some specialists use a 120 argon/nitrogen mix with their MIG welder for this application. Machine settings require lower heat than you would use on thicker materials—reduce voltage and amperage compared to standard settings, then fine-tune based on actual weld performance. Starting too hot guarantees burn-through on thin tubing.
Master the Stitch-Tack Technique
The stitch-tack method produces better results on exhaust pipes than continuous beads. This approach involves placing overlapping spot welds around the joint rather than running a single continuous bead. You position the gun, apply a weld for approximately one second, move 180 degrees from that position, and repeat around the joint with dozens of overlapping spot welds.
This technique prevents the heat buildup that causes warping and burn-through. Each tack cools before the next is applied, allowing surrounding metal to dissipate heat between deposits. The overlapping tacks create a continuous seal without requiring the sustained heat input of a continuous bead. Commercial solutions exist—Eastwood sells modified nozzles designed to maintain consistent spacing between tacks for this technique.
The key adjustment involves heat and speed: turn heat up slightly and tack very quickly. This produces flatter tacks that are easier to overlap cleanly. One welder described the principle simply: “Turn the heat UP a little, tack very QUICKLY. That tends to make the tack flatter.”
TIG Welding Stainless Exhaust: Back Purging with Nitrogen Instead of Argon
TIG welding produces the highest quality exhaust welds but demands greater skill and appropriate equipment. Professional muffler shops typically use this process for stainless steel work where appearance matters.
When TIG Makes Sense for Your Project
TIG excels on stainless exhaust systems where corrosion resistance and appearance justify the additional effort. The process allows precise heat control essential for thin materials, and the clean results require minimal grinding or cleanup. However, TIG requires significant practice to master, and equipment costs exceed MIG or stick welding setups substantially.
For DIYers, TIG becomes worthwhile when working on high-quality stainless systems, when appearance matters for visible exhaust components, or when you already have TIG equipment and proficiency. Starting with TIG for exhaust work if you lack experience typically produces disappointing results—the learning curve on thin tubing is steep.
Back Purge for Stainless Steel Pipes
When TIG welding stainless exhaust, back purging the inside of the pipe with shielding gas dramatically improves internal weld quality. Without back purging, oxygen in the confined space causes “sugaring”—grain boundary oxidation that creates a rough, contaminated weld root.
Many welders use nitrogen instead of argon for back purging stainless. It reduces sugaring effectively while costing significantly less. Argon runs approximately $26.50 for 125 cubic feet, while nitrogen costs around $16.20 for the same volume. The savings add up quickly for projects requiring multiple purge cycles.
Stick Welding in Confined Spaces: Repairing Exhaust Under Gas Tanks

Stick welding exhaust pipes works surprisingly well despite conventional wisdom favoring wire feed processes for thin materials. Proper technique and equipment make this an effective and versatile approach.
Equipment That Excels for Exhaust Work
Stick machines with touch-start arc capability excel for exhaust work, particularly in confined spaces where positioning is difficult. A Miller Thunderbolt XL 225/150 AC/DC stick welder has proven excellent for exhaust repairs, with touch-start making precision work possible without visibility of the weld pool.
For rods, Lincoln Fleetweld 3/32-inch 6013 rods work exceptionally well for exhaust work. The 6013 rod’s versatility and ease of use on thin materials make it ideal for this application. Settings should start well below recommendations for thin material—begin at suggested 70 amps DCEP but expect to reduce to 55 amps or lower to prevent burn-through.
Essential Technique Modifications for Thin Material
Standard stick welding technique requires significant modification for exhaust tubing. The rod angle adjustment proves critical: lean the rod angle way out so arc heat directs along the top of the material rather than straight into it. This “digging” motion flows deposited metal onto the base material without excessive penetration that causes holes.
Weld in short sections approximately one inch long, then stop and let the red glow leave the bead before continuing. This intermittent approach prevents heat accumulation that leads to burn-through. Patience matters enormously—any remaining red glow in the deposit means it will likely blow out when you add more material.
How to Prevent Burn-Through with the Overlapping Stitch-Tack Method
Burn-through represents the most common failure in exhaust pipe welding. This systematic approach eliminates the problem.
Step-by-Step Stitch-Tack Process
- Position your welding gun at the starting point of the joint
- Apply weld for precisely one second to create a small tack
- Move 180 degrees around the pipe to the opposite side
- Apply another one-second tack overlapping the first by 50%
- Continue this pattern around the entire circumference
- Return to the beginning and fill any remaining gaps with additional tacks
Critical adjustment: Turn heat up slightly and tack very quickly. This produces flatter tacks that are easier to overlap cleanly without creating holes. The overlapping pattern distributes heat evenly while building a continuous seal.
When to Use Continuous Beads Instead
For visible sections where appearance matters more, you can attempt continuous beads with specific modifications:
– Reduce voltage slightly below stitch-tack settings
– Maintain a consistent travel speed without weaving
– Position the nozzle approximately 3/8 inch back from the joint
– Keep the angle shallow (less than 15 degrees)
– For hidden areas, trust muscle memory of the pipe’s curve
One professional advises: “For overhead or hidden joints where visibility is impossible, rely on the muscle memory of the pipe’s curve. Round the tubing over the top where you cannot see, trusting that the wire is hitting the joint based on feel and sound.”
Fixing Common Exhaust Welding Problems
Understanding why problems occur helps you prevent and correct them effectively.
Fix Burn-Through Issues Immediately
When holes develop during welding, reduce amperage or voltage settings immediately. For MIG, increase your travel speed to reduce heat deposition per unit of length. For stick welding, lean the rod angle way out to direct heat along the surface rather than into the base material.
Pro tip: If you’ve created a hole, don’t try to fill it immediately. Let the area cool completely, then build up the repair from the edge of the hole outward. Any red glow in the metal means it will blow out again when you add more material.
Achieve Proper Penetration Without Burning Through
Poor penetration often stems from insufficient heat or improper ground connection. Increase amperage slightly and ensure your ground clamp makes solid electrical contact. For MIG welding, reduce stick-out—the distance from nozzle to workpiece—to improve arc stability and penetration.
Warning: Too much stick-out creates an unstable arc that causes porosity and inconsistent penetration. Keep the distance between your contact tip and the workpiece to 3/8 inch or less for optimal results on thin exhaust tubing.
When $700 Exhaust Replacement Costs Make DIY Repair Worthwhile
Understanding the economic reality helps you decide whether to tackle an exhaust repair yourself.
Cost Comparison: DIY vs. Professional
A recent quote for complete exhaust replacement was reported at $700, motivating many DIY repair efforts. Consider these factors before deciding:
- DIY cost: $50-$200 for materials plus your time
- Professional cost: $300-$900 depending on vehicle and system complexity
- Break-even point: If your time is worth less than $50/hour, DIY often makes economic sense
- Long-term value: Repairs extend the life of remaining components
Pro tip: Focus your efforts on sections that are most accessible. Replacing just the rusted muffler outlet rather than the entire system often provides 2-3 more years of service at a fraction of the cost.
When to Call a Professional
Consider professional help when:
– Multiple sections show advanced corrosion
– Catalytic converter needs replacement ($500+ parts alone)
– You lack proper ventilation for toxic fume protection
– The vehicle has complex emissions systems requiring calibration
– You’ve attempted repairs twice without success
Realistic expectation: Even professional shops often create functional rather than perfect welds on exhaust systems. As one technician noted, “Most of the time no one cares about extreme beauty here. People don’t want to pay for that either.”
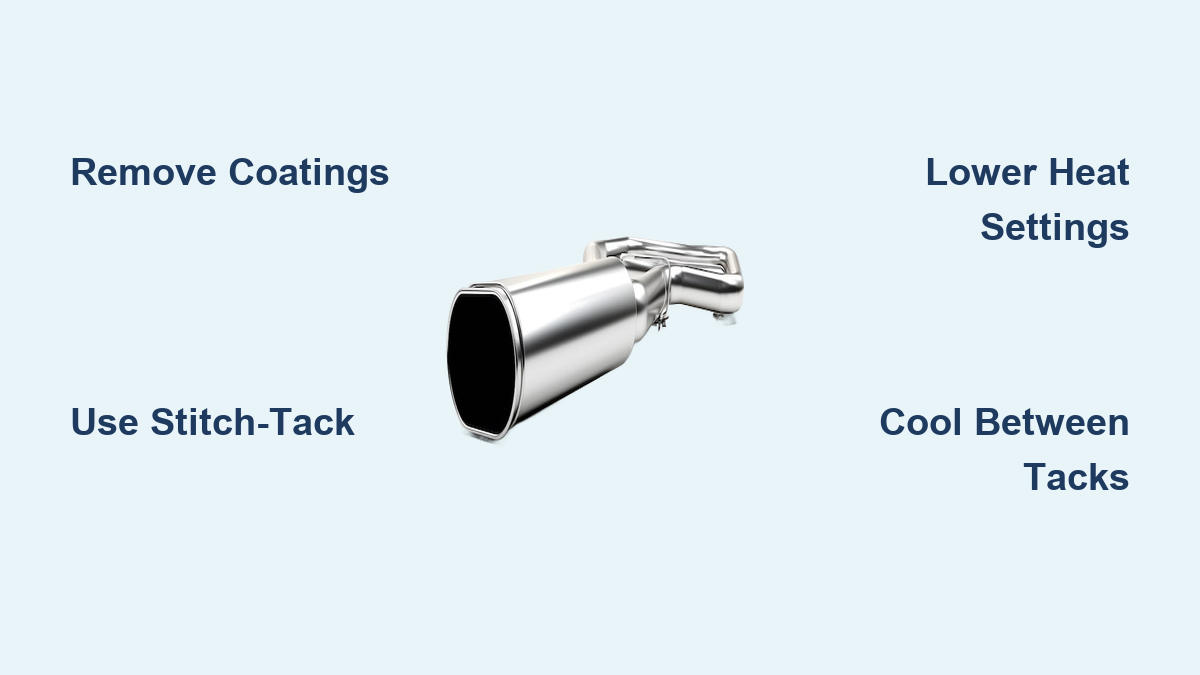
Final Note: Welding exhaust pipes successfully requires understanding the unique challenges of thin gauge materials and awkward working positions. By applying the stitch-tack technique, using appropriate safety gear, and accepting functional quality over cosmetic perfection, you can create leak-free exhaust repairs that last. Remember these key takeaways for your next exhaust welding project: always remove coatings from the weld area, use lower heat settings than you’d expect, and let each tack cool before adding the next. With practice, you’ll develop the patience and technique needed to tackle even the most challenging exhaust repairs in your own garage.
Leave a Reply