You’re raiding a Wild West town in Dead Rails, filling your sack with precious loot, only to watch everything slide off your train as you speed away from enemy players. This frustrating scenario happens to every new player who hasn’t mastered the welding mechanic—the game’s secret weapon for transforming your train into a mobile fortress. Welding in Dead Rails lets you permanently attach items directly to your train or horse-cart, ensuring your hard-earned resources stay securely in place no matter how fast you’re traveling or how rough the terrain gets. Without this crucial skill, you’ll constantly lose weapons, ammunition, food, medical supplies, and valuable loot every time you move.
This guide delivers exactly what you need to know about how to weld in Dead Rails, including the fastest welding techniques top players use, critical mistakes that cause item loss, and strategic approaches to maximize your train’s storage capacity. Whether you’re trying to transport a fallen teammate’s body to safety or secure a mountain of loot from a successful town raid, mastering welding separates casual players from those who dominate the Wild West landscape.
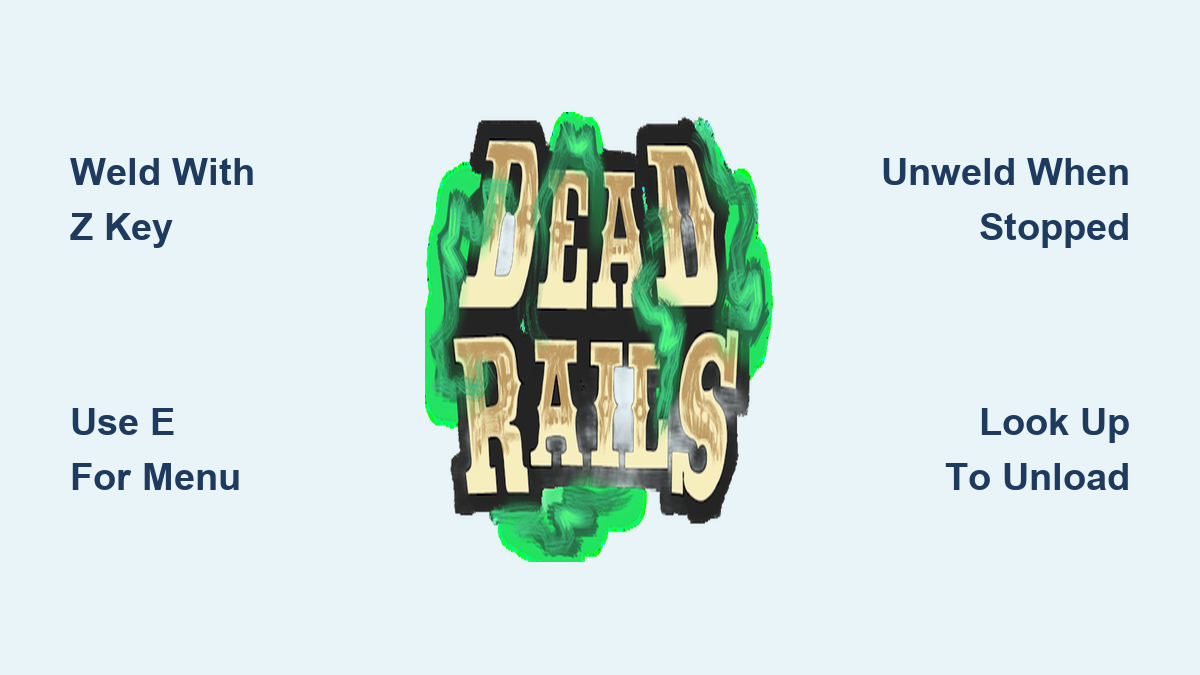
Direct Welding Method with Z

The fastest way to weld items in Dead Rails takes just seconds and uses a simple key bind that works instantly when you follow the proper positioning technique. This method requires the item to be physically touching your train’s surface—whether resting on the wagon bed, cab, or engine compartment—before you initiate the weld.
Approach the item you want to secure and ensure it’s making direct contact with your train. Pick up the item so it’s in your hands, then press the “Z” key while maintaining contact between the item and train surface. You’ll receive immediate visual confirmation that the weld succeeded, and the item will become permanently fixed to that exact spot on your train. Unlike loose items that slide around with physics, welded items move in perfect synchronization with your train—they won’t budge during sharp turns, high-speed chases, or sudden stops.
Pro Tip: If your “Z” key weld fails, check two things immediately—first, ensure the item was actually touching the train when you pressed Z, and second, verify you weren’t standing on the item itself. Many beginners accidentally stand on the item they’re trying to weld, which prevents the game from recognizing proper contact. Reposition yourself so the item rests firmly against the train’s hull without your character interfering with the connection point.
Menu-Based Welding Alternative
For players who prefer visual confirmation before committing to a weld, Dead Rails offers a menu-based system that provides explicit action choices before attaching items to your train. This method is particularly valuable when handling rare or high-value items where accidental welding could create problems later.
To use the menu system, approach your item while it’s touching the train and press “E” to open the interaction menu. Carefully examine the options displayed on screen until you locate “Weld to Train,” then select it using your mouse or controller. The menu clearly labels each available action, eliminating guesswork about whether you’re welding, picking up, or performing another interaction with the item.
When to use menu welding: This method shines when you’re managing multiple similar items near your train and want to avoid accidentally welding the wrong one. It’s also ideal for new players still building muscle memory for the “Z” key weld, as it reinforces understanding of what each action does within the game’s interface. While slightly slower than direct key binding, menu welding prevents costly mistakes during high-pressure situations.
Unweld Items Correctly
Removing welded items requires precise timing to avoid permanent loss of your hard-earned resources. Unlike welding, unwelding doesn’t require you to pick up the item first—you simply need to look directly at the welded object while standing near it.
When properly positioned, a prompt will appear in your screen’s bottom right corner indicating the unweld option. Press “Z” to initiate the unweld process, and watch as the item immediately returns to normal physics behavior. Critical safety rule: Always unweld items while your train is completely stationary. If you attempt this while moving, physics takes over instantly—the item will slide, roll, or fall off due to momentum, almost guaranteeing you’ll lose it forever as your train continues moving away.
Consequence of moving unwelds: Trying to unweld while traveling at even slow speeds creates a 95% chance of permanent item loss. The game’s physics engine treats unwelded items as regular loose objects, meaning they’ll obey gravity and momentum immediately. At higher speeds, items often bounce multiple times before disappearing into the game world’s terrain, making recovery impossible without stopping and backtracking—something rarely safe to do in Dead Rails’ dangerous environment.
Quick Unload and Weld Workflow
When raiding towns and gathering large quantities of items, your sack fills rapidly, creating an urgent need to transfer cargo to your train before enemy players arrive. This efficient workflow lets experienced players process dozens of items in under a minute using strategic body positioning and rapid key presses.
Run back to your train and look straight up toward the sky—this upward angle is crucial. While looking upward, rapidly press “F” (the unstore button) until your sack empties completely. This technique works because looking upward prevents the game from automatically restocking items as you drop them. Without this positioning trick, the game tries to re-store items you’re dropping, dramatically slowing your unloading process.
Once everything is on the ground near your train, systematically pick up each item and press “Z” to weld it in place. With practice, this entire cycle—unloading, picking up, and welding—takes just 2-3 seconds per item. During intense gameplay moments, this efficiency means the difference between securing your loot and losing everything to rival players.
Manage Welded Cargo Efficiently
Strategic placement of welded items transforms your train from simple transportation into an organized mobile command center where you can instantly access critical resources during emergencies. Group similar items together in designated zones: weapons and ammunition near the cab for quick access during combat, medical supplies and food in the middle section for easy retrieval during downtime, and valuable loot toward the rear to protect it during collisions.
Pay close attention to each item’s contact point with the train—many failed welds happen because items aren’t properly touching the train’s surface. If an item rests on another loose object rather than the train itself, the weld will fail. Reposition items so they make direct contact with the train’s hull before attempting to weld. Remember that you cannot weld items to other items—only to the train’s structure.
Common mistake: Players often weld valuable items in hard-to-reach positions, forcing them to jump from a moving train to access critical supplies. Always weld essential combat items within easy reach while standing on the train’s platform. Items welded underneath or on top of the train become virtually inaccessible during gameplay without risking character death.
What Items Can You Weld
Dead Rails offers remarkable flexibility in what can be welded to your train—essentially any pick-up-able item qualifies for permanent attachment. This includes all fuel types that power your train’s engine, valuable treasures and loot from raided towns, food and medical supplies, weapons and ammunition boxes, and even corpses of fallen players or animals. The only limitation is that live entities cannot be welded—only dead animals or player corpses attach successfully.
Corpse welding strategy: When a teammate falls in combat and no bandages are available for immediate revival, welding their body to your train allows safe transport to a secure location. Position the corpse near your medical supplies for quick access when you find safety. This tactical approach has saved countless teams from permanent character loss during intense player-versus-player encounters.
The same welding mechanics apply to horse-carts, providing additional storage options when your train reaches capacity. Many experienced players maintain a welded horse-cart specifically for corpse transport during raids, keeping their main train clear for valuable loot and combat resources.
Essential Controls Reference
Mastering these four key bindings transforms your welding efficiency and turns resource management from a chore into a strategic advantage during gameplay:
- Z key: Your welding powerhouse—press while looking at an item touching your train to weld it, or look at a welded item to unweld it
- E key: Opens the interaction menu for visual confirmation of welding actions
- F key: Unstores items from your sack (critical for rapid unloading before welding)
- Backspace key: Drops equipped items from your person for immediate welding
Control mastery tip: Practice these key bindings until they become muscle memory. During high-stakes situations—like when enemy players are closing in on your position—you won’t have time to think about which key does what. Top players weld 15+ items in under 30 seconds because their fingers automatically execute the correct sequence without conscious thought.
Advanced technique: For maximum efficiency, combine the F key unloading with immediate Z key welding without dropping items on the ground. When your sack is full of loot, run directly to your train, look upward, spam F to drop everything, then immediately begin picking up and welding items without pausing—this seamless transition shaves critical seconds off your cargo processing time.
Leave a Reply