Welding shipping containers transforms these industrial workhorses into custom living spaces, storage units, and commercial structures—but it’s not like welding standard steel. The corrugated walls, varying material thicknesses, and protective coatings create unique challenges that demand specialized techniques. If your welds keep failing or you’re worried about burning through those thin container walls, you’re not alone. Most DIYers and even some professionals struggle with container-specific welding until they understand the material properties and adjust their approach accordingly.
The good news is that with the right preparation, equipment selection, and technique adjustments, you can achieve strong, reliable welds on shipping containers without compromising structural integrity. Whether you’re repairing rust damage, cutting openings for windows and doors, or joining multiple containers to create larger spaces, this guide covers everything you need to know about how to weld shipping containers successfully. Let’s transform your container project from frustrating to flawless.
Identify Container Material Types Before Welding
Before striking your first arc, you must determine what type of steel you’re working with—this decision affects every subsequent step in your welding process. Most modern containers use Corten steel (ASTM A588), a weathering steel containing copper, chromium, and nickel alloys that form a protective rust patina. However, only premium containers actually use true Corten material, commanding about a $1,000 premium over standard containers made from “20 point carbon steel.”
Critical identification tip: Genuine Corten containers feature a riveted plate specifying that repairs must use Corten welding materials to maintain Container Safety Convention (CSC) certification. If you plan to return your container to shipping service, this matters significantly—but for most conversion projects, standard welding approaches work when using appropriate strength fillers.
Understand the thickness variations across your container:
– Corrugated walls: Typically 14 gauge (about 0.075 inches)
– Roof sections: Similar thickness to walls but more prone to rust-through
– Corner posts and frame members: Substantially thicker (up to 1/4 inch)
– Corner castings: Thickest structural elements requiring special heat management
Select the Right Welding Process for Container Work
Flux Core Arc Welding for Outdoor Success
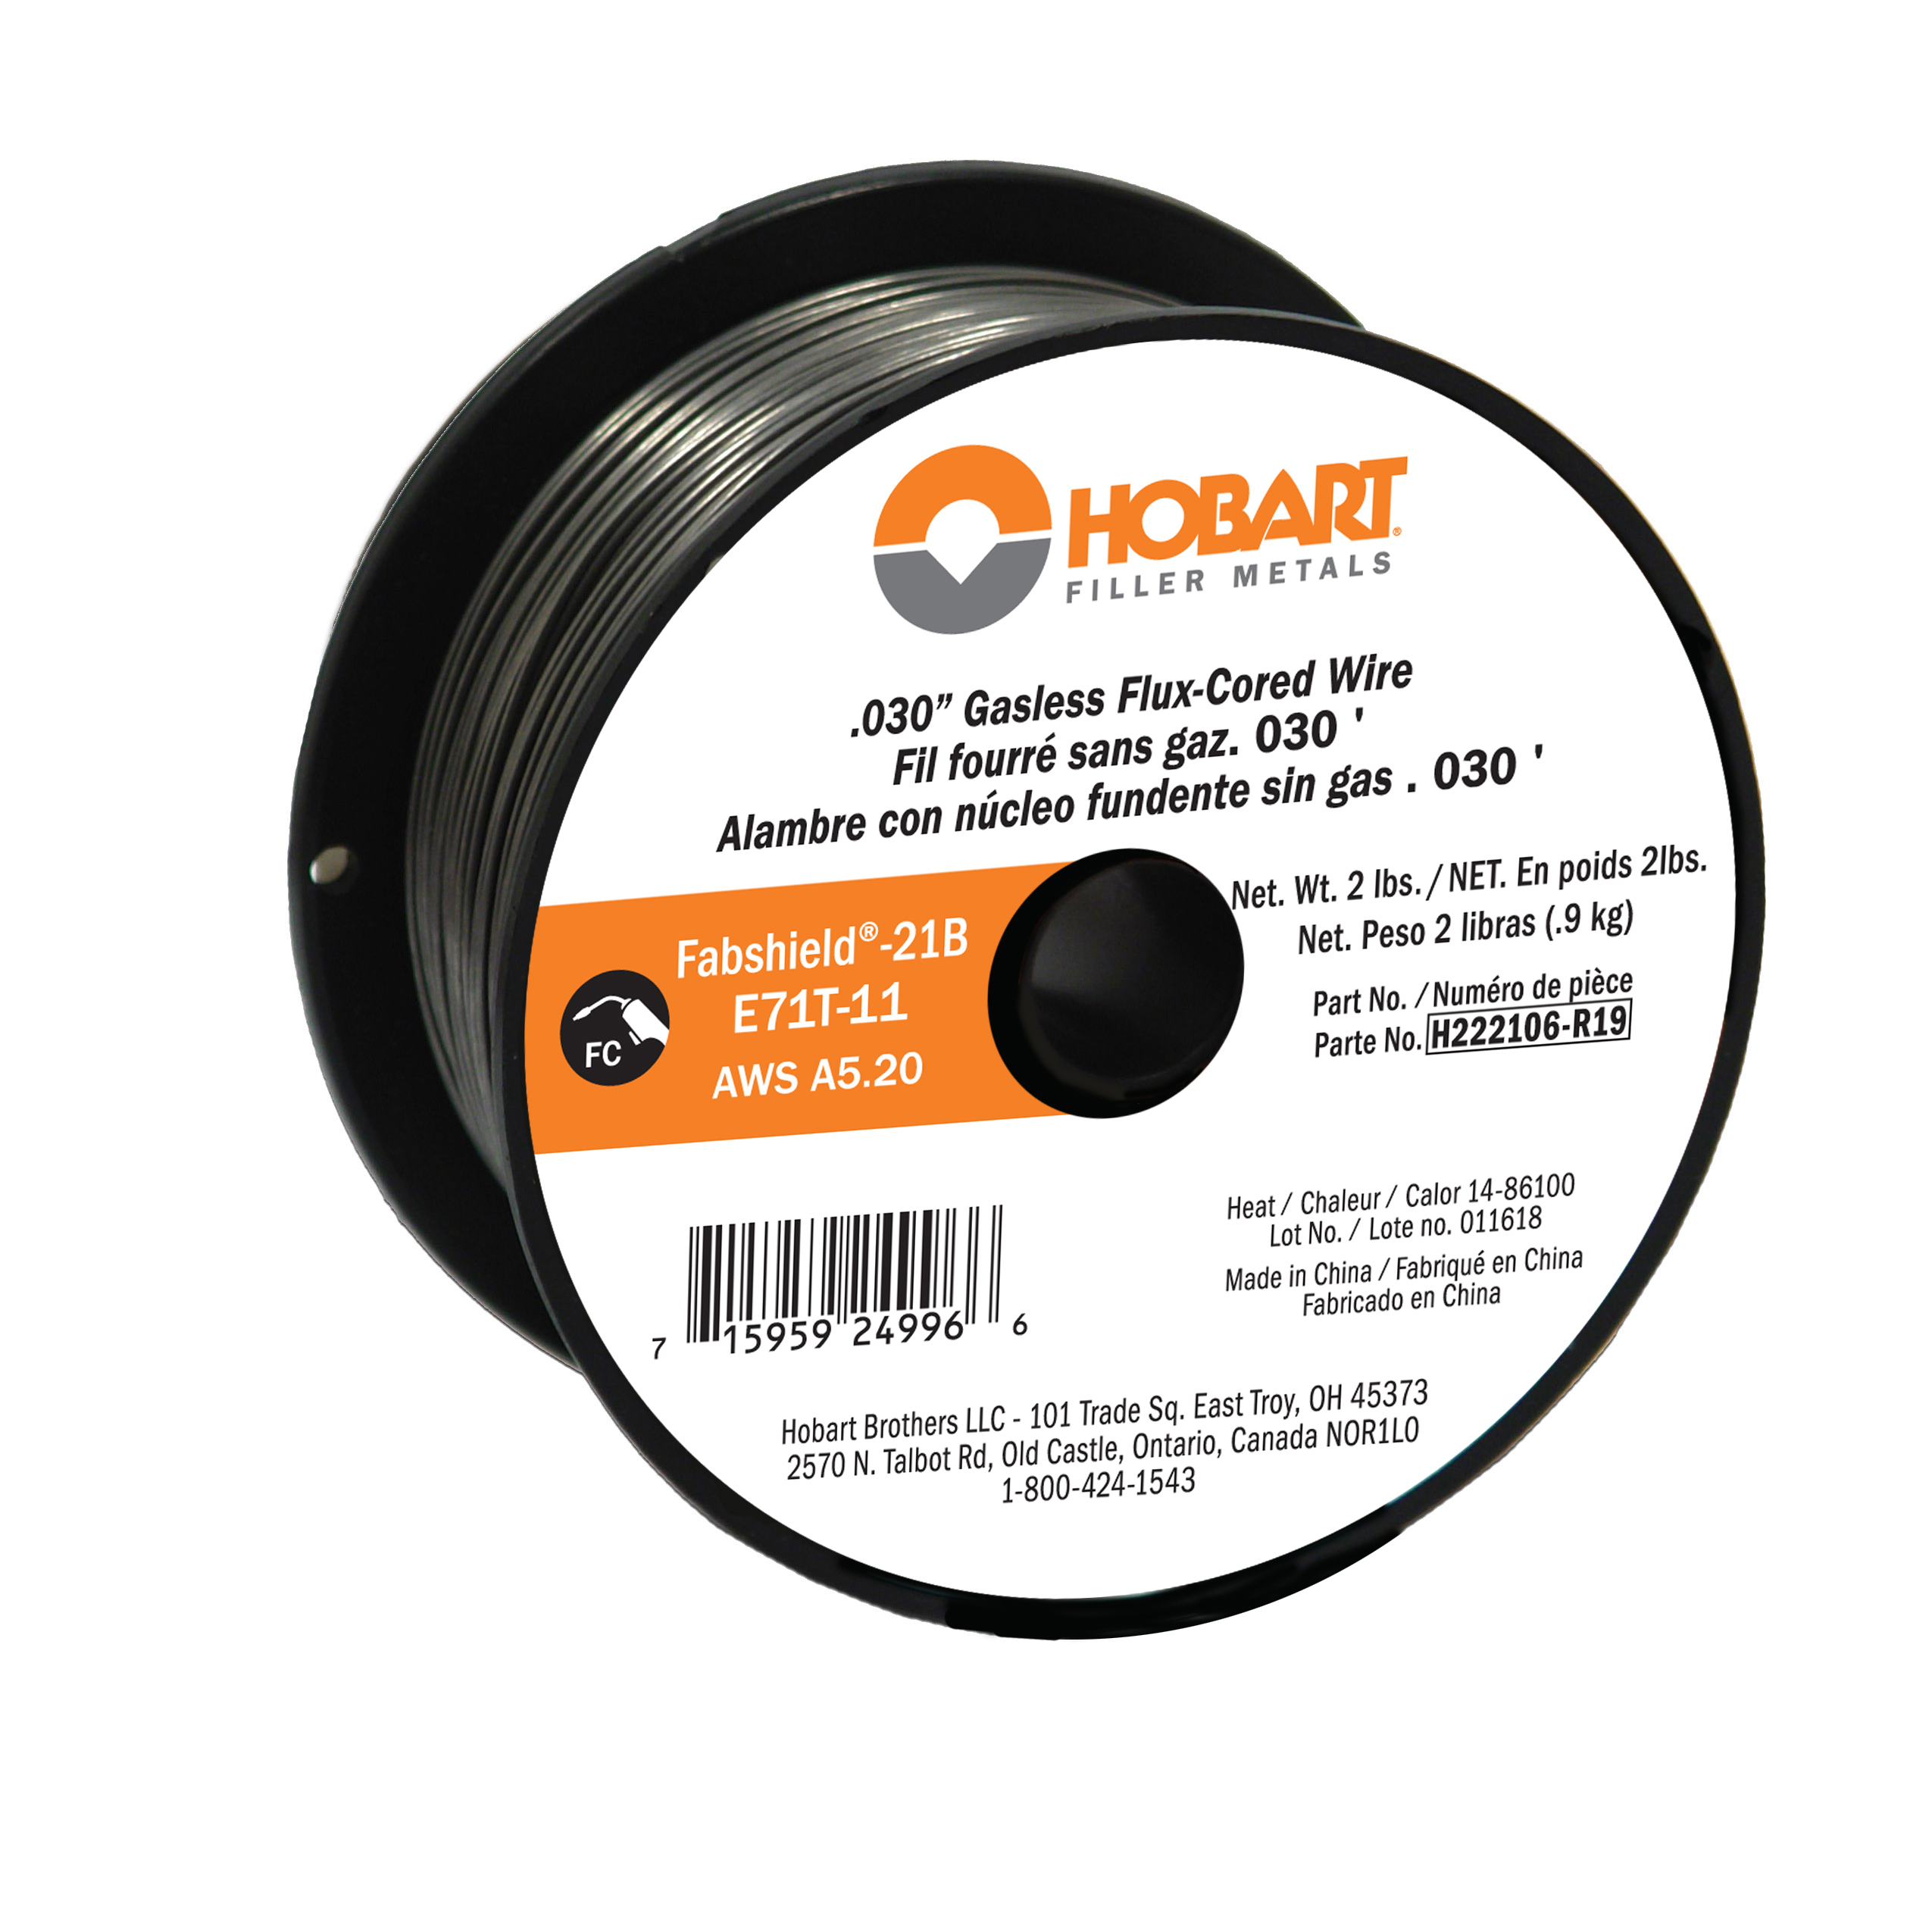
Flux core welding has become the go-to method for container modifications, especially for outdoor work where wind and surface contamination challenge other processes. For how to weld shipping containers effectively in field conditions, use self-shielded flux core wire like Hobart Fabshield 21B or Lincoln NR-211 with .030″ or .035″ diameter wire depending on material thickness.
Why flux core works best:
– Tolerates paint and light rust without perfect surface prep
– Wind can’t disrupt the internal flux shielding
– Less prone to burn-through on thin corrugated walls
– Works well with portable generators at remote sites
Set your machine to DC+ polarity and start with these baseline parameters for 14 gauge container walls:
– Wire speed: 250-300 IPM
– Voltage: 18-22V
– Travel speed: Moderate, with slight weaving motion
Stick Welding for Structural Repairs
When tackling heavy structural repairs on container corner blocks or frame members, stick welding provides unmatched portability and wind resistance. Use E7018 low-hydrogen electrodes for most structural work, switching to E6010/E6011 for dirty or rusty surfaces that can’t be thoroughly cleaned.
Critical technique for thin container walls:
– Use 1/8″ diameter rods at 80-90 amps for vertical/horizontal work
– Maintain a 10-15° travel angle toward direction of welding
– Keep a tight arc length (about 1/8 inch)
– Move quickly to prevent burn-through on corrugated sections
Many experienced container welders recommend reducing amperage below standard charts—container walls require less heat than typical structural steel due to their thin gauge.
MIG Welding for Precision Cosmetic Work
While less practical for general field work, MIG welding produces cleaner, more aesthetically pleasing welds for workshop environments or protected areas. Use 75% argon/25% CO2 shielding gas and ER70S-6 wire with .030″ diameter for most container applications.
Avoid these common MIG mistakes:
– ❌ Using long extension cords causing voltage drop (use 12-gauge minimum)
– ❌ Welding in windy conditions without windbreaks
– ❌ Skipping thorough surface preparation (MIG demands clean metal)
For best results, clean container surfaces within a 2-inch zone around your weld path using an angle grinder with a flap disc before attempting MIG welding.
Prepare Container Surfaces Like a Pro
Surface preparation makes or breaks container welds—those factory-applied epoxy coatings and marine-grade paints won’t magically disappear during welding. Proper preparation prevents porosity, weak welds, and toxic fume exposure.
Step-by-step surface prep:
1. Use an angle grinder with 36-60 grit grinding disc to remove paint/coating from weld area
2. Extend cleaning 1-2 inches beyond planned weld path on all sides
3. Switch to flap wheel for final cleanup to shiny bare metal
4. Wire brush area to remove grinding debris
5. Wipe with acetone or mineral spirits to remove oils
Don’t skip this critical step: Clean the ground clamp connection point to bare metal. Paint and rust here cause inconsistent arcs and frustrating starts. For large containers, use multiple ground connections at strategic points around your work area.
Execute Structural Repairs Without Compromising Integrity

Container corner blocks represent high-stress structural points requiring special attention during repairs. These connections bear enormous loads during shipping and handling—weak corner welds risk catastrophic failure.
Corner block repair protocol:
– Clean area thoroughly to bare metal
– Preheat thick sections to 250-300°F if ambient temperature is below 50°F
– Use stringer beads rather than wide weaves
– Employ multiple passes with interpass cleaning
– Allow cooling between passes to prevent heat buildup
Roof repairs demand extra vigilance since water intrusion accelerates corrosion beneath the surface. When patching roof sections:
– Extend patch material at least 4 inches beyond damaged area
– Weld continuously around all patch edges
– Apply seam sealer over completed welds
– Prime and paint immediately after welding
Avoid These 3 Container Welding Disasters
Voltage Drop from Long Extension Cords
Extension cords longer than 40 feet drastically reduce welding performance. Solution: Use the shortest possible cord with adequate gauge (12-gauge minimum for 120V machines) or a 6500-9000W generator positioned close to your work area.
Wind Disrupting Shielding Gas
Even light breezes ruin MIG welds. Solution: Erect temporary windbreaks using tarps or plywood, or switch to flux core welding which tolerates wind much better.
Paint Contamination Causing Porous Welds
Welding through paint creates weak, porous joints and toxic fumes. Solution: Grind completely through all coatings to bare metal within 1-2 inches of your weld path—don’t skip this step!
Maintain Safety Standards for Container Welding
Container welding introduces unique hazards requiring specific safety measures:
Essential personal protective equipment:
– Auto-darkening helmet (shade 10-12)
– Flame-resistant jacket and gloves
– Steel-toed boots with leather uppers
– P100 respirator for fume protection
– Ear protection for high-amperage work
Critical work area preparations:
– Remove all combustible materials from work zone
– Position fire extinguisher within immediate reach
– Establish forced ventilation when working inside containers
– Implement fire watch for 30+ minutes after welding completes
Remember that container welding qualifies as “hot work” under most safety regulations—document your risk assessment and follow all local permit requirements, especially for commercial projects.
Choose Between Welding and Mechanical Fasteners Wisely
While welding creates permanent, strong connections, it’s not always the best solution. Consider these factors when deciding:
Weld when:
– Permanent structural integrity is paramount
– Maximum strength-to-weight ratio needed
– Project requires watertight seals
– Aesthetics demand seamless connections
Use mechanical fasteners when:
– Future disassembly might be required
– Welding certification isn’t available
– Working on painted surfaces without prep
– Making temporary installations
Many successful container projects combine both approaches—welding for primary structural connections and mechanical fasteners for secondary attachments that may need future adjustment.
Mastering how to weld shipping containers opens endless possibilities for creative conversions while maintaining structural safety. By selecting the right process for your specific application, preparing surfaces properly, and adapting techniques to container-specific challenges, you’ll create welds that stand the test of time. Remember that proper surface preparation, appropriate heat management, and post-weld coating maintenance separate successful container projects from costly failures—invest the time upfront for reliable results that last.
Leave a Reply