When your sterling silver ring develops a crack or your heirloom necklace clasp fails, knowing how to weld silver saves costly repairs and unlocks creative possibilities. Despite the common term “welding silver,” the actual process is silver soldering—a specialized brazing technique that joins silver pieces using alloy fillers melting below the base metal’s temperature. This critical distinction matters because true welding melts the base metals together, while silver soldering uses lower-temperature alloys to create permanent bonds without damaging your precious materials. Whether you’re repairing family jewelry or crafting custom pieces, mastering this technique transforms your capabilities in metalworking.
The metallurgical magic happens when heat allows silver’s atoms to separate slightly, creating microscopic gaps that molten solder penetrates and bonds with permanently. Sterling silver melts around 1640°F, so your solder must flow significantly lower—typically between 1145°F and 1650°F depending on the alloy grade. Getting this temperature balance wrong causes the most common failures: either the solder won’t flow because the base metal isn’t hot enough, or you accidentally melt your workpiece by exceeding its melting point. This guide eliminates those frustrations with precise techniques professionals use daily.
Essential Tools for Silver Soldering Success

Your regular soldering iron won’t cut it—silver demands specialized equipment capable of reaching and maintaining precise high temperatures. Start with a torch system appropriate for your projects: butane torches work for small jewelry repairs, while propane or MAPP gas setups handle larger pieces. Always select a flat “chisel tip” instead of pointed tips for better flame control across your work surface. Pair this with a proper soldering surface like a charcoal block that reflects heat back toward your piece, preventing uneven heating that causes solder to ball up.
Never skip the critical trio of flux, pickle, and manipulation tools. Flux cleans surfaces and prevents oxidation—use borax paste for traditional work or modern alternatives like Battern’s flux for convenience. Keep separate small paintbrushes dedicated solely to flux application to avoid contamination. Your pickle solution (an acidic cleaning bath) requires copper tongs exclusively—steel tools will contaminate the entire batch. A soldering pick should remain in your dominant hand during work to safely adjust hot pieces without risking burns.
Choose the Perfect Silver Solder Grade for Your Project
Selecting the right solder grade makes or breaks your join—getting this wrong causes weak bonds or melted workpieces. Silver solder comes in four primary grades distinguished by silver content and flow temperature:
| Solder Grade | Silver Content | Flow Temperature | Best For |
|---|---|---|---|
| Extra Easy | 56% | 1145°F | Crack filling, repairs |
| Easy | 65% | 1325°F | General jewelry work |
| Medium | 70% | 1435°F | Strong structural joins |
| Hard | 75% | 1650°F | Primary structural joints |
For most repairs, medium solder provides the ideal balance of strength and workability. When tackling multi-step projects, always progress from hardest to easiest solder grades—start with hard solder for your first joints, then medium, finishing with easy solder for final touches. This prevents previously completed joins from melting during subsequent operations. Beginners should stick with medium solder until they develop heat control skills, as hard solder’s narrow temperature window demands precision.
Set Up Your Silver Soldering Workspace Properly
Your workspace setup directly impacts success rates and safety—skipping these steps causes most beginner failures. Start by ensuring excellent ventilation; flux fumes containing fluorides can cause respiratory irritation with prolonged exposure. Position fans to move air away from your breathing zone without creating strong breezes that cool your work unevenly. Clear all flammables from your immediate area—paper, rags, and solvents have caused countless workshop fires when near open torch flames.
Organize your tools within immediate reach before lighting your torch: tweezers for placing solder chips, flux brush, water container for cooling, and copper tongs for pickle handling. Wear safety goggles at all times—molten silver spatter causes permanent eye damage. Opt for denim or canvas clothing instead of synthetics that melt on contact with heat, and always wear closed-toed shoes to protect against dropped hot pieces. Keep a fire extinguisher rated for metal fires within arm’s reach, never leaving your lit torch unattended even for seconds.
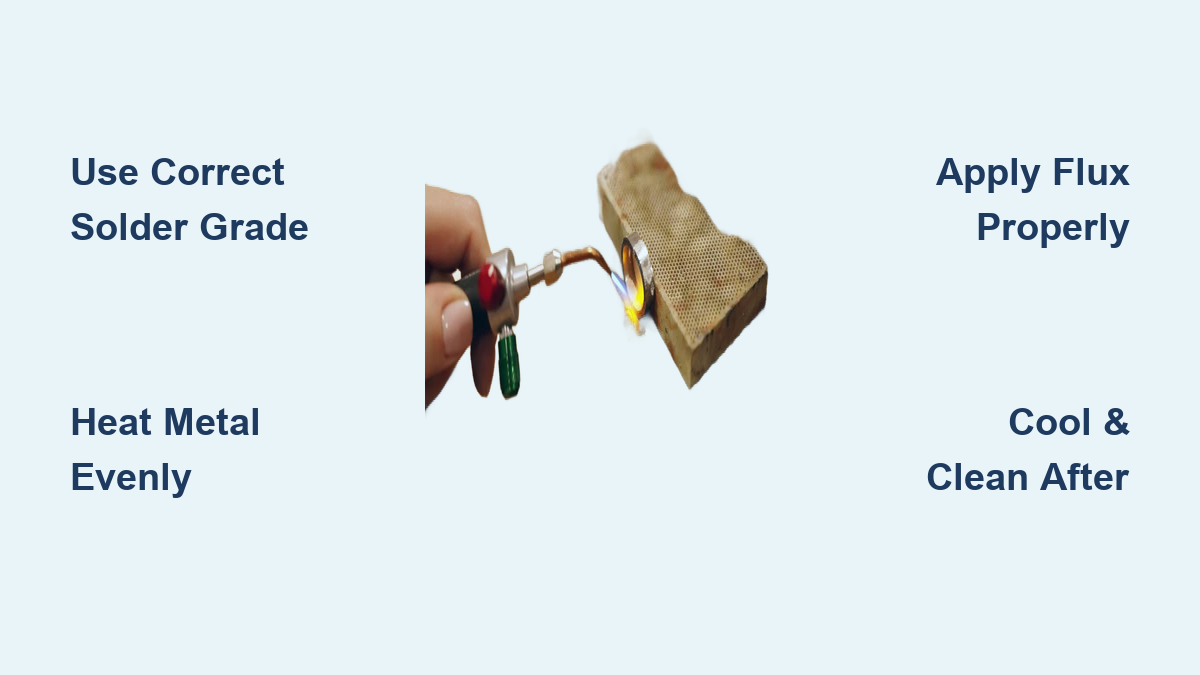
Apply the Critical Heat Management Technique
The #1 mistake beginners make? Directing flame at the solder instead of the surrounding metal. Silver’s exceptional thermal conductivity means heat rapidly draws away from the joint area, causing solder to ball up rather than flow. Instead, heat the entire piece broadly from approximately 4 inches away, moving the flame in slow circles to distribute heat evenly. Watch for the flux to turn clear and glassy—that’s your visual cue that the metal has reached proper temperature throughout.
Position your solder chip at one end of the joint opposite your torch approach. As the metal heats uniformly, the solder will suddenly flow toward the heat source, drawing itself along the join through capillary action. If solder refuses to flow after proper heating, the metal is still too cool—remove heat, re-flux if necessary, and try again with more patient heating. This technique requires practice, but developing this heat sensitivity separates amateur attempts from professional results.
Follow This 5-Step Silver Soldering Process

Step 1: Clean Surfaces Thoroughly
Oils from handling create invisible barriers that prevent solder flow. Perform the water break test: water should sheet evenly across the surface rather than beading up. If beading occurs, scrub with non-metallic cleaners like Barkeeper’s Friend until the test passes. Avoid steel wool—it leaves embedded contaminants that ruin joins. Ensure components fit tightly with no gaps; solder cannot bridge spaces larger than 0.002 inches.
Step 2: Apply Flux Precisely
Brush flux only where solder flow is desired to prevent unwanted spreading. Use separate containers to avoid contaminating your main flux supply. For complex pieces, apply flux to both mating surfaces to ensure complete coverage during heating.
Step 3: Position Solder Correctly
Place pallion chips (tiny solder pieces) at one end of the joint using tweezers. For longer joins, add chips incrementally rather than loading everything at once. Wire solder can be positioned before heating or applied with a flux-coated pick once the flux turns clear.
Step 4: Heat and Flow the Solder
Apply heat broadly across the workpiece, not directly on the joint. When the metal reaches temperature, the solder will flow instantly toward the heat source. Maintain flame position to draw solder along the entire joint length.
Step 5: Cool and Clean Properly
Allow one minute of natural cooling before quenching in water. Transfer to pickle solution using copper tongs, soaking for 3-5 minutes to remove flux residue. Rinse thoroughly and pat dry—never skip this step as residual flux causes corrosion over time.
Fix Common Silver Soldering Failures Immediately
Solder won’t flow despite proper appearance? The base metal isn’t hot enough—silver’s thermal conductivity requires patient heating of the entire piece. Remove heat, re-flux, and apply broader, more consistent heating. Verify your solder grade matches your heat source capabilities; hard solder may exceed your torch’s temperature range.
Solder balls up instead of flowing? You’re heating too locally—the surrounding metal remains too cool to accept solder. Remove heat immediately and restart with broader flame movement across the entire workpiece. This mistake accounts for over 70% of beginner failures.
Pitting or bubbling in your joint? Expired paste solder or contaminated flux causes this common issue. Switch to fresh materials and ensure workspace cleanliness. Powder flux applied to hot work often solves this problem without restarting.
Fire stain appears as surface discoloration? Incomplete flux coverage allows oxidation to penetrate below the surface. Apply more generous flux coverage next time and avoid excessive heating that drives oxidation deeper into the metal.
Professional Secrets for Flawless Silver Joints
Practice heat sensitivity on brass first—it behaves similarly to silver but costs pennies per practice piece. Different steel types have varying solderability characteristics; higher carbon content generally requires specific solders but produces stronger final joints.
Manage flux actively during extended sessions—powder flux allows re-application to hot work without cooling the piece. Watch for flux that begins to cloud or move, signaling it’s reached its working limit and needs replenishment.
For large projects needing substantial solder volume, sheet solder provides better coverage than wire. However, never use more solder than necessary—excess creates cleanup work and can depress silver content below legal thresholds for pieces marked as sterling.
Silver soldering mastery comes through patient practice and attention to detail. Start with simple repairs like jump ring closures before attempting complex projects. Keep a dedicated notebook tracking your heat settings, solder grades, and techniques for each success and failure—this log becomes your personalized reference guide. With proper tools, correct techniques, and safety precautions, you’ll create professional-quality silver joins that last decades. The investment in learning pays dividends through saved repair costs and expanded creative possibilities in your metalworking journey.
Leave a Reply