A cracked turbo manifold can turn your high-performance dream into a frustrating reality. When exhaust gases escape through faulty welds, you lose power, create dangerous under-hood conditions, and risk catastrophic turbo failure. Whether you’re fabricating a custom manifold from scratch or repairing a cracked factory unit, proper welding technique makes all the difference between a repair that lasts and one that fails at full boost. This guide delivers the specific knowledge you need to weld turbo manifolds that withstand extreme heat, vibration, and pressure—without requiring professional shop equipment.
Turbo manifolds operate under brutal conditions, regularly exceeding 1,000°F while handling constant vibration from both engine and turbocharger. A single weak weld can lead to exhaust leaks that sap horsepower, create dangerous engine bay fires, or even destroy your expensive turbo. Most DIY failures happen because enthusiasts apply standard welding techniques to this specialized application without understanding the unique thermal and mechanical stresses involved. By following the precise methods outlined here, you’ll create welds that maintain integrity through countless heat cycles and high-boost runs.
Select Right Materials for Turbo Manifold Welding

Your material choice directly determines welding success. Mild steel (A53 or A106 grade) offers the easiest welding experience with any process but requires ceramic coating to prevent rust and heat damage. While affordable and forgiving of minor heat control mistakes, mild steel manifolds typically last 2-3 years before heat fatigue sets in. For stainless steel manifolds, 304 and 321 grades provide superior heat resistance and corrosion protection but demand precise heat management to prevent sensitization—the process where chromium depletes at grain boundaries, creating weak spots prone to cracking.
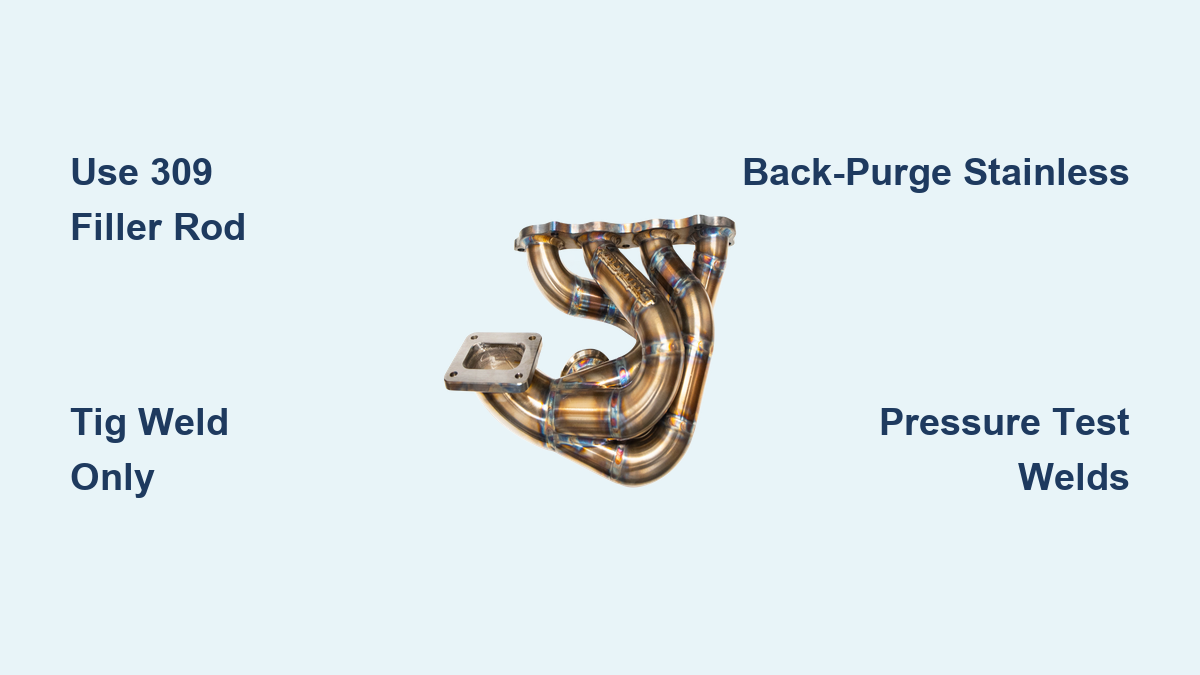
When combining materials (mild steel piping with stainless turbo flange), always use 309 stainless filler rod. This specialized alloy accommodates the different expansion rates and chemical compositions, preventing premature failure at the transition point. Never attempt to weld cast iron manifolds—these require specialized nickel-based rods and controlled preheating that rarely produces reliable results for turbo applications.
Choose Most Effective Welding Process
TIG welding (GTAW) delivers the precision required for professional-quality turbo manifolds. The non-consumable tungsten electrode and separate filler rod give you complete control over heat input and weld pool formation—critical when working with thick-wall tubing that must withstand extreme pressure. While TIG demands significant practice (expect 20-40 hours on scrap material before achieving production quality), it produces clean, strong welds with minimal spatter that could damage turbo internals.
MIG welding works acceptably for mild steel manifolds if you use ER70S-6 wire with 75/25 argon/CO2 mix. Maintain a consistent 3/8-inch stick-out and use a push technique with slight forward angle. Watch for excessive spatter—any particles entering the manifold interior must be thoroughly cleaned before installation. Avoid flux-core welding entirely; the slag inclusions and porosity it creates form weak points that inevitably fail under turbo pressure.
Prepare Manifold Properly Before Welding

Skipping proper preparation causes 70% of turbo manifold welding failures. Begin by cleaning all surfaces with acetone or isopropyl alcohol to remove oil and grease—contaminants cause porosity that creates leak paths through the weld. For stainless steel, use a dedicated stainless steel wire brush to remove oxidation from previously heated areas.
Achieve precise fit-up with a gap of 1/16 to 1/8 inch for full penetration. Too small a gap prevents proper penetration; too large invites burn-through. Use a tube notcher to create accurate joints at tube junctions, then dry-fit all pieces before tacking. Place tacks every 1-2 inches around the joint, making them 1/4 to 3/8 inch long with full penetration. Check alignment after tacking—distortion becomes impossible to correct after final welding.
Execute Proper Welding Technique for Maximum Strength
For TIG welding, maintain a 10-15 degree torch angle and consistent 1/8-inch tungsten-to-work distance. Establish a small weld pool, then dip the filler rod into the leading edge in a rhythmic pattern—each dab adding minimal filler before withdrawing. Travel speed determines bead quality: too fast creates narrow, weak beads; too slow causes excessive heat buildup and potential burn-through.
Stainless steel requires back-purging with argon to prevent oxidation inside the tube. Seal tube ends with tape or rubber plugs, insert an argon line, and flow gas for several minutes before welding. This simple step prevents the dark oxidation that would otherwise create corrosion points inside your manifold. For MIG welding, maintain consistent 1/2-inch wide beads with 30-50% overlap between passes, watching for spatter that indicates improper voltage settings.
Manage Heat to Prevent Warping and Cracking
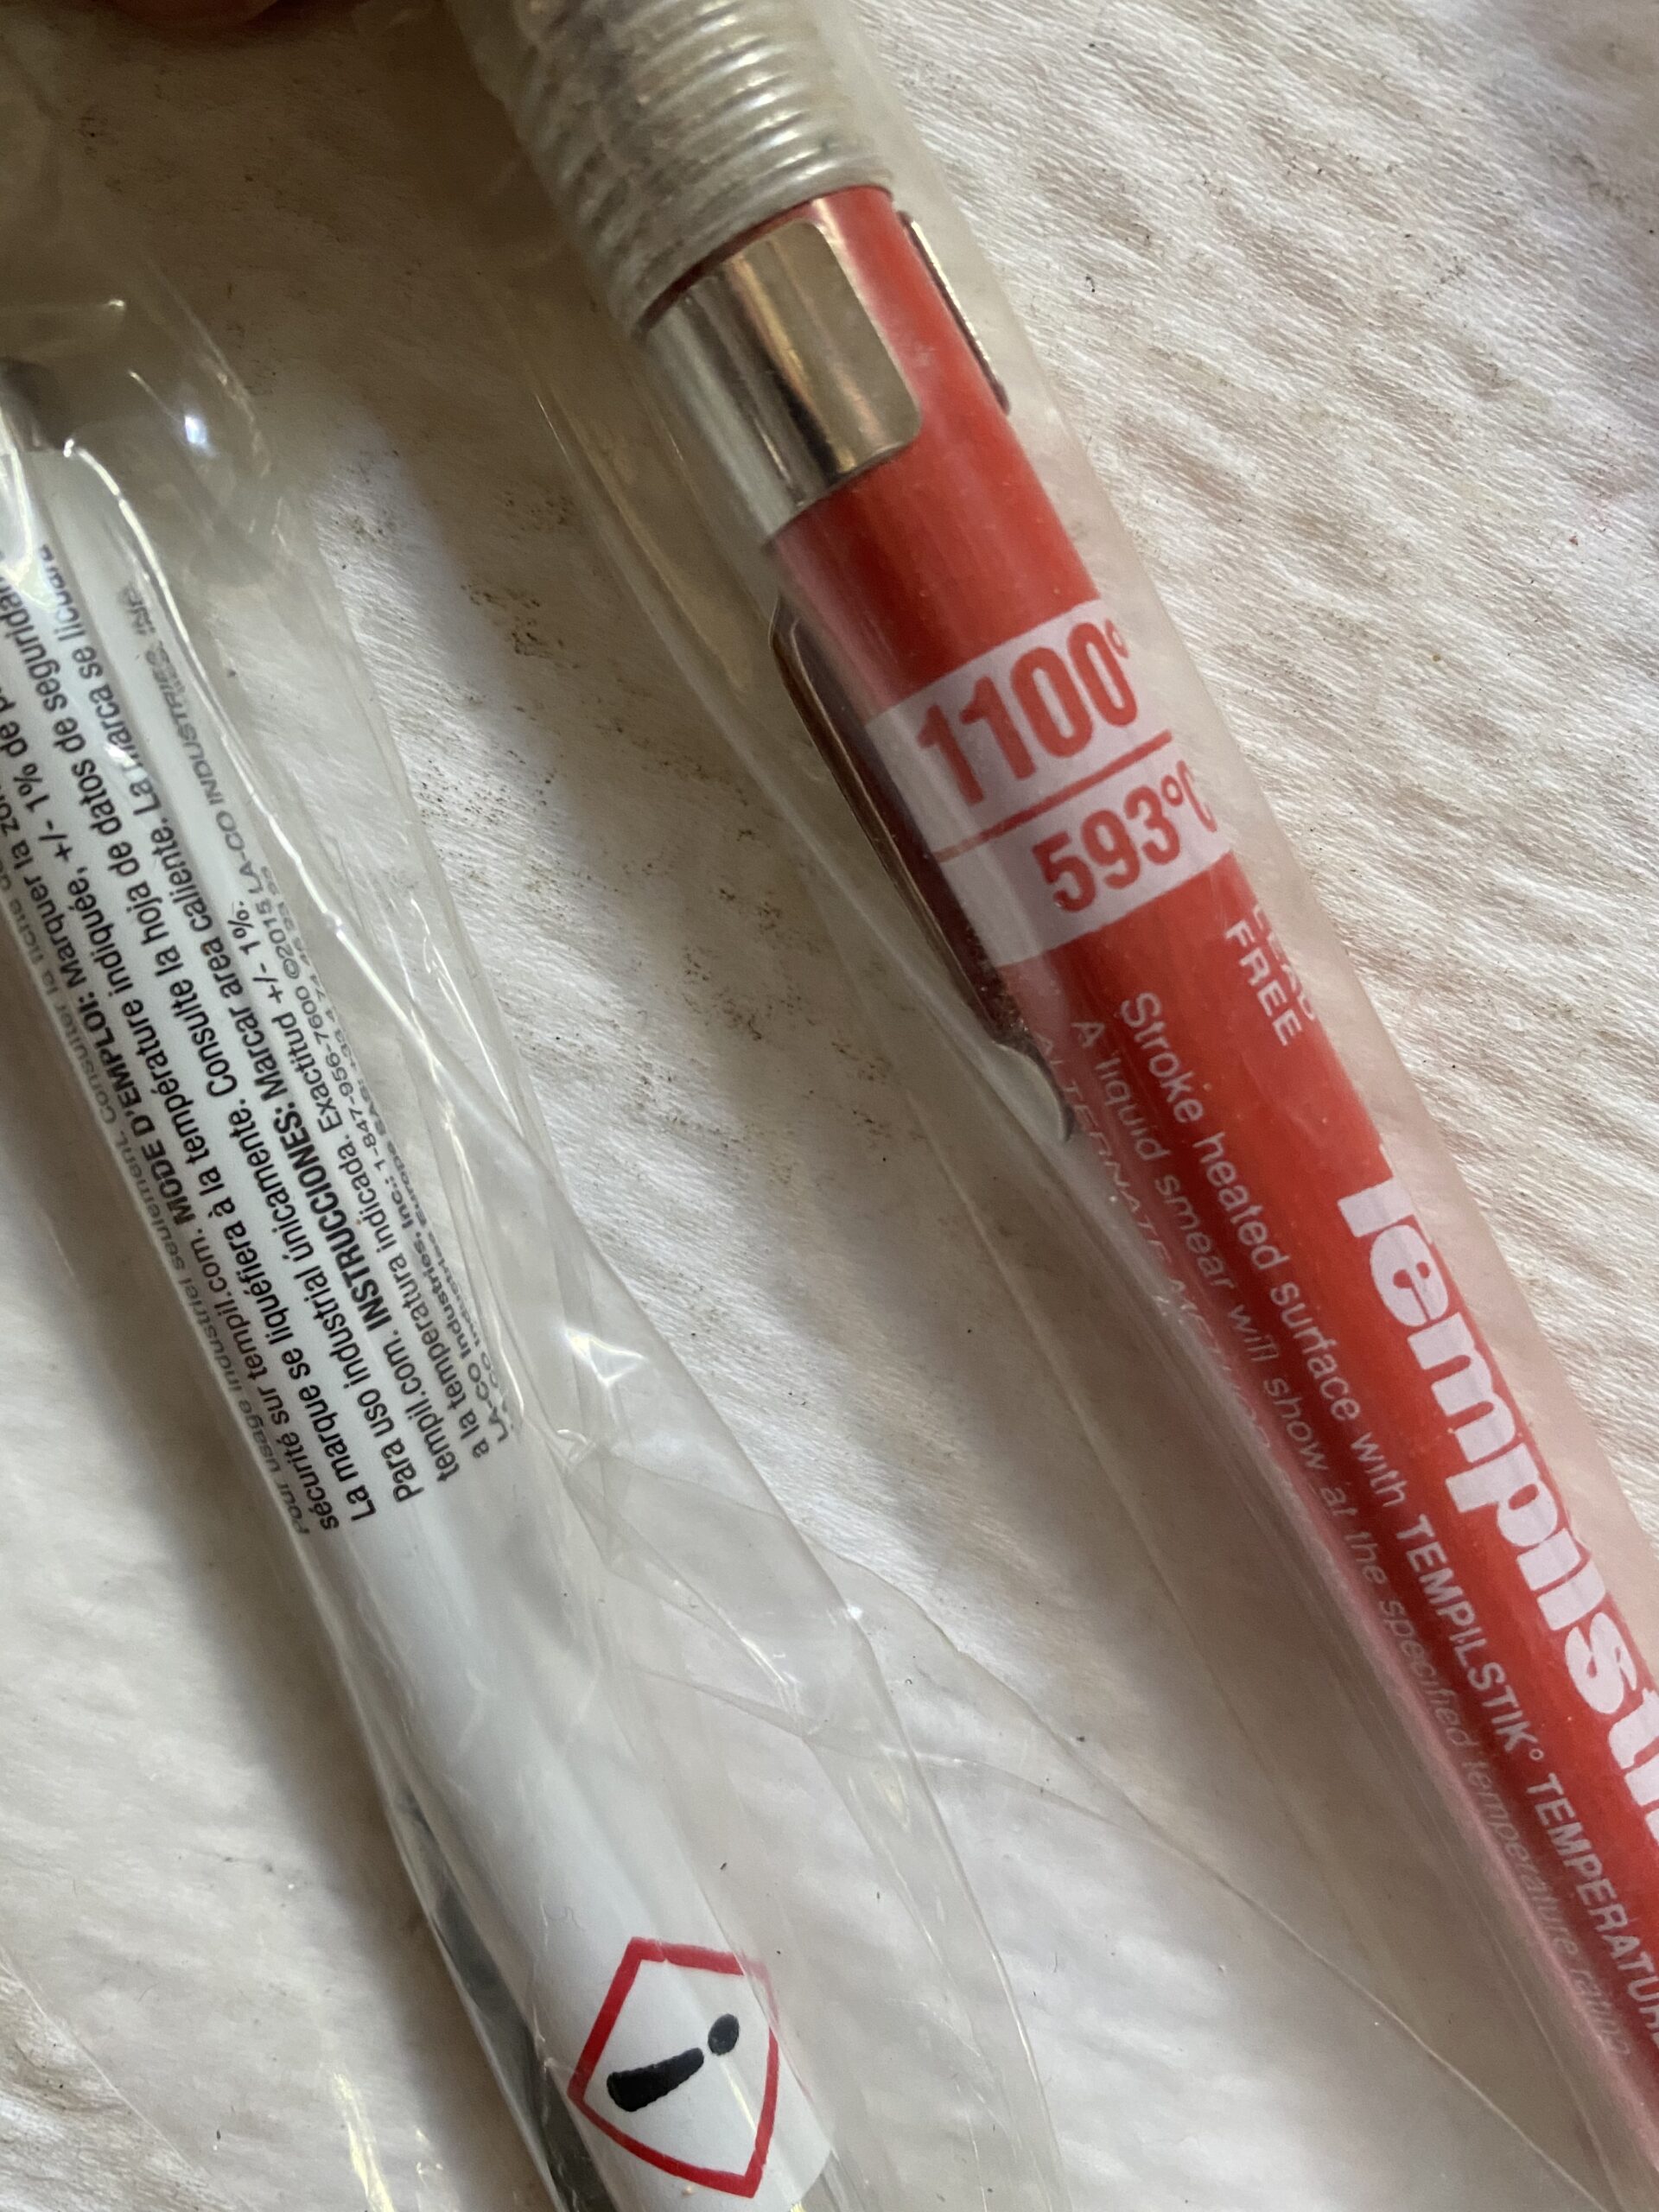
Heat management separates successful turbo manifold welds from failed attempts. Preheat mild steel up to 1/2 inch thick to 200-300°F using temperature crayons to verify—this reduces thermal stress during cooling. Alternate between multiple joints rather than completing one at a time; for a 4-into-1 collector, weld one junction, then move to the opposite side, allowing heat to dissipate.
Monitor interpass temperatures carefully—keep carbon steel below 300°F between passes, stainless steel below 300°F to prevent sensitization. If the metal is too hot to touch comfortably, it needs more cooling time. Use the smallest practical tungsten and filler rod diameter to reduce overall heat input while maintaining penetration, especially critical for thin-wall sections.
Inspect Welds Thoroughly Before Installation
Visual inspection catches 90% of potential failures before they become problems. A quality TIG weld shows a smooth, slightly concave profile with uniform ripples and gradual transitions to base metal—no cracks, porosity, or excessive spatter. For stainless steel, the weld should appear bright and clean without dark oxidation.
Check root penetration by examining the inside of the tube—proper fusion shows a continuous bead with complete wall contact. Incomplete penetration creates weak points that inevitably fail under pressure. Pressure test your manifold by pressurizing to 20-30 PSI and submerging in water, watching for bubbles that indicate leaks. Take your time with this critical step—any undetected leak requires difficult repairs after installation.
Avoid Critical Welding Mistakes That Cause Premature Failure
Starting and stopping welds in visible locations creates weak points—plan your sequence so stop points fall in less visible areas like tube bottoms. Never neglect cleaning between passes; each layer must be free of slag and oxidation before adding the next. Overwelding creates unnecessary stress concentrations—use just enough filler to match the thinnest material being joined.
For stainless steel manifolds, skipping back-purging guarantees premature corrosion failure, even if the weld looks perfect externally. Oxygen contacting the hot weld metal causes chromium depletion that won’t be visible until corrosion appears months later. Always back-purge stainless steel manifolds intended for long-term use.
Maintain Your Welded Manifold for Maximum Longevity
Ceramic coating significantly extends manifold life by reflecting heat back into the exhaust stream, reducing under-hood temperatures by up to 200°F. Apply coating after welding is complete and the manifold has been thoroughly cleaned—this protects weld metal from oxidation and improves thermal efficiency.
Inspect your manifold during routine maintenance, looking for cracks at weld toes and signs of flexing. Address small issues immediately before they progress. Avoid repeated thermal cycling by driving gently for a few minutes after aggressive runs rather than shutting down immediately—this allows gradual cooling that reduces thermal stress.
Welding a turbo manifold successfully combines material science with precise technique. By selecting appropriate metals, preparing joints meticulously, managing heat effectively, and inspecting thoroughly, you’ll create welds that withstand extreme conditions. The investment in proper technique pays dividends every time you hear that turbo spool up without leaks or failures. Take time to practice on scrap material, resist shortcuts, and never skip the pressure test—your engine’s health depends on it. With these methods, you’ll transform from a frustrated DIYer into a confident fabricator who understands exactly what it takes to weld turbo manifolds that perform reliably under pressure.
Leave a Reply