
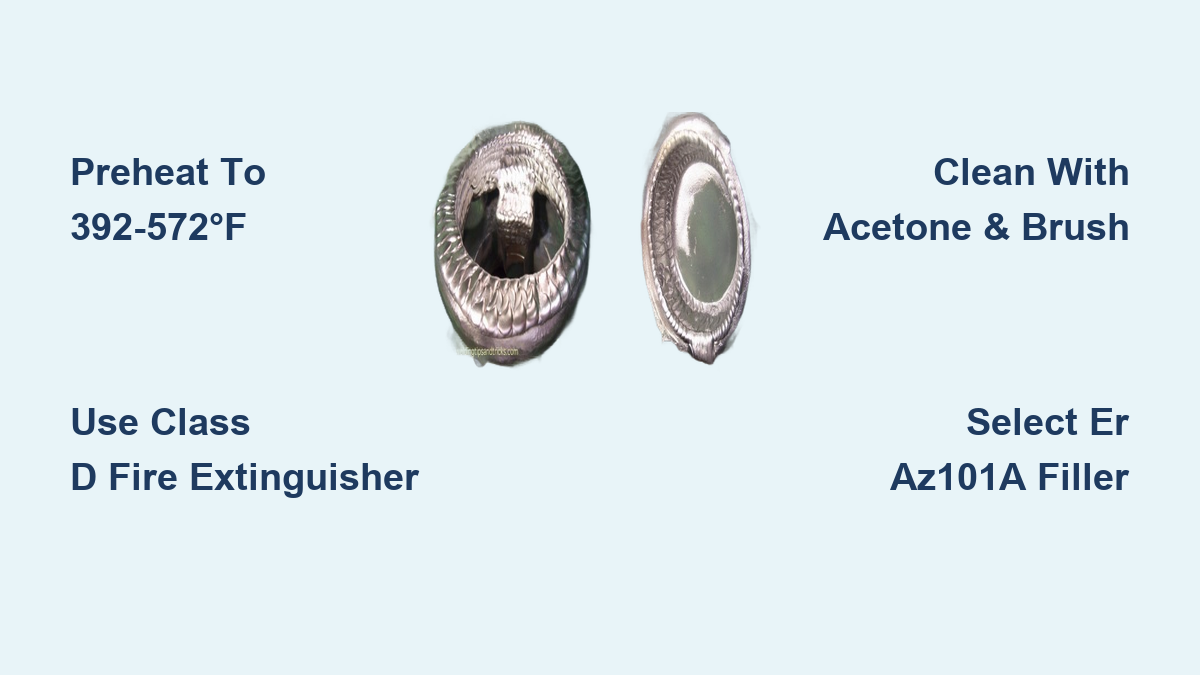
Attempting to weld magnesium without proper knowledge is like playing with fire—literally. Magnesium burns at 4,000°F and cannot be extinguished with water, making it one of the most challenging metals to weld safely. Yet this lightweight structural metal (78% lighter than steel) remains critical in aerospace, automotive, and marine applications where weight reduction is paramount. If you’re learning how to weld magnesium, you must understand its unique hazards, specialized preparation requirements, and precise welding techniques. This guide delivers the essential knowledge you need to create strong, durable magnesium welds while avoiding catastrophic fire risks and common pitfalls that plague inexperienced welders.
Critical Magnesium Fire Prevention Measures

Before striking an arc, you must implement rigorous fire safety protocols. Magnesium’s flashpoint of just 833°F means even minor welding heat can ignite the metal, and once burning, it reaches 4,000°F—hot enough to break water molecules into hydrogen and oxygen, intensifying the fire.
Immediate Fire Suppression Setup
Position multiple 5-gallon buckets of Class D fire extinguishing powder within arm’s reach before starting. Use dry sand, graphite-based powders, or clay granular cat litter—never water or standard fire extinguishers. Remove all magnesium dust and filings from the work area, as fine particles ignite more easily than solid metal. Clear flammable materials from at least a 10-foot radius, and ensure your workspace has proper ventilation to prevent fume buildup.
Essential Respiratory Protection
Many magnesium alloys contain zinc, which releases carcinogenic fumes when vaporized. Always wear a properly fitted respirator rated for welding fumes, and never skip this protection even for “quick” repairs. OSHA requires specific ventilation standards for magnesium welding areas—install exhaust systems that capture fumes at the source, not just general room ventilation.
Accurate Magnesium Identification Methods
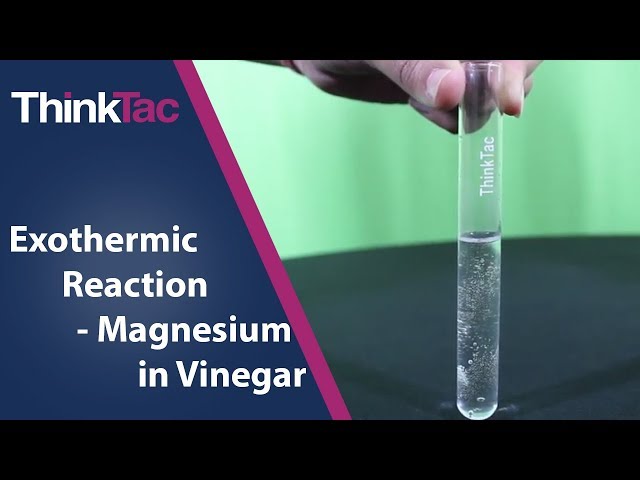
Confusing magnesium with aluminum is a costly mistake that creates extremely weak joints. Aluminum filler on magnesium produces welds with almost no strength, leading to potential component failure.
Vinegar Test for Instant Identification
Apply plain white vinegar to a clean metal surface—magnesium will immediately foam and bubble due to chemical reaction, while aluminum shows no reaction. This simple test prevents disastrous filler metal selection errors. For verification, examine the metal’s color during welding: magnesium glows green in the arc, while aluminum produces a blue glow, though this visual cue requires experience to interpret accurately.
Decoding Magnesium Alloy Designations
Understand the ASTM alloy system: AZ91 contains approximately 9% aluminum and 1% zinc, while ZK60A indicates zinc and zirconium alloys. Avoid welding alloys with zinc content above 1%, such as ZK51A and ZK60A, as they’re highly susceptible to cracking. For unknown alloys, ER AZ101A filler (10% aluminum) works as a safe starting point for most magnesium castings.
Surface Preparation That Prevents Weld Failures
Improper surface preparation causes 80% of magnesium weld defects. Oil-impregnated castings and oxide layers create porosity, inclusions, and weak joints that fail under stress.
Complete Oxide Removal Technique
Use a dedicated stainless steel wire brush (never aluminum!) to scrub the weld area in one direction only. For castings, employ a carbide burr with a die grinder to remove 0.010-0.020 inches of surface material, eliminating the high-melting-point oxide layer. Avoid grinding wheels, which embed contaminants that cause corrosion later. Clean immediately before welding—magnesium re-oxidizes within minutes of exposure to air.
Oil Contamination Elimination Process
Wipe the part thoroughly with acetone, then use a carbide burr to remove an additional 0.010 inch of material around the weld zone. For heavily oil-impregnated castings, repeat this process multiple times. Never use chemical solvents like trichloroethylene without proper ventilation and respiratory protection—they’re toxic and create additional hazards.
TIG Welding Magnesium: Step-by-Step Process
TIG (GTAW) is the preferred method for welding magnesium, providing superior control for this reactive metal. AC TIG welding’s alternating current simultaneously removes oxides and penetrates the base metal.
Essential TIG Setup for Magnesium
Configure your machine with these critical settings:
– Pure argon or 50/50 argon-helium shielding gas
– High-frequency arc start to minimize contamination
– AC current with 60-70% electrode negative for optimal cleaning action
– 3/32″ pure tungsten (green) or zirconiated tungsten (white) electrode
– 15-20 CFM gas flow rate for adequate coverage
Precise Welding Technique Sequence
- Preheat magnesium to 392-572°F (200-300°C) to prevent cracking
- Maintain a tight arc length of 1/8 inch or less
- Move quickly to avoid excessive heat buildup (travel speed 3-5 inches/minute)
- Create shallow beads with small, precise passes rather than deep welds
- Clean between passes with stainless steel brush to remove oxidation
- Continue shielding gas flow for 10-15 seconds after arc termination
Warning: Never stop the shielding gas before the weld pool cools completely—magnesium ignites when exposed to air while still glowing.
Filler Metal Selection for Strong Joints
Choosing the wrong filler metal causes catastrophic weld failures. Magnesium’s reactivity demands precise alloy matching.
Filler Metal Selection Guide
| Base Metal | Recommended Filler | Avoid These Fillers |
|---|---|---|
| AZ91, AZ61A | ER AZ101A | Aluminum fillers |
| EZ33A | ER EZ33A | High-zinc fillers |
| Unknown alloys | ER AZ101A | Anything but magnesium |
ER AZ101A (10% aluminum) is your safest choice for most castings, preventing cracking by enriching the weld pool with aluminum without excessive zinc. Inspect filler rods for oxidation—dark or blackened rods must be cleaned with a wire brush before use, as oxides contaminate the weld pool.
Heat Management to Prevent Cracking

Magnesium’s high shrinkage during solidification creates significant cracking risks if heat isn’t properly managed.
Strategic Preheat Protocol
Preheat thick sections (over 1/4 inch) to 392-572°F using an infrared thermometer to verify temperature. This reduces thermal gradients that cause cracks. Never exceed 572°F, as higher temperatures compromise strength. For dissimilar thicknesses, preheat only the thicker section.
Multi-Pass Welding Strategy
Build welds with multiple shallow passes instead of one deep weld:
– Start with a root pass at lower amperage
– Allow each pass to cool slightly before adding the next
– Work from center outward for large repairs
– Keep interpass temperature below 300°F
– Use backing plates for critical joints to control heat
Troubleshooting Common Magnesium Welding Failures
Even experienced welders encounter problems with magnesium. Recognizing and fixing these issues saves time, materials, and prevents dangerous situations.
Fixing Porosity in Magnesium Welds
Porosity typically indicates oil contamination. Solution: Grind out the defective weld, clean thoroughly with acetone, and remove an additional 0.010 inch of base metal with a carbide burr. Reweld immediately after cleaning—delaying even 15 minutes allows recontamination. For persistent porosity, pre-bake the casting at 300°F for 30 minutes to drive out trapped oils.
Stopping Weld Cracking Immediately
If cracks appear:
1. Stop welding immediately
2. Grind out the entire cracked area plus 1/4 inch beyond visible cracks
3. Increase preheat temperature by 50°F
4. Reduce amperage and use smaller, faster passes
5. Consider switching to ER AZ101A filler if using higher-zinc alternatives
Professional Magnesium Welding Tips
Mastering magnesium welding separates skilled professionals from beginners. These expert techniques produce reliable results.
Practice Protocol Before Critical Work
Welding magnesium requires muscle memory you can’t develop on the job. Practice on scrap magnesium with these drills:
– Create consistent 1/8-inch beads on 1/4-inch plate
– Weld vertical-up without porosity
– Maintain arc length within 1/16 inch tolerance
– Complete welds without stopping gas flow prematurely
When to Call a Professional
For aerospace components, critical structural repairs, or if you lack proper fire suppression equipment, seek professional help. Specialty magnesium welding shops have glove boxes, Class D fire suppression systems, and documented welding procedures that ensure safety and quality. The $500-$2,000 cost for professional welding often beats replacing a $50,000 magnesium casting destroyed by improper welding.
Successfully welding magnesium demands respect for its fire hazards, meticulous preparation, and precise technique. By implementing these safety protocols, identification methods, and welding strategies, you can create strong, reliable magnesium welds for demanding applications. Remember: proper preheating, oxide removal, and filler metal selection prevent 90% of magnesium welding problems. Start with small, non-critical projects to build confidence, and always prioritize fire safety—your magnesium welding success depends on it.