
Welding is as dangerous as it is rewarding—without the right protection, a single arc can cause permanent eye damage. Choosing the right welding helmet isn’t just about comfort or convenience; it’s about safeguarding your vision, ensuring precision, and staying productive. Whether you’re a weekend DIYer repairing a trailer or a professional fabricator working 40 hours a week, your helmet is your first line of defense against UV and IR radiation, flying spatter, and heat exposure.
With so many models on the market—from basic fixed-shade helmets under $30 to high-tech auto-darkening units costing over $400—it’s easy to get overwhelmed. But by focusing on key factors like safety certification, lens performance, sensor count, and ergonomic fit, you can narrow your choices and invest wisely. This guide breaks down everything you need to know to pick the best welding helmet for your needs—so you can weld safely, clearly, and efficiently.
Meet Safety Standards First
Before considering features or price, confirm that any helmet you’re considering meets recognized safety certifications. These aren’t just marketing labels—they’re proof that the helmet blocks harmful radiation and withstands impact.
ANSI Z87.1 and CSA Compliance
In the U.S., all quality welding helmets must comply with ANSI Z87.1-2003 or the updated Z87+ standard. This certification ensures the lens filters out dangerous ultraviolet (UV), infrared (IR), and intense visible light generated during welding. The Z87+ marking specifically indicates impact resistance—critical when sparks, spatter, or falling debris are present.
In Canada, look for CSA-certified helmets, which meet or exceed these requirements. Always check the side of the helmet or inside the packaging for these markings. Never assume a helmet is safe based on its appearance or brand reputation alone.
Why Certification Matters
Using a non-compliant helmet—even briefly—can lead to serious health risks:
– Arc eye (photokeratitis): A painful condition like sunburn on the cornea, often occurring after just minutes of unprotected exposure.
– Long-term retinal damage or cataracts from repeated UV exposure.
– Facial burns due to inadequate coverage or poor lens sealing.
✅ Pro Tip: Skip any helmet lacking ANSI or CSA labeling. No matter how sleek or affordable it looks, your eyes aren’t worth the gamble.
Choose Between Passive and Auto-Darkening Helmets
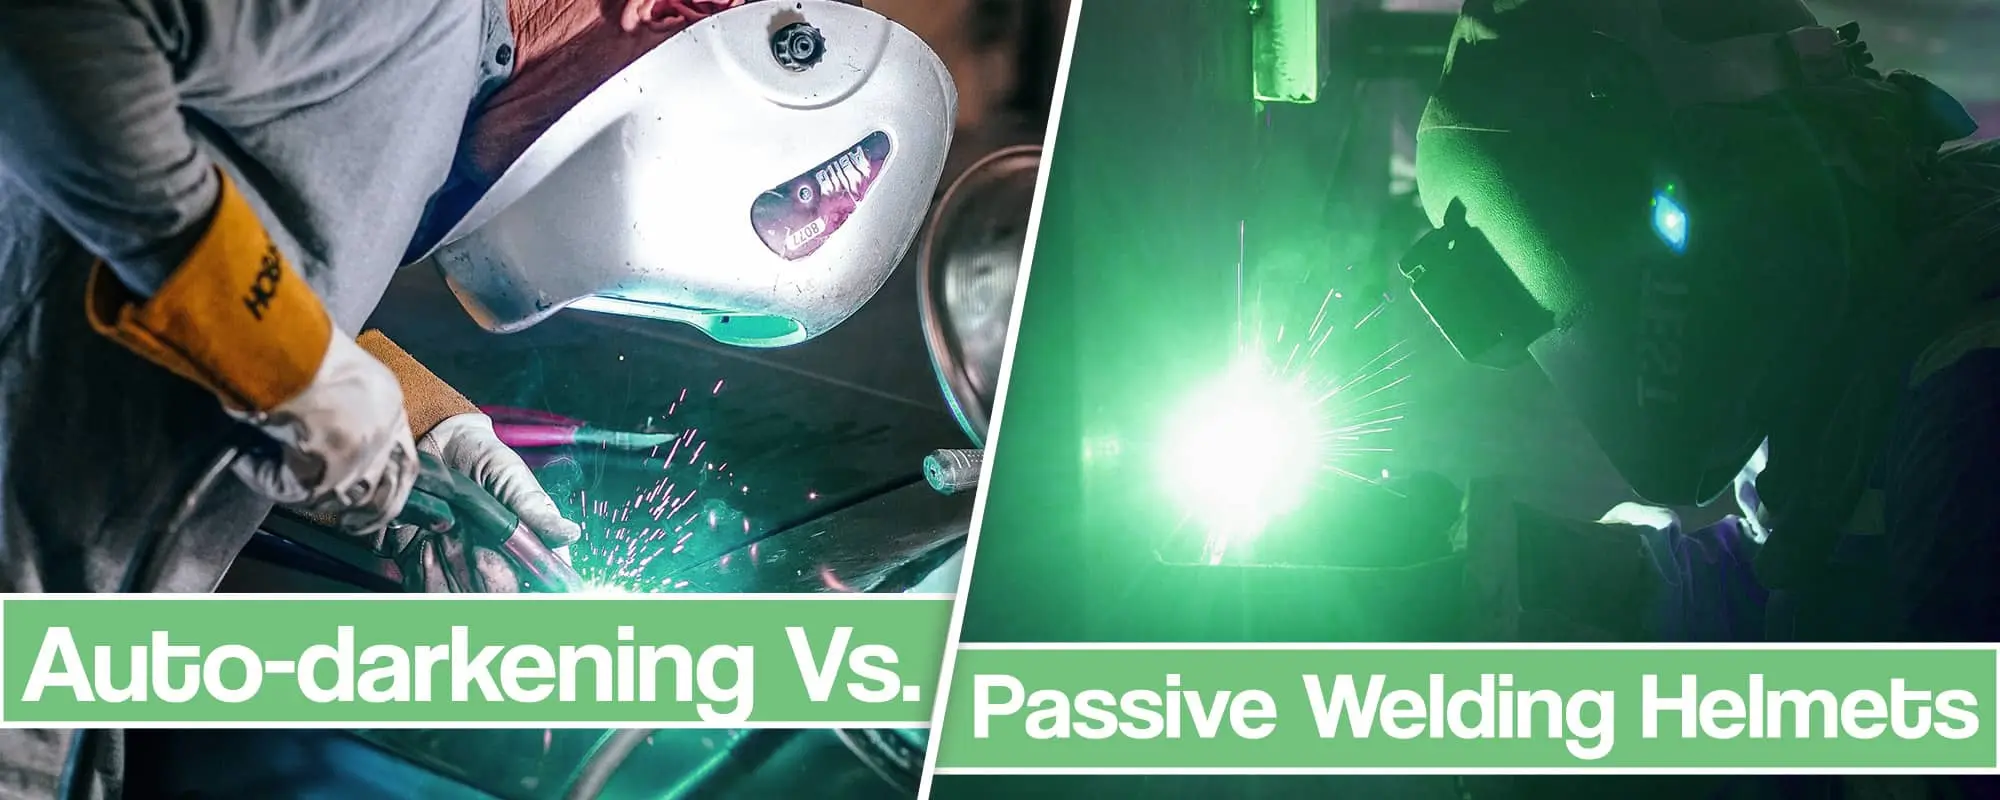
The two main types of welding helmets—passive (fixed-shade) and auto-darkening—serve different users, applications, and budgets.
Passive (Fixed-Shade) Helmets
These helmets have a permanently darkened lens, typically shade #10, and require you to manually flip them into place before welding.
Who Should Use It?
- Beginners learning proper welding form.
- Occasional users doing light repairs or maintenance.
- Stick welders in harsh environments where electronics might fail.
Pros and Cons
| Pros | Cons |
|---|---|
| ✔️ Low cost ($20–$60) | ❌ Must flip up/down to see work clearly |
| ✔️ No batteries or sensors to fail | ❌ Poor visibility during setup |
| ✔️ Extremely durable | ❌ Increases neck strain over time |
Some models include a pop-up inner lens, letting you inspect your work without lifting the entire helmet—ideal for grinding or alignment.
Top Models
- Jackson W40/W60: Lightweight with a large viewing window and excellent clarity.
- Fiber Metal Pipeliner (“Sugarscoop”): Rugged, compatible with auto-darkening inserts.
- Phillips Safety lenses (Athermal, Magenta): Modern replacements offering superior clarity and heat reduction.
💡 Start Simple: A $30 fixed-shade helmet teaches proper technique without distractions.
Auto-Darkening Helmets
These use LCD lenses that instantly darken when they detect an arc, switching from a light state (shade #3–4) to a dark state (shade #8–13).
Fixed vs. Variable Shade
- Fixed-shade auto-darkening: Lenses darken to one preset level (e.g., shade 10). Best for welders using a single process at consistent amperage.
- Variable-shade: Allows adjustment (typically 8–13) to match material thickness, amperage, or welding method—perfect for switching between MIG, TIG, and stick.
Power Sources Explained
Most auto-darkening helmets use:
– Solar assist + AAA battery: Recharges during use; backup ensures function in low light.
– Lithium batteries: Longer life but often non-replaceable.
– Internal rechargeable: Convenient but means replacing the whole helmet when battery dies.
🔋 Smart Choice: Opt for models with replaceable batteries and solar assist—they last longer and save money over time.
Maximize Lens Performance

Your lens is the heart of your helmet. A poor-quality lens causes eye strain, reduces precision, and can compromise safety.
Size Matters: Viewing Area
Larger viewing areas improve visibility of the weld pool and surrounding workspace.
- Small windows (pipeliner style): Ideal for TIG welding, where precision matters most.
- Panoramic views: Perfect for MIG/fabrication—helps with out-of-position welding and tracking long seams.
High-Performance Options
- Miller Infiniti: Largest auto-darkening viewing area on the market.
- 3M Speedglas 9100: Wide field of view, slim profile, lightweight.
- Optrel Panoramaxx CLT: True-color optics reduce eye fatigue during extended use.
👀 Rule of Thumb: Balance size with weight—bigger isn’t always better if it strains your neck.
Clarity and Optical Quality
Look for the 1/1/1/1 optical rating (per EN 379 standard), meaning zero distortion across clarity, refraction, diffusion, and symmetry.
Lens Materials Compared
- Glass lenses: Found in premium helmets (e.g., AO Safety, Phillips). Offer unmatched clarity and scratch resistance.
- Polycarbonate: Common in budget models. Less durable but cheaper to replace.
Helpful Coatings
- Anti-reflective: Reduces glare inside the helmet.
- Anti-fog: Prevents condensation in humid or cold conditions.
- Gold-tinted lenses: Improve contrast in the weld pool and reduce heat transmission.
- Green lenses: Standard color—some users report eye strain after long sessions.
✅ Clarity Hack: The Tradesman Arcone drop-in filter (under $100) delivers exceptional clarity and works with many helmets.
TIG-Specific Tip
Ensure your helmet responds to low-amperage arcs (down to 5A). Some cheaper models only trigger at higher light levels, leaving you exposed during delicate TIG work.
Sensor Count: Reliability You Can Trust

Sensors detect the arc and tell the lens to darken. More sensors mean better reliability—especially in awkward positions.
How Many Sensors Do You Need?
| Sensor Count | Best For | Limitations |
|---|---|---|
| 2 sensors | Hobbyists, flat-position welding | May miss arcs overhead or in tight spaces |
| 3 sensors | General production work | Good coverage with clear line of sight |
| 4 sensors | Industrial, overhead, vertical welding | Ensures activation even if one sensor is blocked |
Top Helmets by Sensor Count
- ESAB Sentinel A50: 4 sensors, digital display, grind mode.
- Miller Infiniti: 4 sensors, X-Mode™ arc detection.
- Optrel e684: 4 sensors, Shadetronic automatic shading.
🚨 Critical for Overhead Work: Standard helmets aren’t approved for overhead welding—molten slag can stick to flat lenses. Only Optrel Sphere Series is certified for this due to its spherical design, which causes slag to roll off.
Speed and Response Time
Switching speed measures how fast the lens darkens after arc ignition—measured in fractions of a second.
What’s Fast Enough?
- Entry-level: ~1/3,600 second – Adequate for short jobs but may cause eye fatigue.
- Professional-grade: 1/20,000 to 1/25,000 second – Nearly instantaneous, ideal for production welding.
Faster response means less exposure to bright light, reducing eye strain and fatigue during repetitive tasks.
⚡ Pro Insight: High-end models like the Miller Infiniti and Optrel Crystal 2.0 offer near-instant activation—worth the investment for daily users.
Comfort and Fit: Wear It All Day
A heavy or ill-fitting helmet causes neck pain and reduces focus—especially during long shifts.
Weight Guidelines
- Under 20 oz: Lightweight, ideal for extended use.
- Over 24 oz: Can cause fatigue; best for occasional work.
Headgear Systems That Work
- Miller adjustable headgear: Known for comfort and balance.
- ESAB Sentinel A50 (5-point): Distributes weight evenly.
- Optrel IsoFit: Fully customizable, fits a wide range of head shapes.
Ventilation Features
- Nose cutouts and ventilation channels reduce fogging and heat buildup.
- Look for anti-fog coatings or dual-pane designs in humid environments.
👨🔧 Try Before You Buy: If possible, test fit helmets with your safety glasses and earmuffs to ensure compatibility.
Essential Extra Features
Modern helmets come with smart features that boost efficiency and convenience.
Grind Mode
A dedicated grind button switches the lens to a lighter shade (e.g., #5), letting you grind or clean metal without removing your helmet.
Found in:
– Bowler
– ESAB Sentinel A50
– Miller Infiniti
Eliminates the need for a separate face shield—saving time and gear.
Delay and Sensitivity Controls
- Delay setting: Keeps the lens dark for a few seconds after welding stops—useful for long welds or checking results.
- Sensitivity adjustment: Lets you fine-tune how easily the sensors react—helpful in bright shops or outdoors.
🌞 Outdoor Tip: Use lower sensitivity to prevent false triggers from sunlight.
Digital Displays and Controls
Some helmets feature real-time readouts:
– Sentinel A50: Shows shade, delay, and sensitivity settings.
– Miller Infiniti: Push-button controls (glove-friendly).
– Blackstone: External knobs—easy to adjust but prone to accidental bumps.
Match Helmet to Welding Process
Different welding types demand different helmet features.
MIG Welding
MIG produces a steady, bright arc—requiring reliable auto-darkening and comfort for long runs.
Key Features
- Variable shade (9–13)
- 4 sensors for consistent detection
- Large viewing area
- Grind mode for post-weld cleanup
Top Picks
- Lincoln Viking 3350: Durable, solar + AAA power, excellent clarity.
- Miller Infiniti: Largest viewing area, ClearLight™, HDV tech.
- ESAB Sentinel A50: Digital display, 5-point headgear, grind mode.
TIG Welding
TIG requires precision, low-light sensitivity, and crystal-clear optics.
Must-Have Features
- 1/1/1/1 optical rating
- True color view (e.g., Optrel Crystal 2.0)
- Fast switching speed
- Low-amperage response (5A)
Best Helmets
- Optrel e684 / OSC: Superior clarity, Shadetronic, ideal for detail work.
- Lincoln Viking 3350 with 4C lens: Excellent for low-amp TIG.
- Jackson W60: Orange-tinted lens praised for visibility and comfort.
Stick Welding
Stick welding generates heavy spatter and UV—demanding durability and reliable protection.
Recommended Features
- Rugged outer shell
- Pop-up lens or replaceable cover plates
- Fixed shade #10 often sufficient
Top Models
- Fiber Metal Pipeliner: Lightweight, durable, accepts auto-darkening inserts.
- Jackson Fixed Shade: Large window, comfortable fit, proven reliability.
Budget Smart: Get the Most Value
Price shouldn’t dictate your choice—but knowing what each range offers helps you invest wisely.
| Range | Best For | Recommended Features | Example Models |
|---|---|---|---|
| $20–$50 | Beginners, casual use | Fixed shade, ANSI compliance | Jackson W40, Fiber Metal Pipeliner |
| $80–$150 | Entry-level auto-darkening | 2 sensors, solar + AAA | Harbor Freight, Save Guard |
| $150–$250 | Intermediate users | 3–4 sensors, variable shade, grind mode | Blackstone, Bowler, Lincoln Viking 3350 |
| $250–$400 | Pros and frequent users | 4 sensors, fast response, digital controls | Miller Infiniti, ESAB Sentinel A50 |
| $400+ | Precision/industrial | Shadetronic, true color, overhead approval | Optrel Panoramaxx, Crystal 2.0 |
💬 Pro Advice: Avoid ultra-cheap auto-darkening helmets under $80—they often suffer from flashing, slow response, or poor optics.
🔁 Long-Term Tip: Invest in replaceable lenses and cover plates—they extend your helmet’s life and cut replacement costs.
Final Thoughts
Choosing how to choose a welding helmet comes down to matching your needs with the right features. Start with ANSI or CSA compliance—it’s non-negotiable. Then prioritize optical clarity, sensor count, switching speed, and comfort based on your welding type and frequency.
“When it comes to your eyes, there’s no room for risk.”
Beginners should start with a reliable fixed-shade helmet to build good habits. As your skills grow, upgrade to an auto-darkening model with 4 sensors, variable shade, and replaceable batteries for maximum safety and efficiency.
Always keep a backup helmet—even a cheap flip-front—on hand in case your auto-darkening unit fails. And remember: the best welding helmet isn’t the most expensive one—it’s the one that keeps you safe, comfortable, and productive every time you strike an arc.