
Choosing the right welding helmet isn’t just about looking professional—it’s a vital safety decision that protects your eyes, face, and long-term vision. Whether you’re a beginner learning your first arc strike or a seasoned welder upgrading your gear, the wrong helmet can lead to eye strain, neck pain, or even permanent damage from UV exposure and arc flash. With prices ranging from $20 fixed-shade models to $600 high-end auto-darkening systems, knowing what to look for helps you avoid costly mistakes and ensures reliable protection. This guide breaks down every critical factor—safety certifications, lens technology, field of view, weight, and more—so you can confidently choose the best welding helmet for your process, budget, and daily comfort.
Meet Safety Standards First
Confirm ANSI Z87.1 or CSA Certification
Before considering features like lens clarity or headgear comfort, verify that any helmet meets ANSI Z87.1 (U.S.) or CSA Z94.3 (Canada) safety standards. These certifications guarantee protection against harmful ultraviolet (UV), infrared (IR), and intense visible light produced during welding. Look for the Z87+ marking—it means the helmet also passes high-impact resistance tests, crucial if sparks or debris strike the lens.
Optical quality is measured by DIN ratings, with 1/1/1/1 being the gold standard. This rating indicates zero optical distortion, perfect light transmission, and no color deviation—critical for precision work like TIG welding. Helmets with lower DIN ratings may warp your view of the weld pool, leading to inaccurate bead placement.
Never skip this step: A non-certified helmet—even if it looks professional—can fail under arc exposure, risking serious eye injury. Always check product specs or packaging for official compliance labels.
Avoid Non-Certified Budget Models
Many low-cost helmets sold online lack proper certification. While they may appear similar to trusted brands, uncertified units often use substandard lenses that degrade quickly or fail to block dangerous radiation. Stick to reputable retailers and avoid unknown Amazon brands offering “auto-darkening” helmets for under $50—these frequently suffer from delayed response, flashing, or poor visibility.
Choose the Right Helmet Type for Your Workflow

Fixed-Shade Helmets: Durable and Low-Maintenance
Fixed-shade helmets use a permanently darkened lens, typically shade 10 or 11, requiring you to manually flip the hood down before welding. With no electronics, batteries, or sensors, they’re extremely reliable and affordable—usually priced between $20 and $60.
Best for:
– Beginners learning proper arc starting technique
– Stick welding in training environments
– Backup helmets in industrial settings
Top picks include the Jackson Safety Large Window Hood (~$35) and FiberMetal Sugar Scoop, both offering excellent clarity and compatibility with hard hats.
Pro tip: Pair with a gold lens to reduce heat transmission and improve color contrast. Always use both inner and outer clear cover lenses—replace the outer one frequently, as spatter pits it fast and reduces visibility.
Auto-Darkening Helmets: Smarter, Safer Welding
Auto-darkening helmets use LCD lenses that switch from light (shade 3–4) to dark (shade 8–13) in milliseconds when an arc is detected. This eliminates the need to flip the helmet, improving safety, reducing neck strain, and speeding up workflow.
There are two main types:
– Fixed-shade auto-darkening: Darkens to one preset level (e.g., shade 12). Ideal for single-process welding.
– Variable-shade: Adjustable (e.g., shade 8–13), perfect for switching between MIG, TIG, and stick.
User insight: “Once you go auto-darkening, going back feels like driving a stick shift after years of automatic.”
Prioritize Lens Clarity and Optical Performance

Aim for DIN 1/1/1/1 Optical Clarity
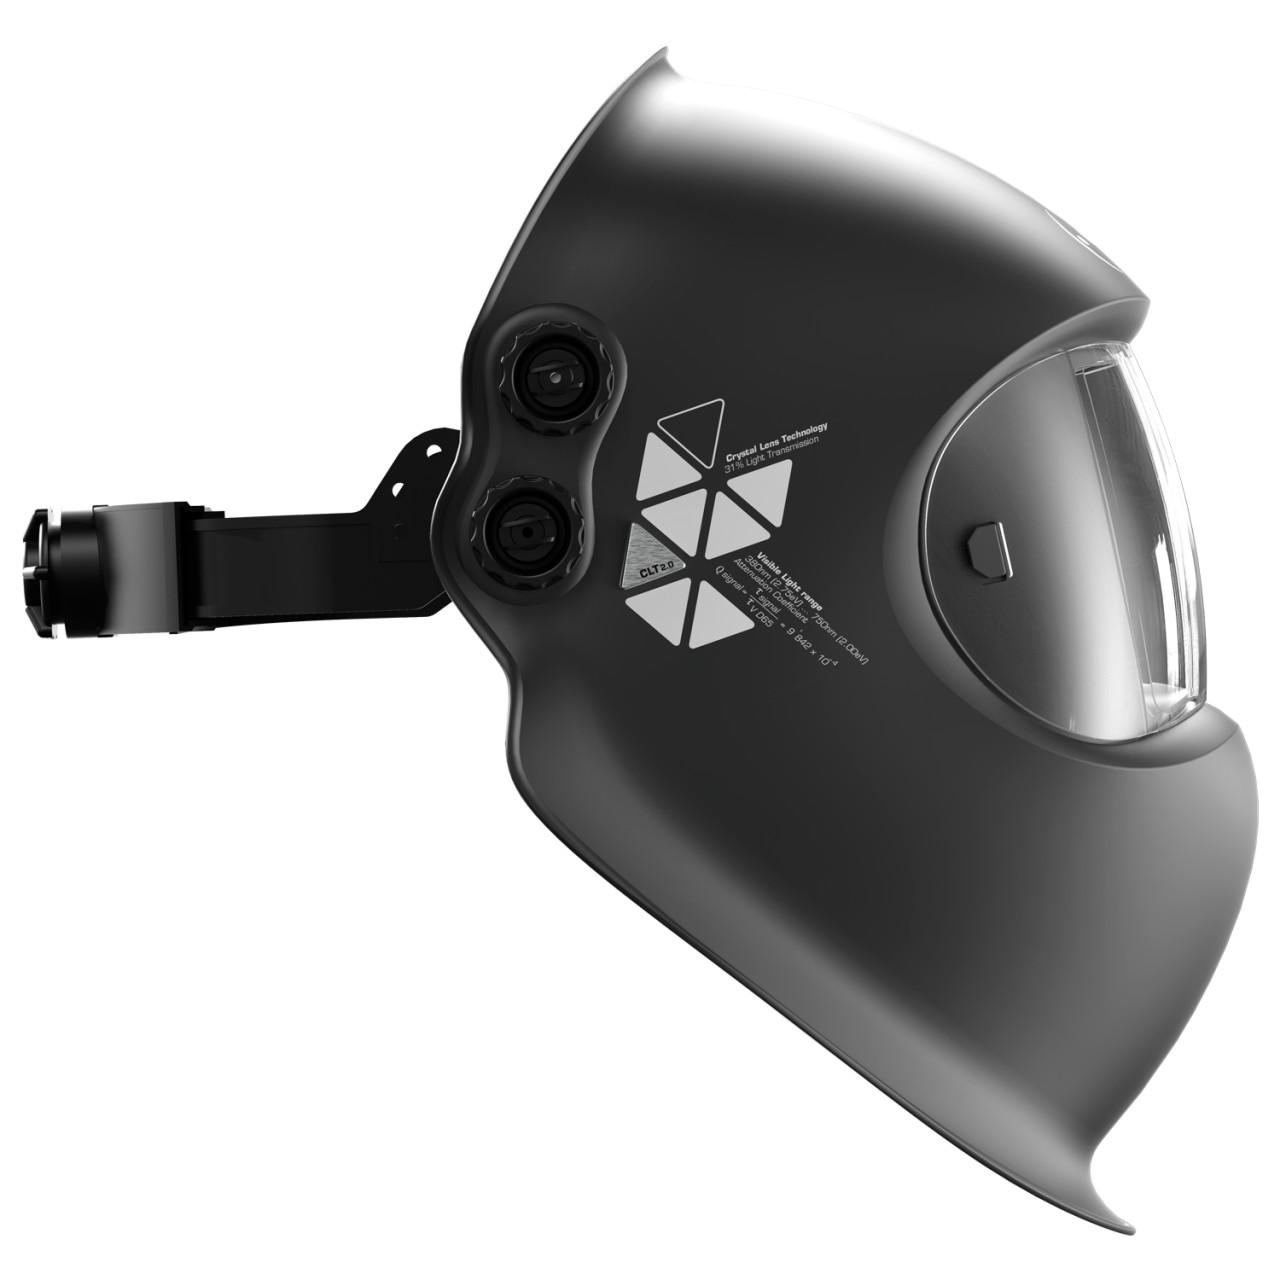
The clearest lenses carry a DIN 1/1/1/1 rating, meaning no distortion from any angle. High-end models like the Optrel Crystal 2.0 and Miller Infiniti deliver this level of clarity, making them ideal for detailed TIG work where precision matters.
Modern helmets typically feature blue-tinted lenses, which reduce eye fatigue and enhance contrast better than older green tints. Premium options offer technologies like ClearLight™ (Miller) or HDV for near-natural color rendering.
Avoid helmets with hazy, yellowish, or blurry lenses—common in budget models. Poor optics force you to squint, leading to headaches and inaccurate welds.
Consider Color-Enhancing Lenses for Better Visibility
Specialty tints improve color accuracy and reduce glare:
– Gold lenses: Reduce heat and enhance true metal color—ideal for stainless steel or aluminum.
– Magenta or Super Blue: Boost contrast in low-light conditions or on dark surfaces.
Test tip: If doing precision TIG, look for “true color” or “high-definition” optics. Shade 5 capability is essential for low-amperage welding (as low as 5A).
Maximize Your Field of Vision
Select Viewing Size Based on Welding Process
A larger viewing area improves visibility of your workpiece and surroundings, reducing head movement and neck strain.
- Standard: ~2″ x 4″ (common in older models)
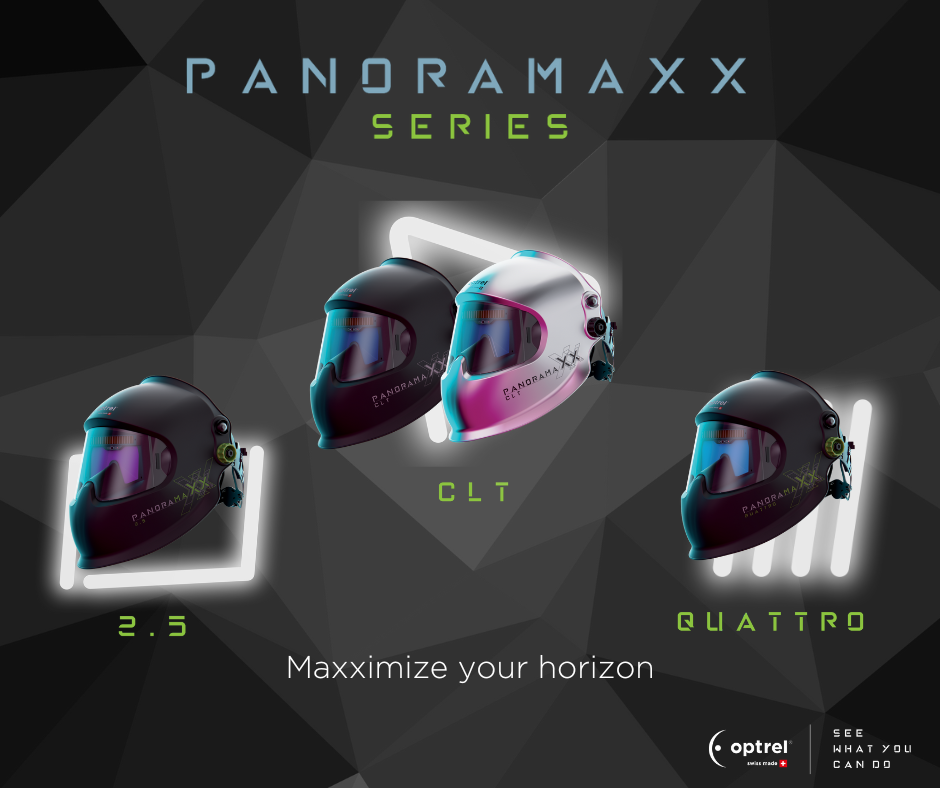
- Panoramic: Up to 3.75″ x 4″ (e.g., Yes Welder, Optrel Panoramaxx)
Process-specific needs:
– TIG welding: Smaller, focused view preferred for precision.
– MIG / overhead welding: Larger panoramic window essential for monitoring weld pool and travel.
Testing shows: The Yes Welder outperforms the Optrel Crystal 2.0 in peripheral visibility due to its wider lens.
Balance Size and Weight
Larger lenses add weight. Aim for a helmet under 20 oz. Plastic shells are lighter than metal. Overhead welding demands a lightweight, well-balanced design to prevent slippage and fatigue.
Ensure Fast Auto-Darkening Response
Check Switching Speed in Microseconds
Reaction time is measured in microseconds (μs). The faster the lens darkens, the better the protection.
- Standard: ~40 μs (1/25,000 sec)
- High-end: <30 μs (1/30,000 sec or faster)
Faster response reduces flash exposure, especially during short tack welds.
Look for 4-Sensor Systems
Sensors detect the arc and trigger darkening. More sensors = better coverage.
- 2 sensors: Basic models, may miss arcs if head is tilted.
- 4 sensors: Industrial standard, ensures detection from all angles—critical for out-of-position welding.
Critical for TIG: Ensure the helmet adjusts down to shade 5 and supports low-amp welding (as low as 5A).
Optimize Power and Battery Life
Prefer Solar + Battery Backup
Most reliable auto-darkening helmets use solar power with AAA or lithium battery backup. Solar keeps the lens active in daylight; the battery kicks in indoors or under shade.
Avoid models with non-replaceable batteries—once dead, the helmet becomes useless.
Top power options:
– Solar-assisted (Hobart, Miller): Longest lifespan, minimal battery drain.
– AAA batteries (Lincoln Viking 3350): Easy to replace, widely available.
Pro tip: Check for a low-battery indicator—it warns before failure.
Prioritize Comfort and Fit
Keep Weight Under 20 Ounces
Helmets over 20 oz cause fatigue during extended use. Lightweight models like the Optrel e684 and Yes Welder reduce strain, especially during overhead work.
Plastic shells are lighter than metal. Balance front-heavy designs with adjustable headgear.
Use Multi-Point Adjustable Headgear
A secure, customizable fit prevents wobbling and slipping.
Look for 5-point adjustment systems (front, back, sides, top, tilt). Premium headgears like Miller Infiniti and ESAB Sentinel A50 offer ergonomic padding and precise ride height control.
Fit test: Move your head up/down—helmet should stay level. Adjust so the lens aligns with your eyes in flat and overhead positions.
Enable Grind Mode and Extra Features
Use Internal Grind Mode Button
Grind mode keeps the lens light so you can grind without removing the helmet. Internal buttons (Yes Welder) are protected from sparks and debris. External buttons (Optrel Crystal 2.0) often stick or break.
Support Cheater Lenses
If you wear glasses, choose a helmet with built-in cheater lens slots. The Yes Welder includes this; others require costly aftermarket kits.
Consider Advanced Add-Ons
- InfoTrack™ 2.0: Tracks arc time and weld count—useful for job quoting.
- Voice activation / Bluetooth: Available in top-tier models.
- Anti-fog coating: Prevents condensation in humid environments.
- Side shields: Block peripheral light and spatter.
Match Helmet to Your Welding Process
MIG Welding: Large View, Heat Resistance
For MIG, choose:
– Large or panoramic viewing area
– Reliable auto-darkening with 4 sensors
– Heat-reflective shell (e.g., silver Crystal 2.0 reduces heat by 30%)
– Comfortable headgear for long runs
TIG Welding: Clarity and Low-Shade Precision
TIG demands:
– High-clarity lens (DIN 1/1/1/1)
– Adjustable down to shade 5
– Fast switching speed
– True color optics
Best picks: Optrel e684, Miller Digital Elite
Stick Welding: Durability Over Features
Stick produces heavy spatter and UV. Choose:
– Durable shell and cover lenses
– Good spatter protection
– Fixed shade or basic auto-darkening
Great starters: Jackson Pipeliner, Lincoln Viking 3350
Overhead Welding: Certified Fit and Design
Only use overhead-certified helmets like the Optrel Sphere Series. Their spherical lens design lets slag roll off. Must have:
– Secure, non-slip fit
– Lightweight build
– 4-sensor detection
Compare Top Brands and Models
Professional-Grade Helmets ($300+)
Optrel Crystal 2.0 / e684
- Price: $500–$600
- Pros: Best clarity, Shadetronic (auto-shade adjust), overhead-certified, lightweight
- Cons: Expensive; replacement lenses cost ~$80 each
- Best for: Daily pros, TIG specialists
Miller Infiniti / Digital Elite
- Price: $300–$350
- Pros: ClearLight™ optics, ergonomic headgear, excellent visibility
- Cons: Older models had headgear issues
- Best for: MIG/TIG welders needing premium performance
Lincoln Viking 3350
- Price: $325–$400
- Pros: Proven 6+ year lifespan, easy lens replacement, shop-standard
- Cons: Heavier than rivals
- Best for: Long-term home or pro use
User quote: “The absolute best hood I’ve ever tried… it’s like you can see the future.”
Budget-Friendly Choices ($100–$150)
Yes Welder Helmet
- Price: ~$100
- Pros: Panoramic 3.75″ x 4″ view, internal grind button, cheater lens support, $16 for 5 replacement lenses
- Cons: Not built for daily industrial use
- Best for: DIYers, hobbyists
Blackstone, Bowler, Jackson W40/W60
- Price: $150–$250
- Pros: Dual-sensor, reliable performance
- Cons: External knobs can be accidentally adjusted
Final Checklist Before Buying
✅ ANSI Z87.1 or CSA certified
✅ Shade range 8–13 (adjustable to 5 for TIG)
✅ 4 sensors for out-of-position welding
✅ Solar + battery backup
✅ Large, clear viewing area
✅ Comfortable, multi-point adjustable headgear
✅ Grind mode with internal button
✅ Cheater lens support (if needed)
✅ Low long-term cost (lens replacements)
✅ Try before you buy—fit is critical
Ultimate advice: “Ask yourself—what are your eyes worth?” A $300 helmet is an investment in lifelong eye health. Never compromise on safety, clarity, or fit.
Always wear safety glasses under your helmet and use gloves, apron, and respirator as needed. Your helmet is just one part of a complete PPE system.